Google+

Sunday 28 June 2009

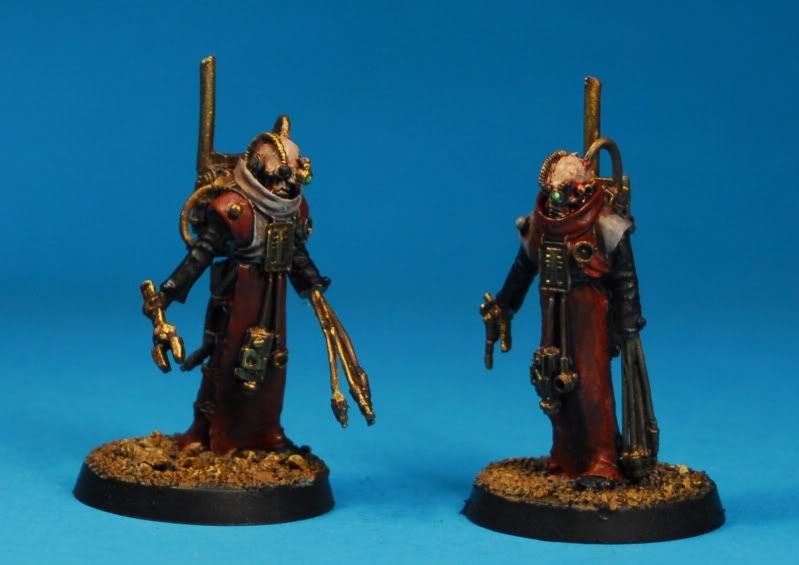
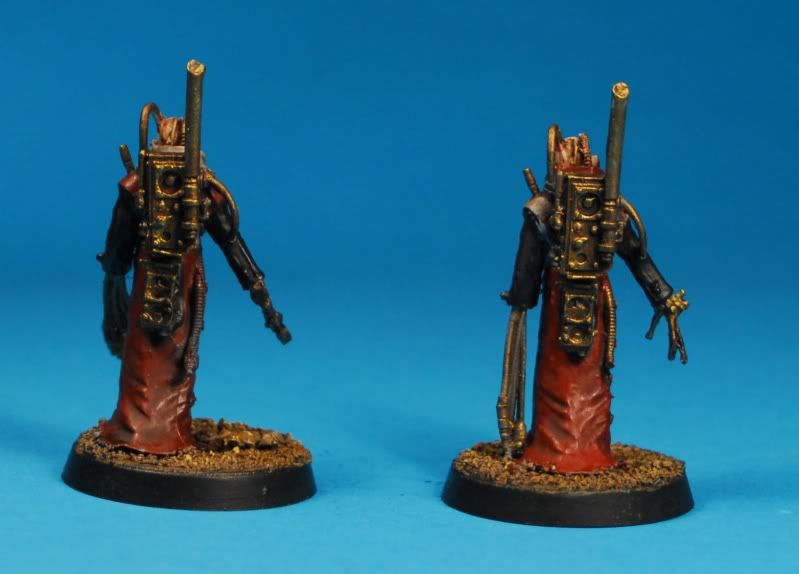
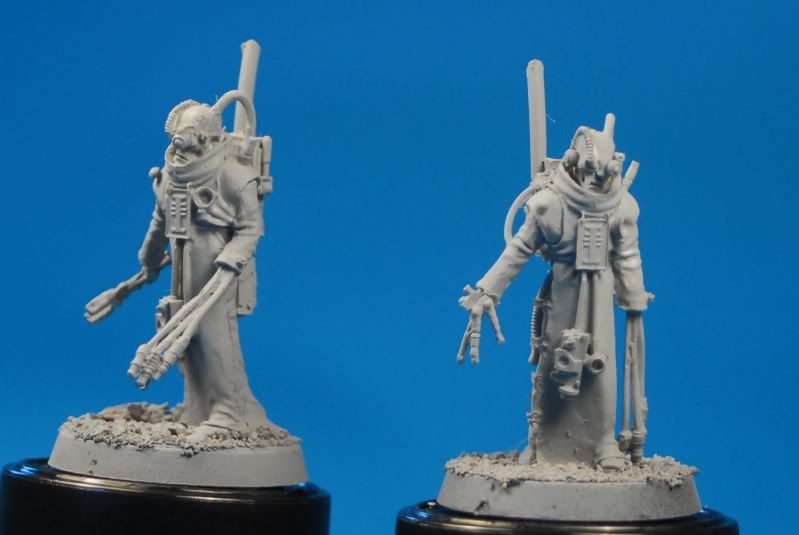
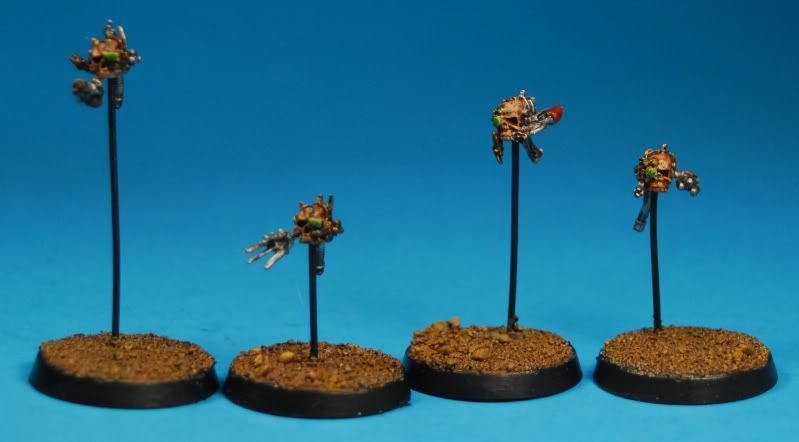
Servitor skulls

I feel a bit bad, this being an update, in light of the last few; mainly because this is a real quick one.

The servitor skulls I intend to use as familiars for my lord. Partly in case I want to run him as CC rather than shooty, (note to self, still need to build CC "servitors" for that.) but mainly just because I think servitor skulls are cool :)

They go nicely with the servitor sages I've already painted and help add to that elusive "Dark millenium" quality that was present in the first Rogue Trader book I read, but which is lass and less prevalent in the marine-laden landscape I find the hobby has become.

anyway I digress. I'm not sure what is next on the table, the second elite, some acolytes, the heavy bolter guys, maybe the last squad, hrmm.

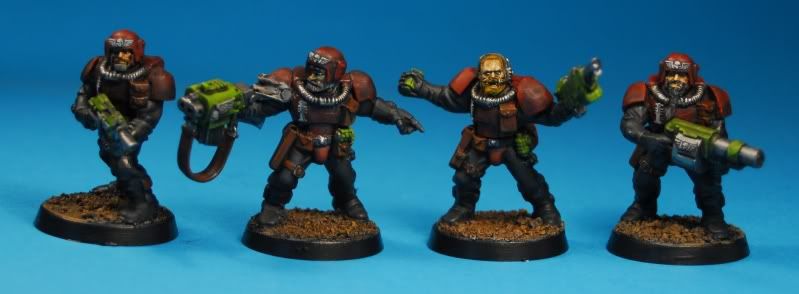
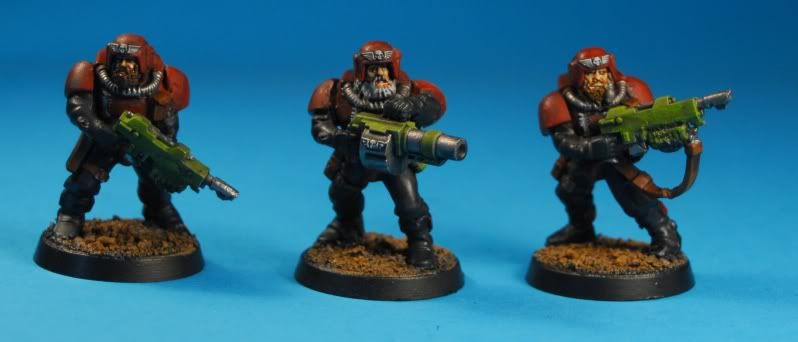
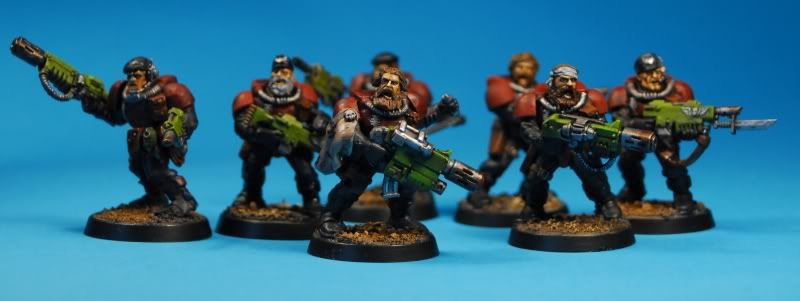
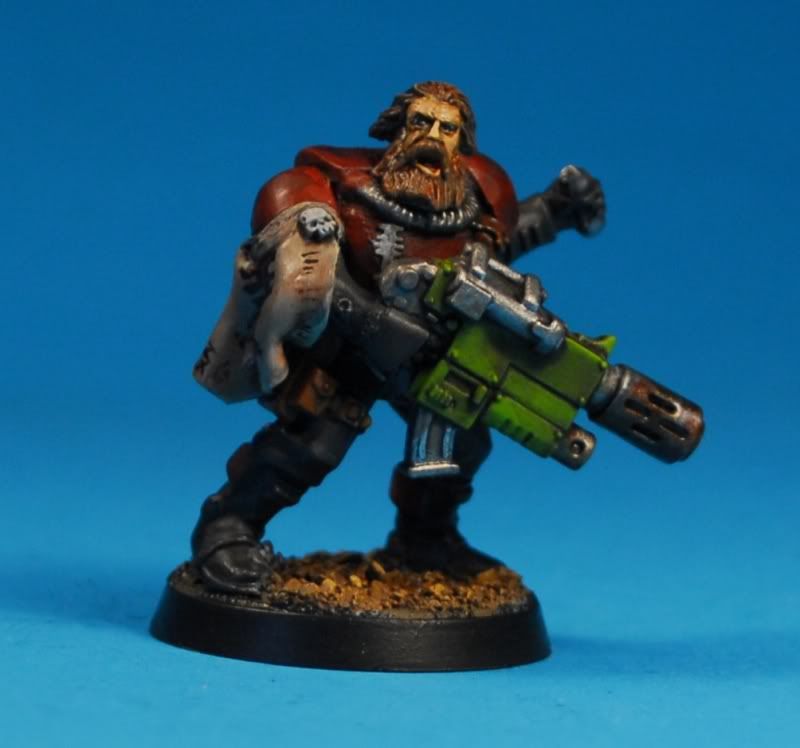
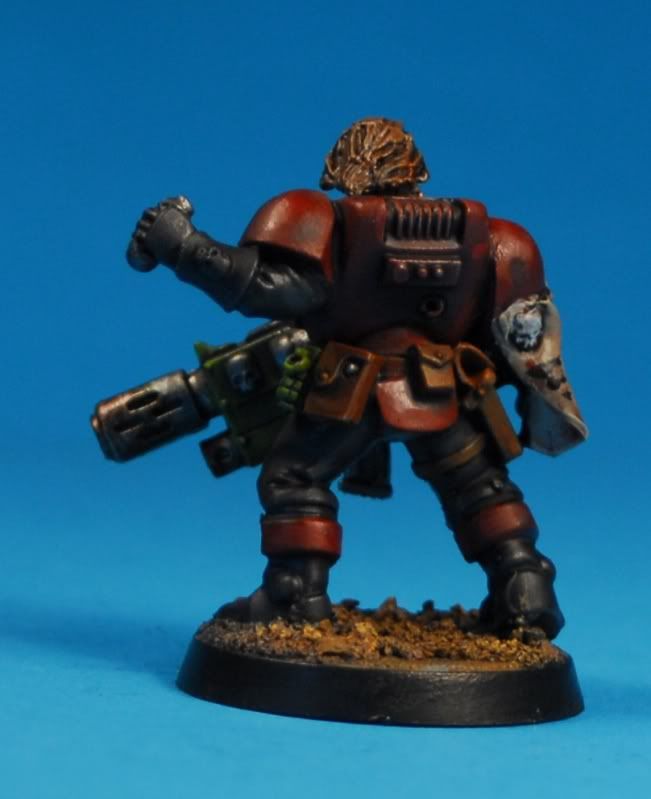
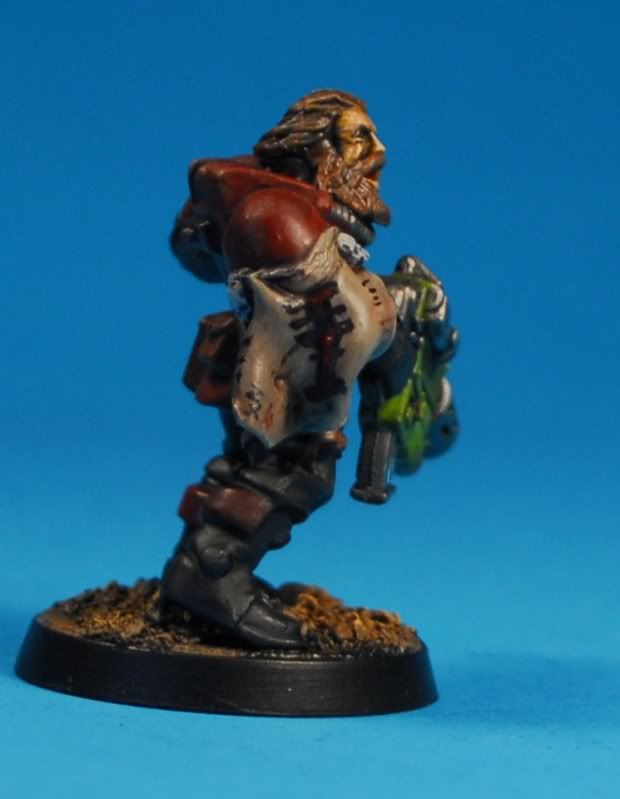
Squad Secundus

I thought I'd wait to post these untill they were all finished.

most of these guys were painted while various part of the chimera dried, so it's been quite efficitent, with the last details filled in this morning.
This leaves me one more squad, an elite =][=, my Daemonhosts and my Lord and retinue. oh and three more chimeras.

that's about 6 whole days of paitning if i can keep up yesterdays pace. but having mostly weekends fr this means about 4-5 weeks.

then I can start on the inducted guard, or the cityfight table, or finish the orks, or... yoiu get the idea.

Saturday 27 June 2009

Painting the chimera

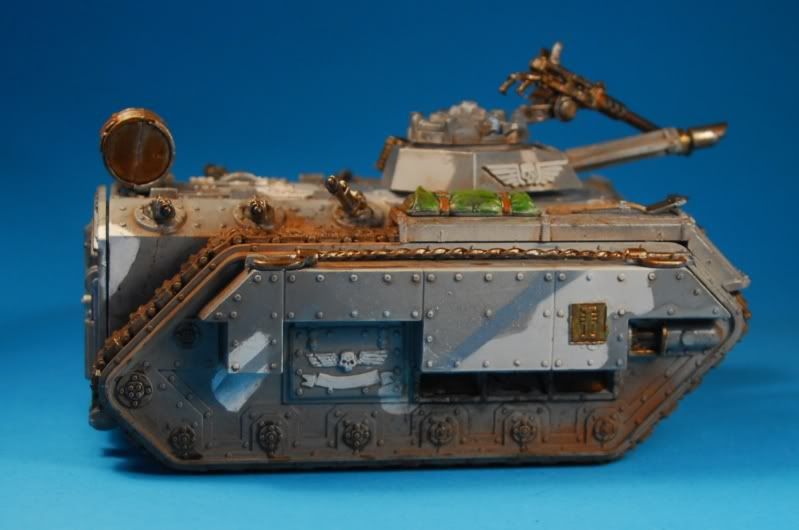
This will be an attempt to describe the stages I undertook in painting my first chimera, pictured below. I've made some mistakes on this paintjob, and I've learned a lot, hopefully you will too.

So here is the primed and ready to go Chim, I use Halfords grey primer, one because it's cheaper and b, because it has a lot of solvent, which means its good for resin and lubed greenstuff and well, anything really.
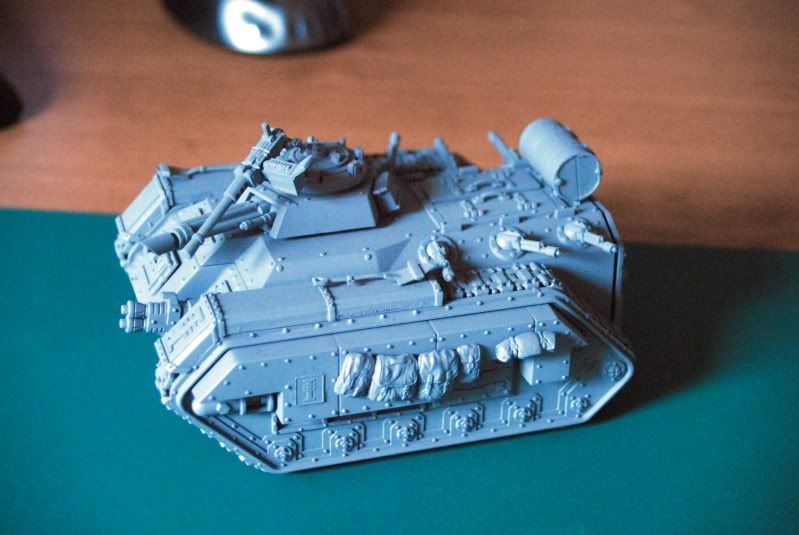
The pictures arent up to my usuall standard, bacuse I was taking them on the fly (and doofus that I am I forgot to change thw white balance settings from my studio set up to "real world")

First thing to do for the urban camo I've attempted on this model is to airbrush the whole model white.
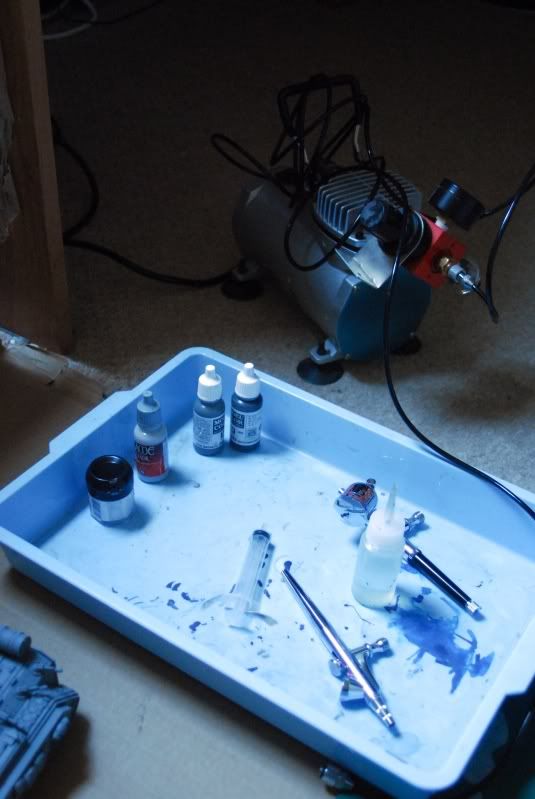
I use a simple compressor and have two different airburshes, one i use more like a spray gun, the other for more detail and freehand, pots of paint, water, kitchen roll and an old litter tray to keep my tidy form the bulk of my kit for this kind of thing.
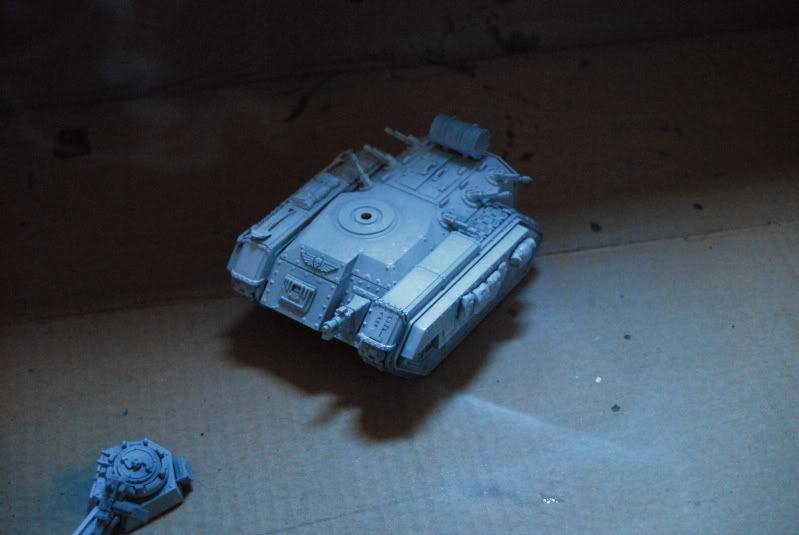
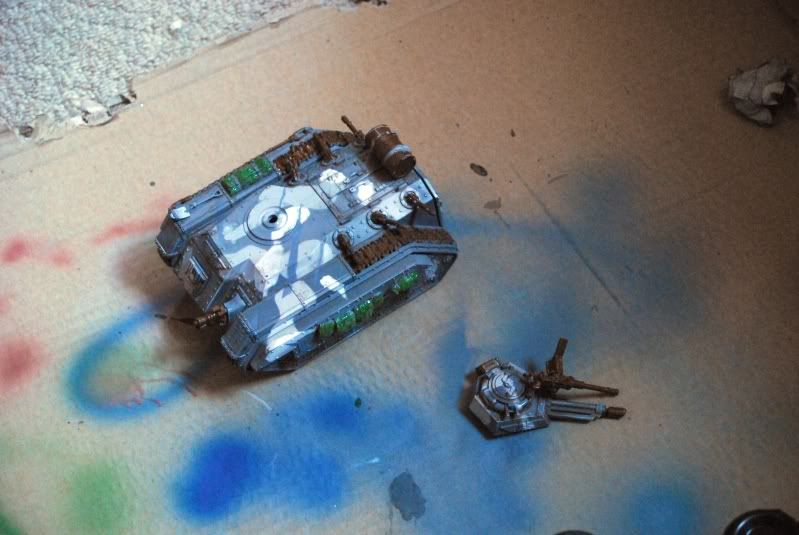
so here's the white model. not very clean, my white is about eight years old and is really too thick for airbrushing now, so that's on the shopping list.

Okay in order to replicate camo, what I do is take some wide masking tape, and roll some out onto my smallest cutting mat (you can use frisk for this but it tends to be more adhesive) I then cut random camo-style shapes in the tape and peel away the excess leaving me with this
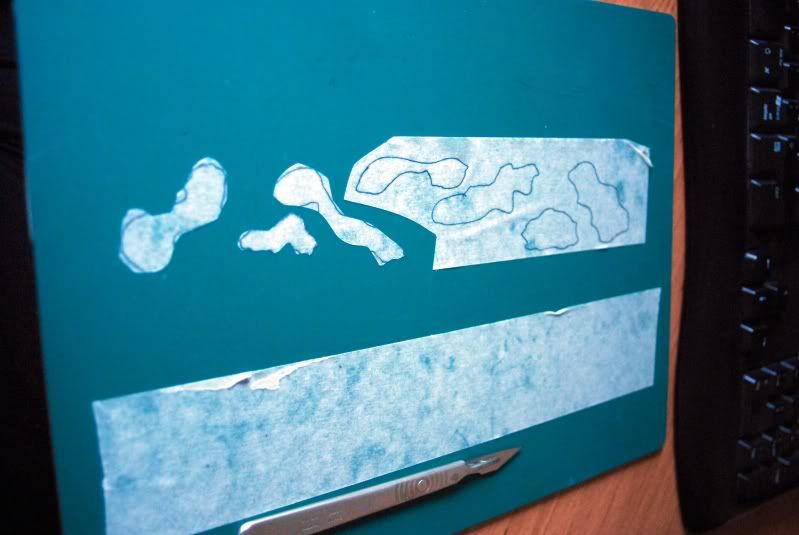
once the white is dry I place several of the camo shapes on the model. this will ensure that whatever else I do, the model now has those areas in white. I'm sparing with this as I want the white to be an accent colour.

with the masks in place I spray the light grey.
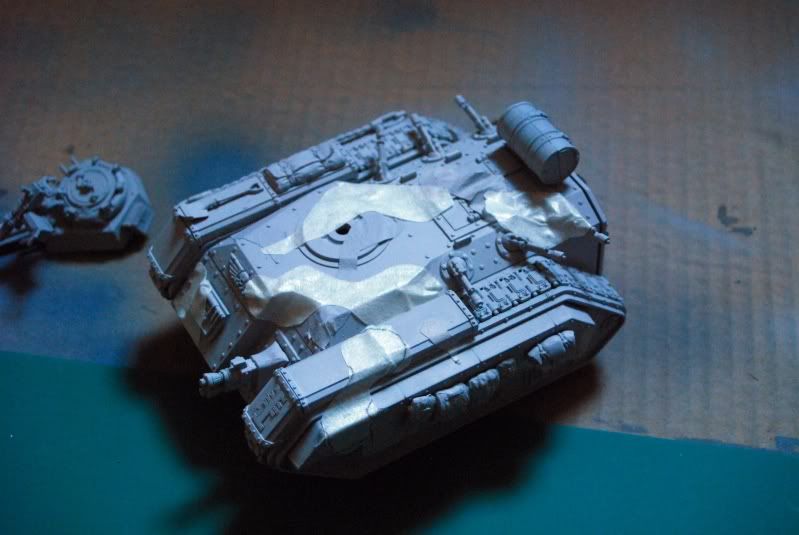
and once this dries I apply more masks, then spray the darker grey.
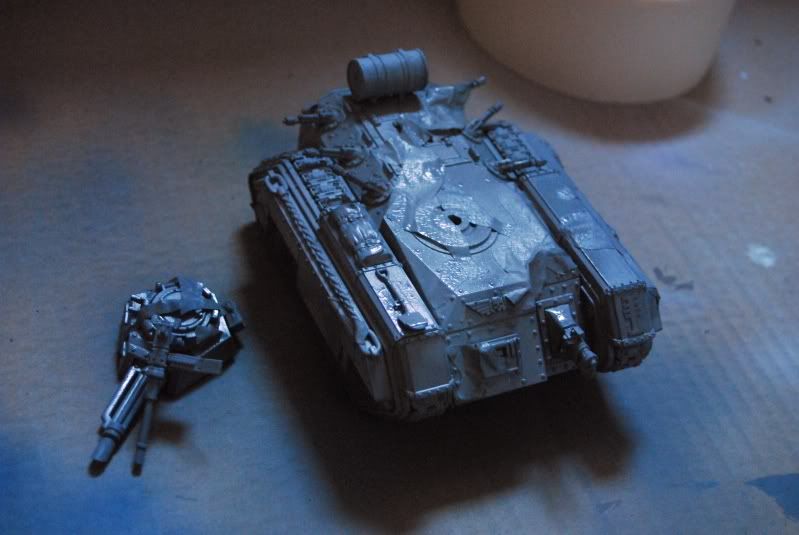
I let all this dry then carefully remove the masks.


then I swear my ass off because the new masking tape I have has bled really badly. that means brush touch ups, which never look good, ah well lesson learned, and here it is with three colours on.

At this point in some schemes I might want to throw in black, but on this model I decided to avoid it and go for an intermediate blue instead. for this i masked off specific strips and sprayed them, being careful not to overspray and using my trusty old narrow masking tape. I have three kinds, of varying thicknesses, and all low "tack", meaniing they arent very sticky and shouldnt lift previous coats of paint, tamaya make the best, but most expensive tape. frisk can also be used, which is an adhesive film, the problem with this though is that it's non-porous so if you spray a lot, it can bead and run.
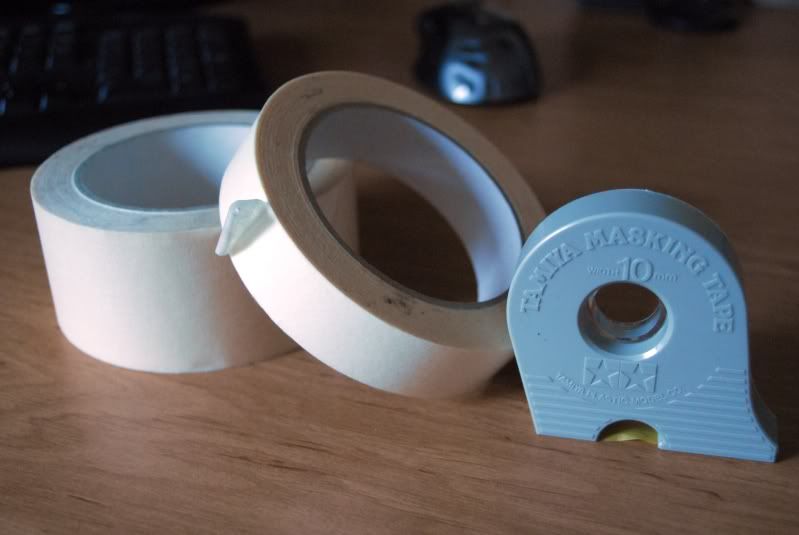
enough pictures of tape. Here it is with all four colours on!
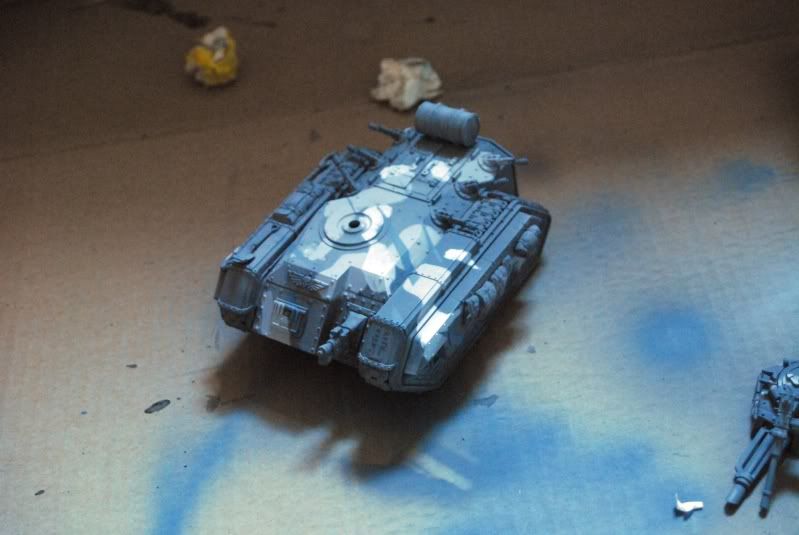


Next stage is to weather the paint, and put on the details.

first thin i do is give the armour edges and raides areas like rivets a very lght defining drybrush of my lightest paint colour, the apply scratches and chips with a sponge using black and bestial brown mixed. I didnt photgraph those as I was a bit carried away by this point :)

I absolutely swear by two particular MiG products for the remainder of the weathering.
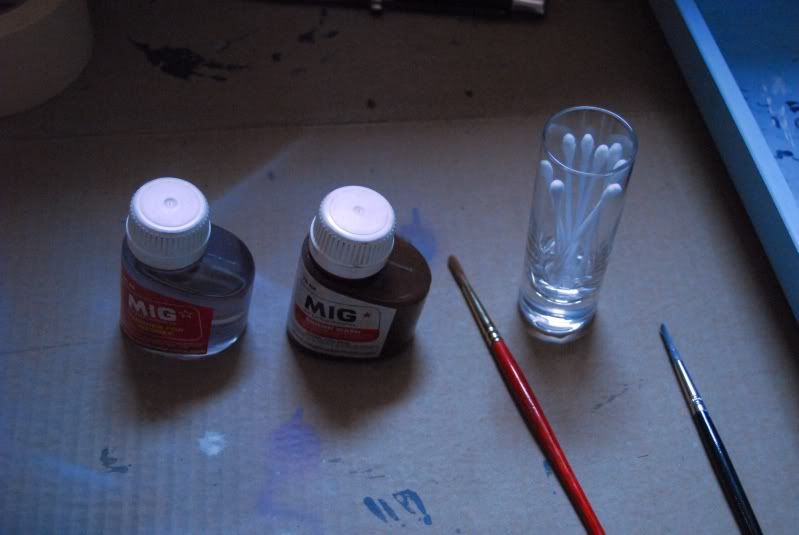
the mig solvent based washes are fantastic to use with acrylic paints, they go on well, suck themselves into recesses and best of all excess can be removed from upper surfaces with a q-tip dipped in thinners. wicked.
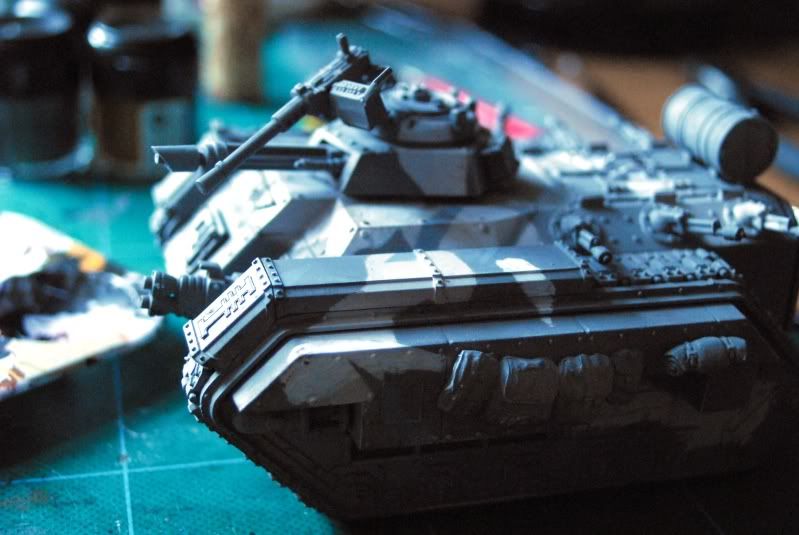
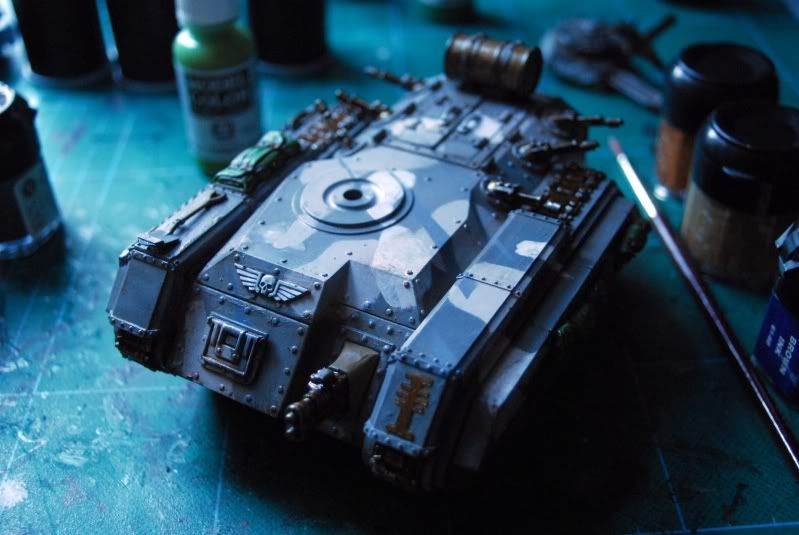
that's after a going over with the wash, apologies for the poor photographs, next time i'll pop them in my lightbox at each stage.

once this dries I start painting things like the bags, track, guns etc. most of the metal gets a bestial brown basecoat with a wash of brown ink and klear, finished with a drybrush of boltgun and a fingerfull of pencil lead for the final shine. the bags are medim olive and light olive with a badab wash.
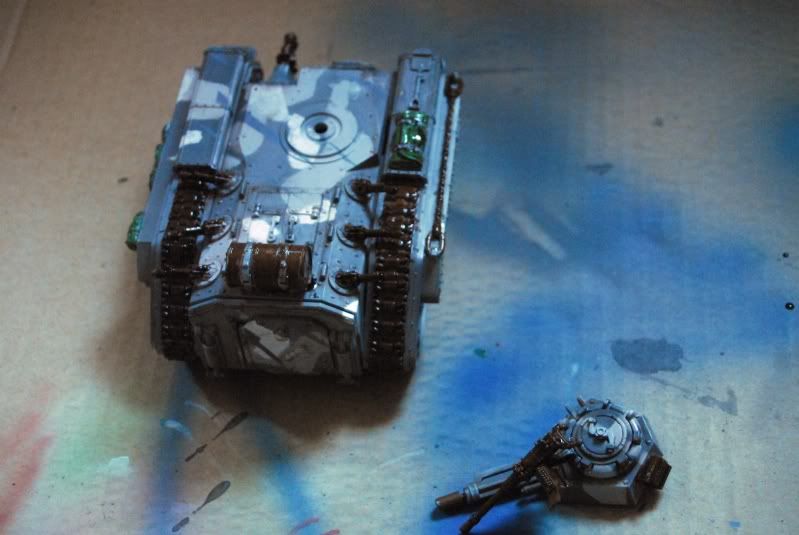
Once this all dries I started to pick out the badges and other details like bullets in vallejo bronze and again wash with brown ink.
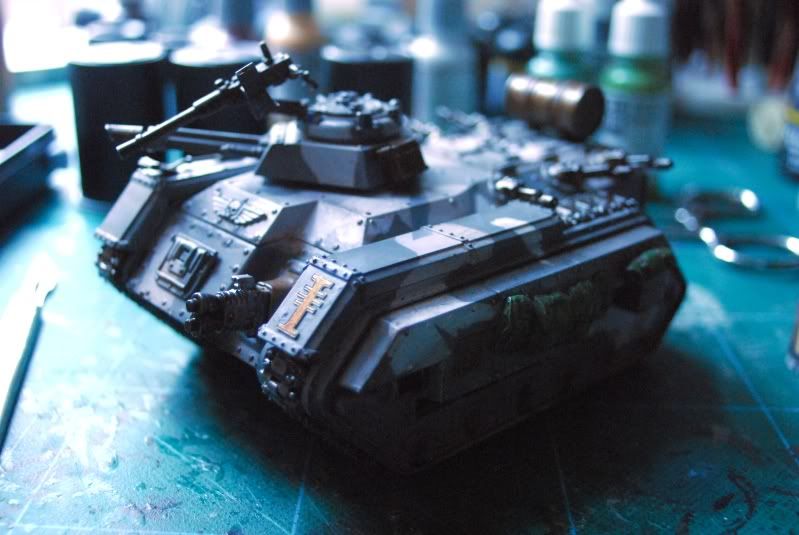
The final weathering is done with mig weathering powders and is just liberally applied to the tracks everywhere dust would have gathered. I wanted dried dust on this model, had I been aiming for mud I would have used thinners with the powders.

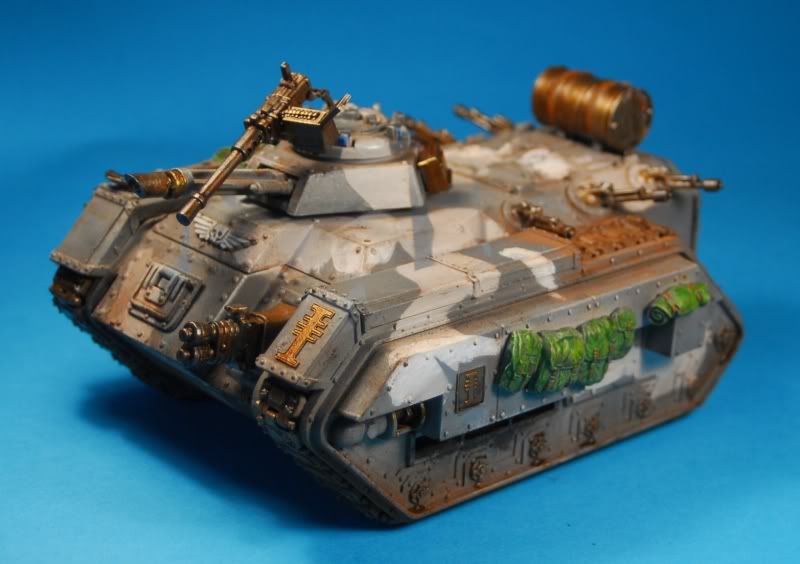
and after all that, I have this
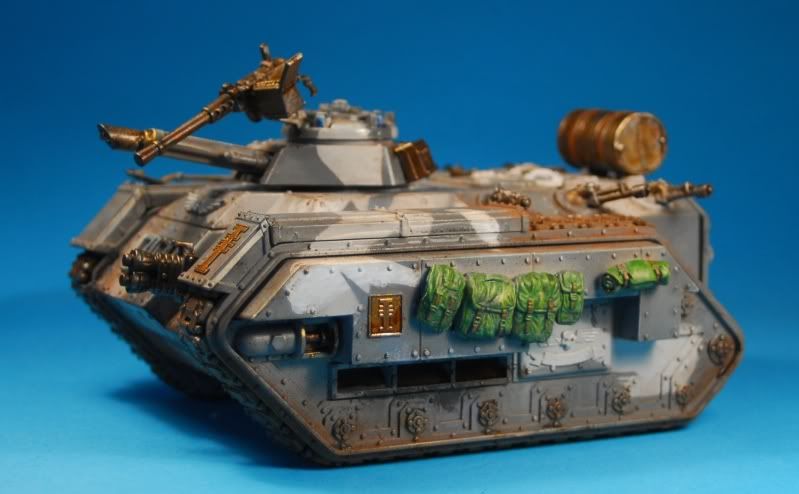
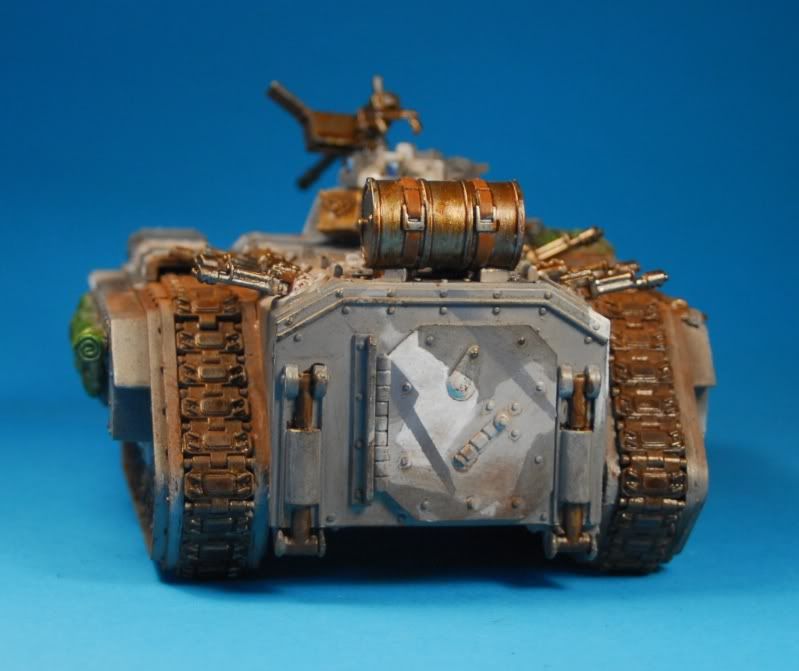
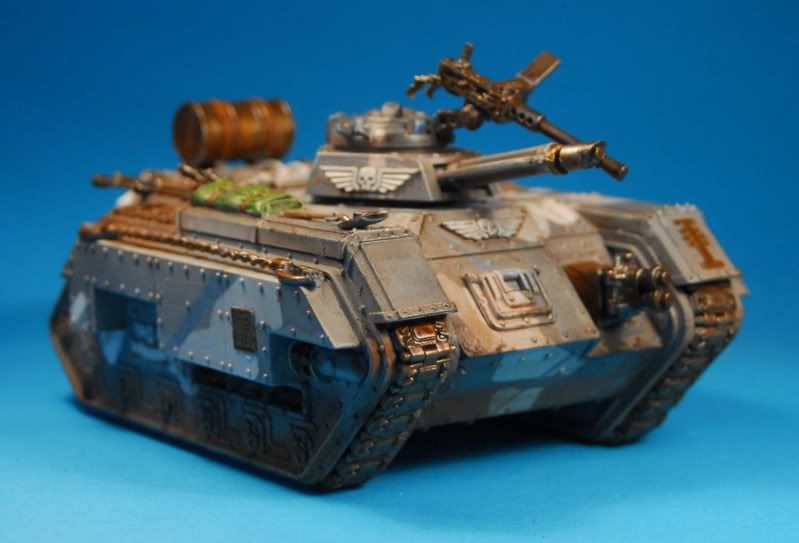
Hopefully you can see most of what I'm talking about in this better picture, and those in the post below.

What I've learned - my new masking tape is crap. I should have put less of the detail on the model untill I'd sprayed the camo, my camera needs telling the light has changed and my lightbox is better for pictures :)

Hopefully you've learned something too, and if i decide to do anymore step-by-steps I promise to do better.

thanks for reading, comments welcome as always.
Squad Primaris Transport

This is the first Chimera I've ever built and painted, It's an interesting model, I've tried to go for an urban camo look, with appropriate weathering for a vehicle that's seen long service, as it's occupants have.

Some things went wrong during the paint, notably my new masking tape is bobbins and allowed bleed pretty much everywhere. I still need to do some final touching up, notably I need to decide what to do with the nameplate. I usually dislike seeing things written on them, but i'm unsure what else to do with it.

Anyhoo, as usual comments and criticisms will be welcomed with open mind and arms :)


Last note, I actually remembered to take WiP photos throughout the day today, mistakes an all, so if anyone is interested I could do a blow-by blow of this paintjob.

Tuesday 23 June 2009

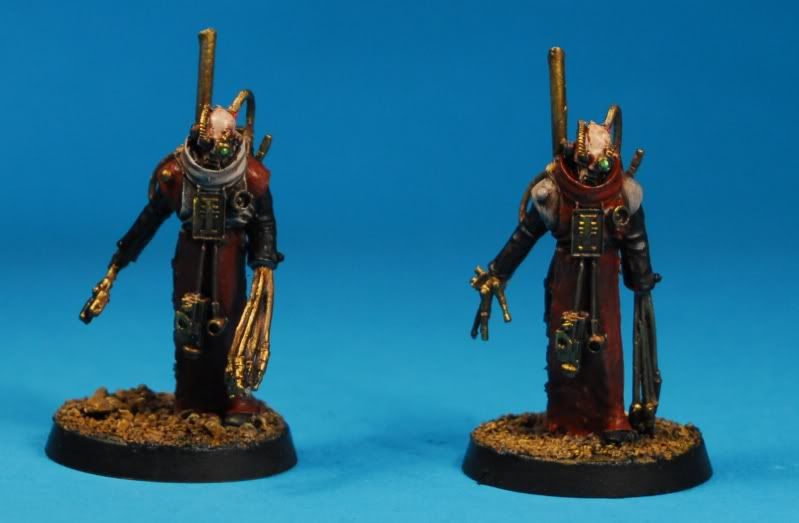
Servitor Sages


"The twins"

If anyone asked me for fluff however I probarbly wouldnt describe them as twins, let's say these two servitor-sages were a gift to our lord =][= for services rendered to the Adeptus Mechanicus.

anyway they've got paint on.

I was going to do a few more things to them, but something in my brain said "stop" and I usually listen to me.


Back to another IST squad after these I think. though I do have a fair swarm of servitor skulls to bash out, that wont take long...

Monday 22 June 2009

Quick Question

? The twins.

My servitor sages.

Identical paint, or opposites/contrasting?

See I told you it was a quick question :)

Sunday 21 June 2009

=][= Elite

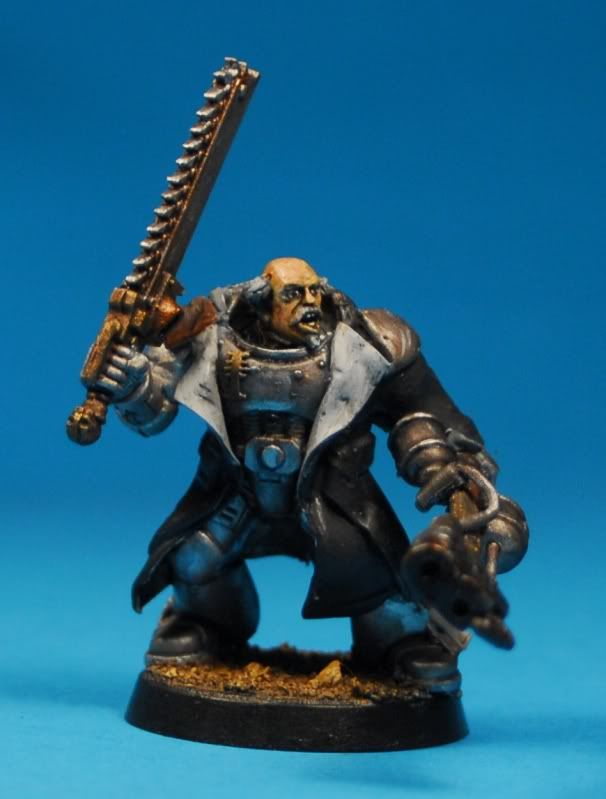
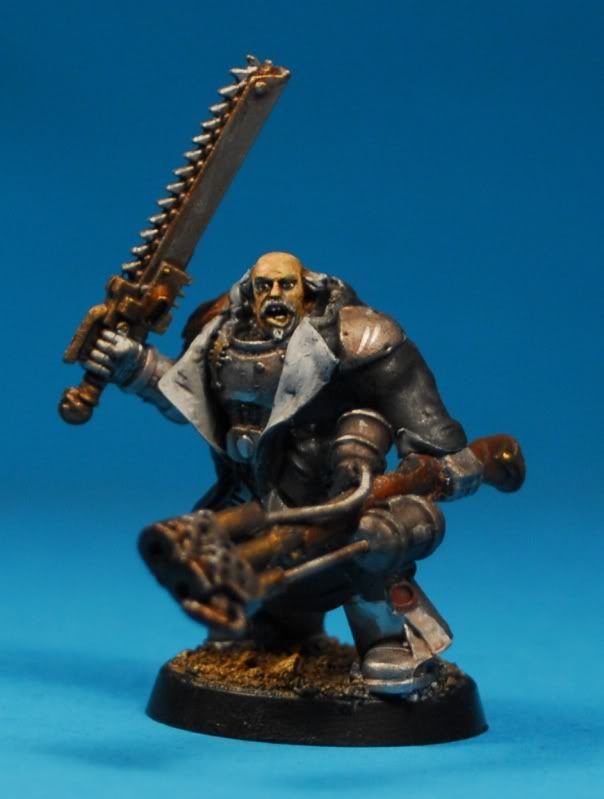
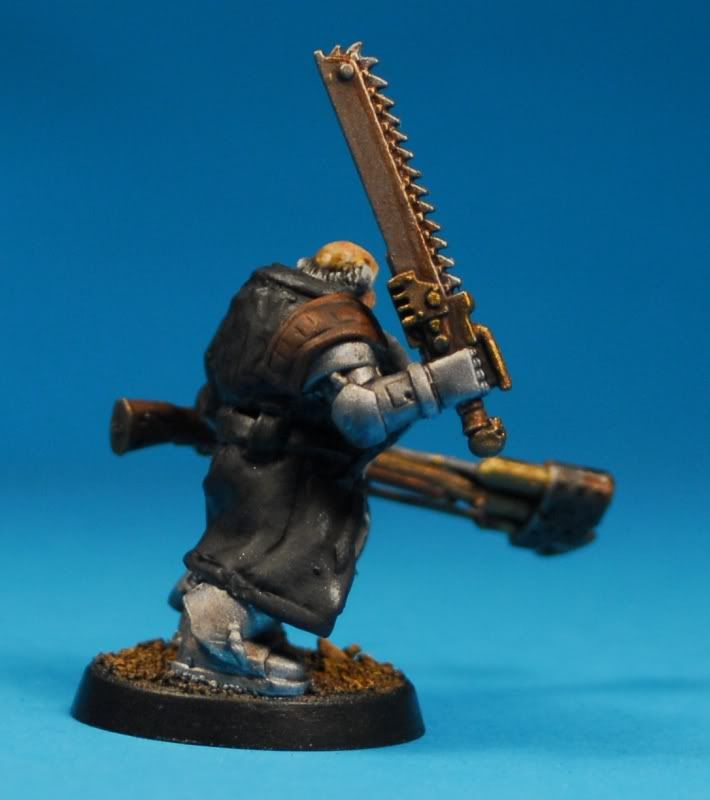
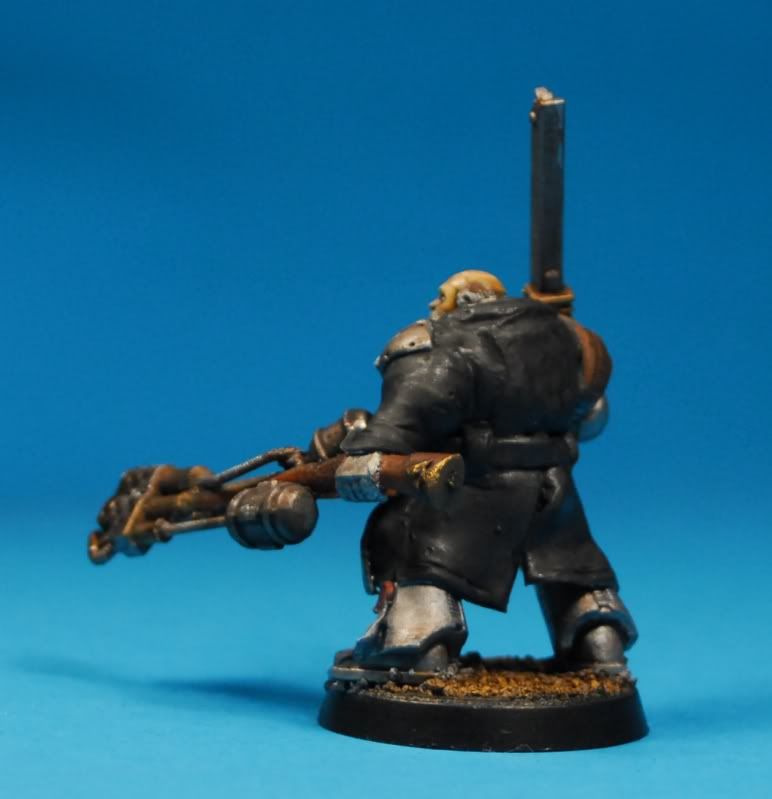
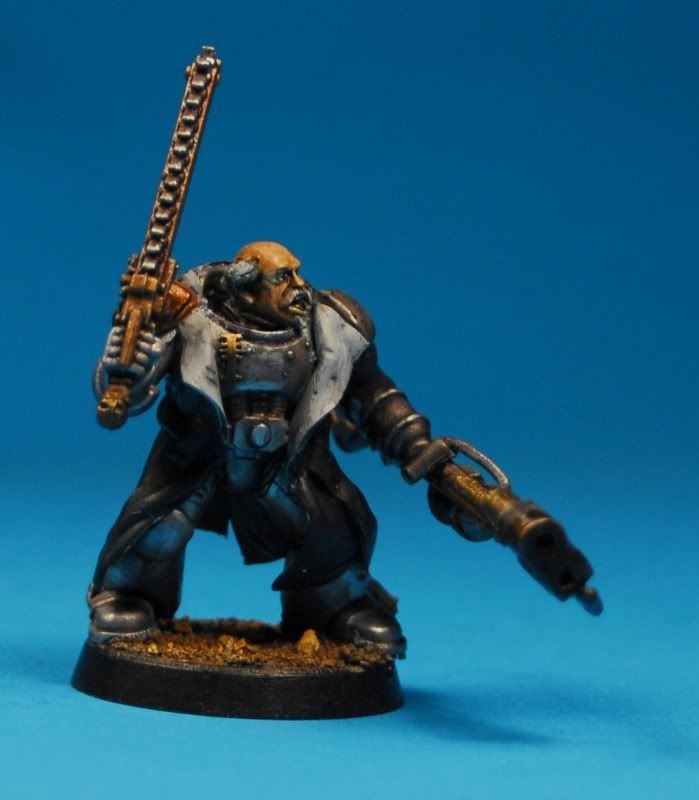
Here is the first of two elite Inquisitors. they might not see service every fight, but they are a good way to add a bit more firepower and survivability to an IST squad imho.

This fellow has an incinterator built from various bitz and a bog standard chainsword. He's also wearing power armour beneath that coat.

voila.


Darnit. now he's enlarged in photos i see a few things I still need to do. the scratches on the shoulderplate need lining, the purity seal needs text and his eyes could do with a bit of blacklining beneath them. ah well, I'll do that tomorrow.

Squad primaris complete.

Well, I say complete, I'm already thinking I could add more guys as I'm not at 10 yet, heh.

I was going to add more squad markings but what's stoping me at the moment is that I dont know how these guys will play, I might be happy with 5 per squad, in which case I'd have to repaint markings and so on, So It can wait.

plus my freehand is dodgy as you'll see further down.

So the finished squad -


Overall I like the way these guys have turned out, I was considering painting each squad with different colours, but I dont want my army too garish now, do I? plus I do like these, and as I said above I'm still going to be varying numbers and composition for a few games at least, and uniformity gives me the most flexibility.

If you will indulge me I'll just turn the spotlight on the new guys

the sarge

and the aforementioned Dodgy freehand
next up, the second Melta trooper
The Laspistol might well offend the wysisyg gods, but as these guys get a CCw eapon anyway I figured his might as well be a pistol, besides if I were carrying the kind of weapon that'd metl my face off, I'd want a backup pistol :)
and Lastly, the second forgage cap guy,

Nothing special about him, so erm.

probarbly shouldnt have saved him till last huh? :)

next up, one of the =][= elites.

Wednesday 17 June 2009

First Squad, more members

I'm going to have to start being more imaginative with my post titles. It's going to get very dull if every one is just "some more blokes".

But that's what this one is, three more blokes from the first squad. I figure I'll do the rest of the squad then thier chimera then reward myself with thier Elite =][= companion.

Here they are.

A Lasgun trooper

Melta guy

Forage cap guy
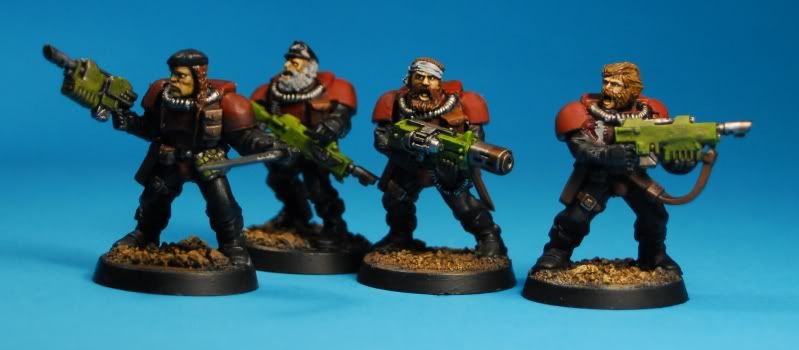
And the whole squad so far.

I'm content that the scheme looks decent for an army, I'm trying to make the faces pop to emphasise thier individuality hince the armour isnt very bright, and isnt harshly highlighted either. It seems to be working, at least MY eyes are drawn to the faces. Some of which are more sucessful than others, but overall in a compromise between painting speed and final product I'm happy.

ish.

Sunday 14 June 2009

Vindicare Assasin

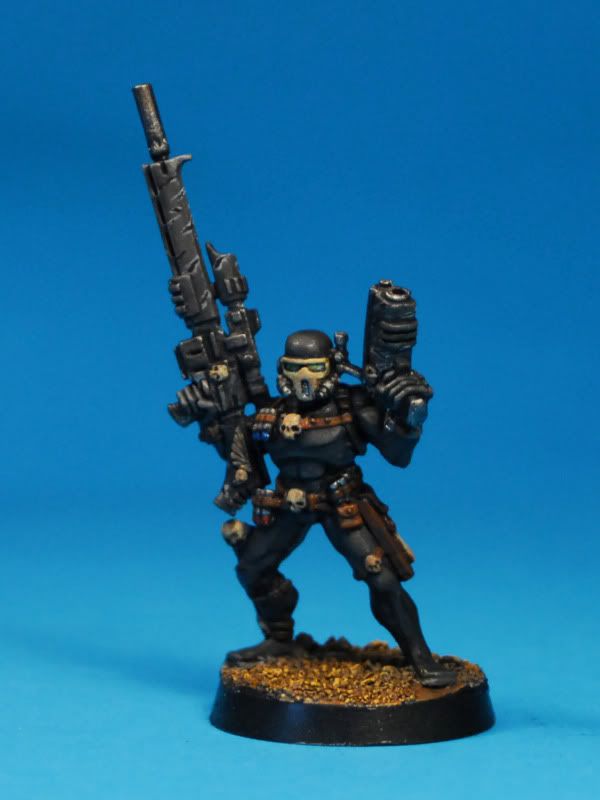
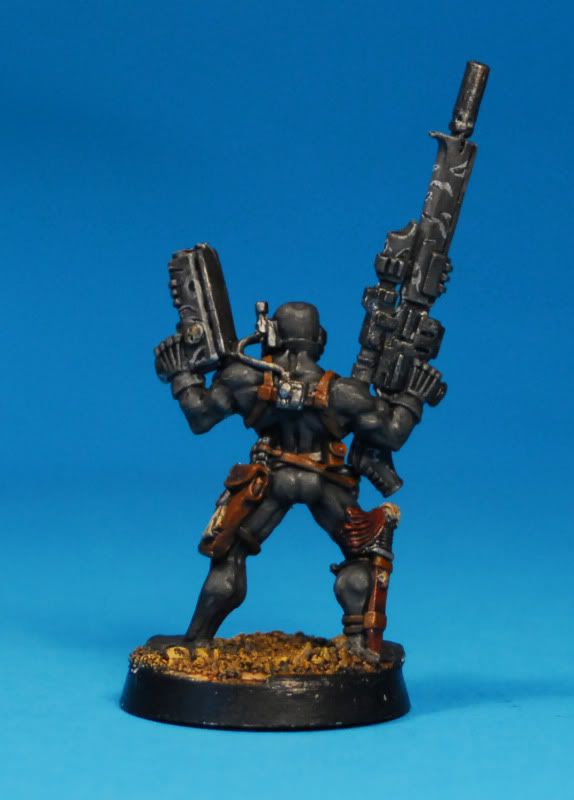
I've had this guy years, literally like 8 or more, and never painted him cos I didnt have an army I felt had a place for him.

With DH, I figure I might give him an outing at some point in the future. I like the idea of the psychological warfare element of using him :)

That's where I'm going with this army, and it's new for me. I'm building a "pool" of various units so that I can experiment and tailor my forces, I dont think i'll ever run the same list twice.

Here he is, another fairly quick job, but okayish.


C n' C always welcome.
Saturday 13 June 2009

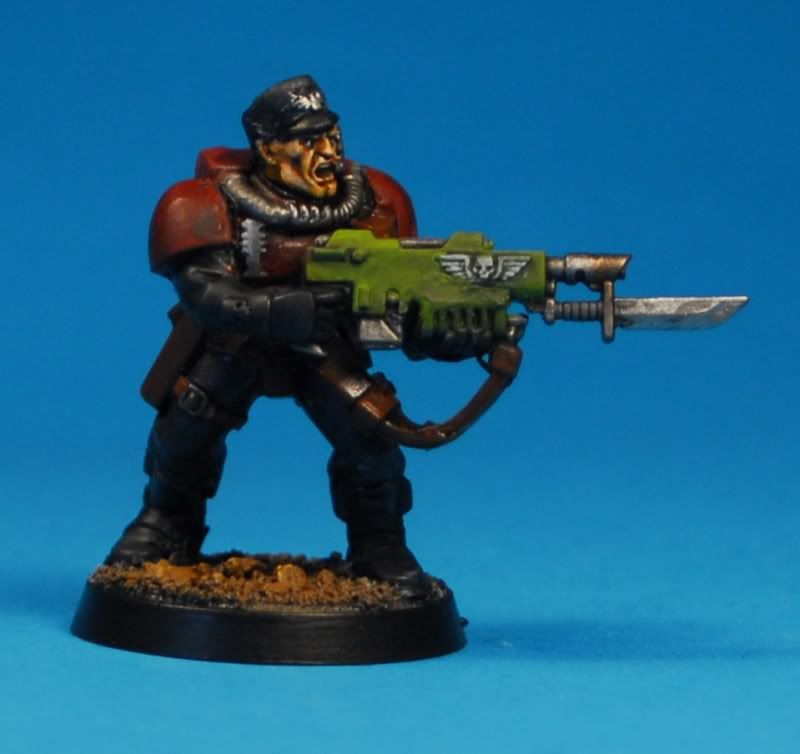
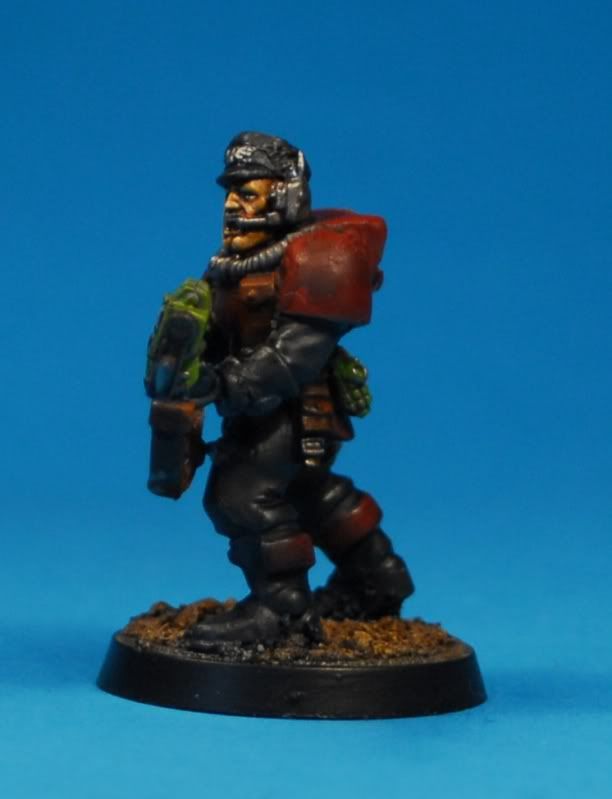
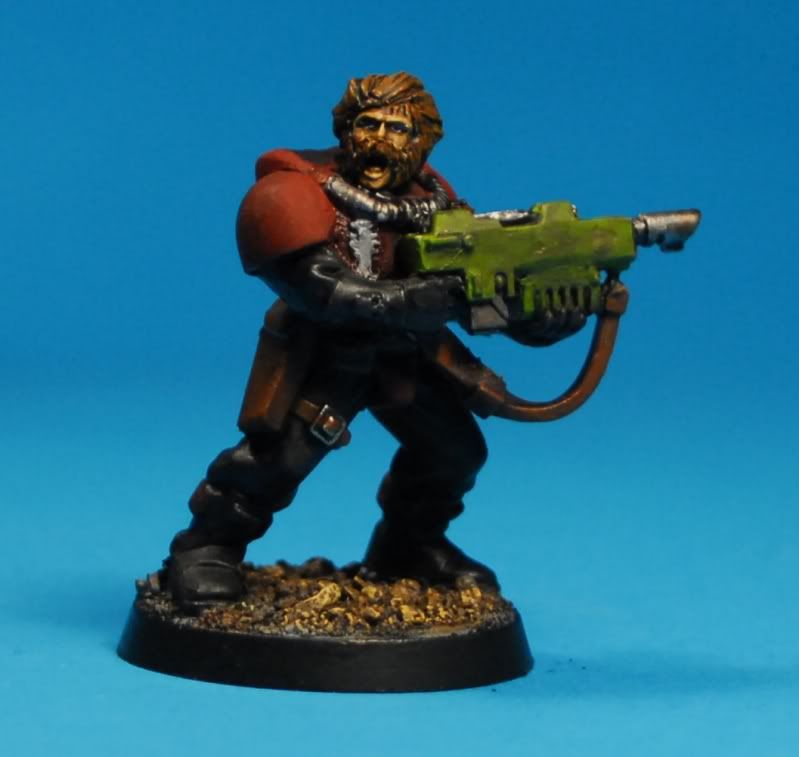
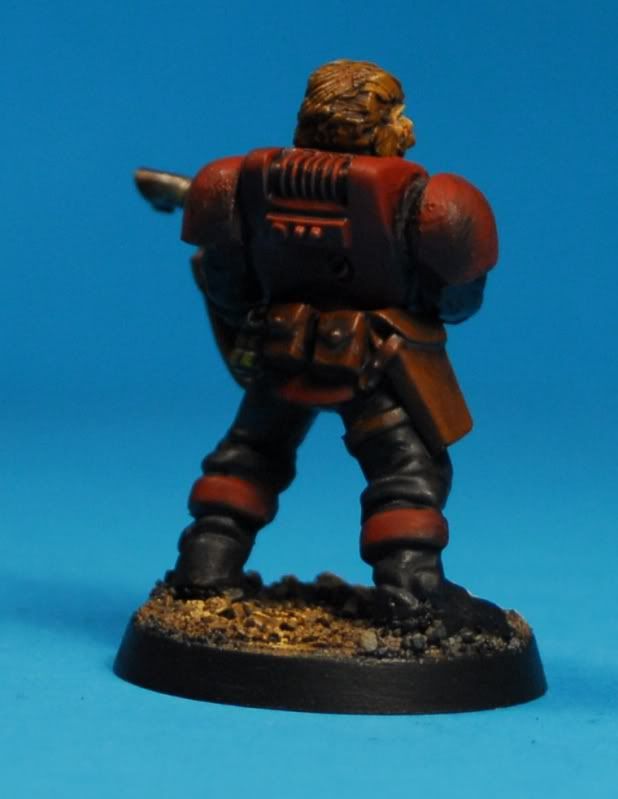
Paint scheme test

Seeing as the last post had no pictures, I thought i'd better do something to redress that, thus, a paint test for the IST's.

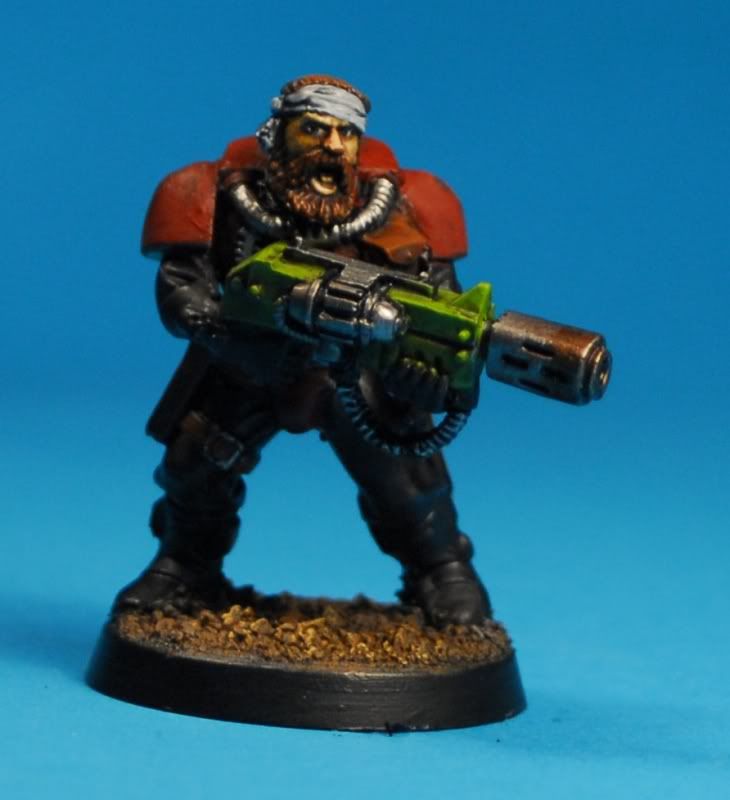
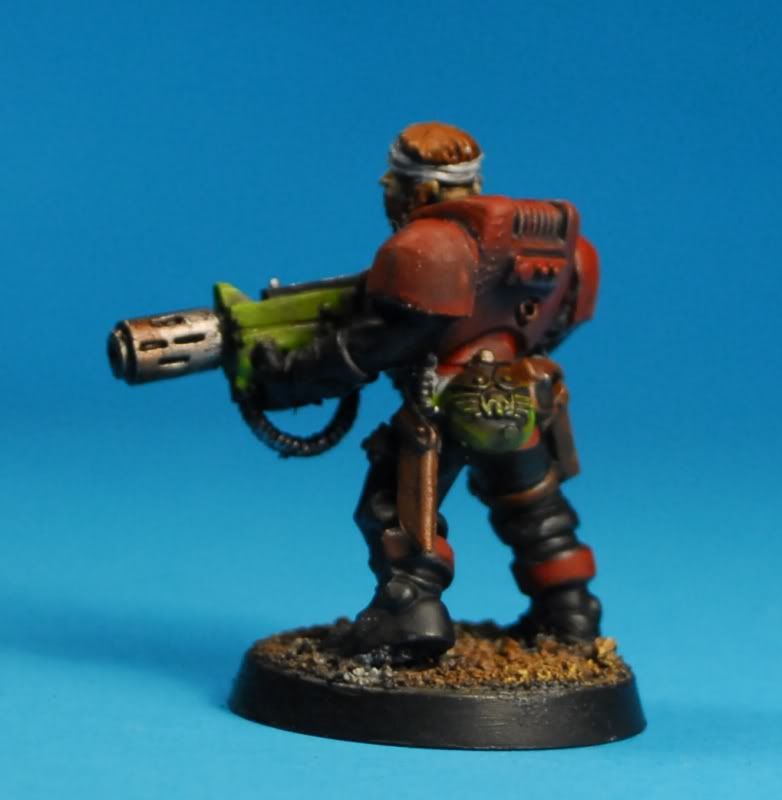
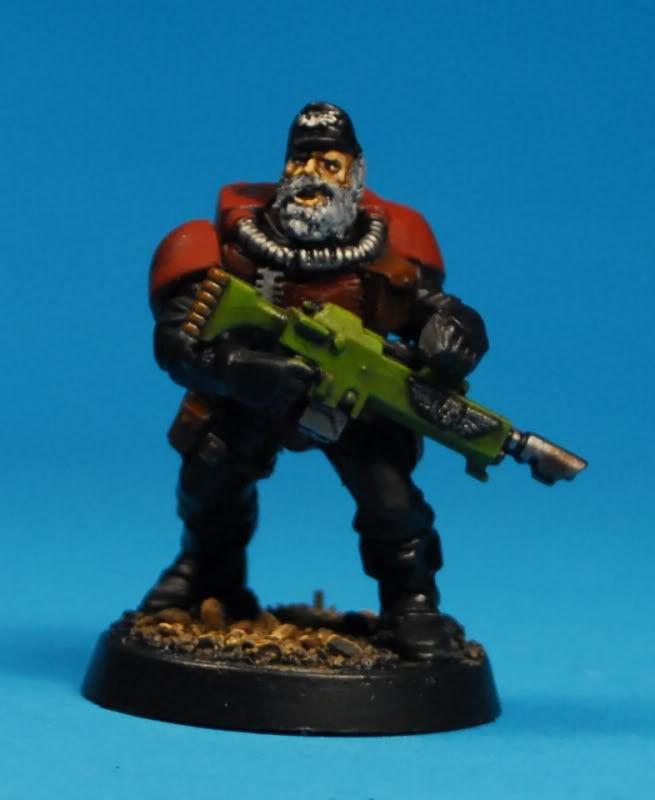
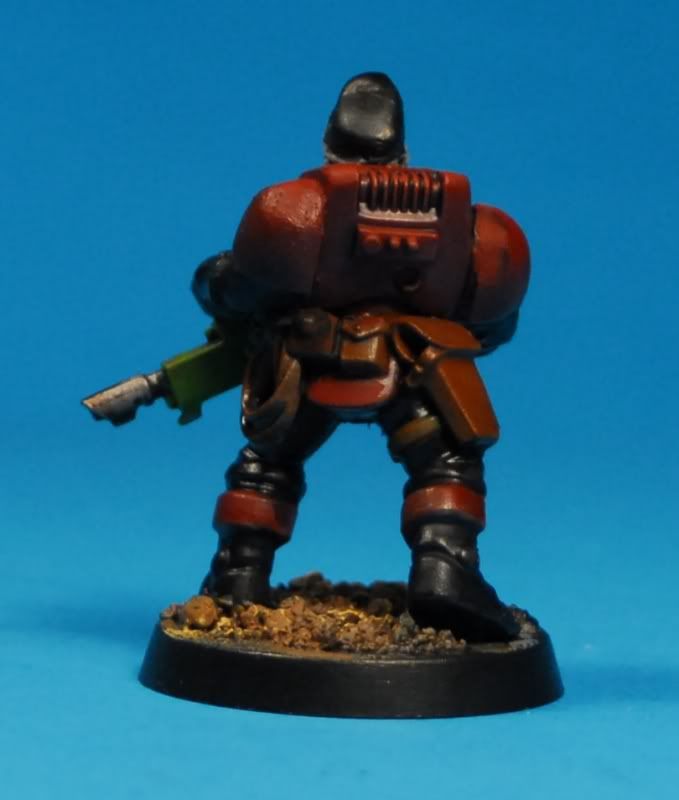
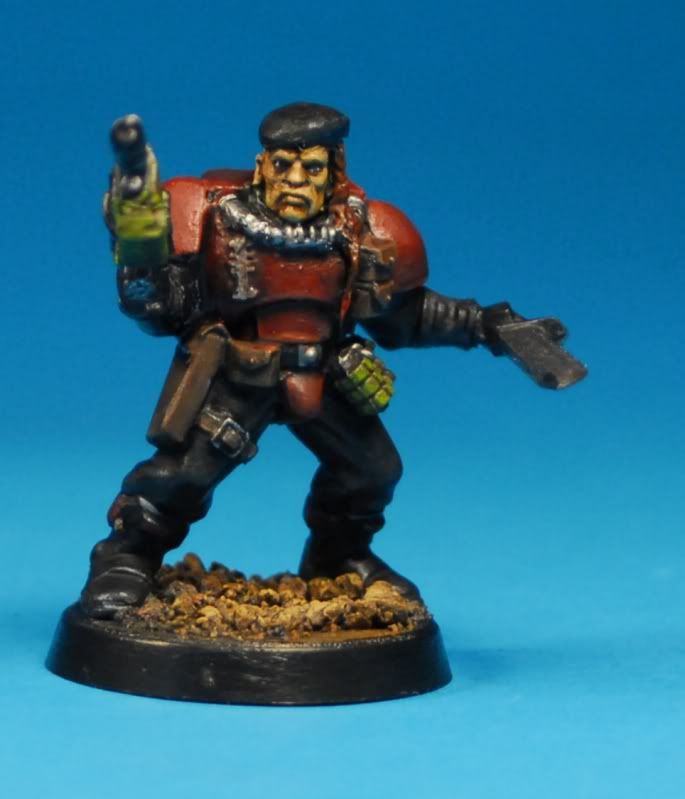
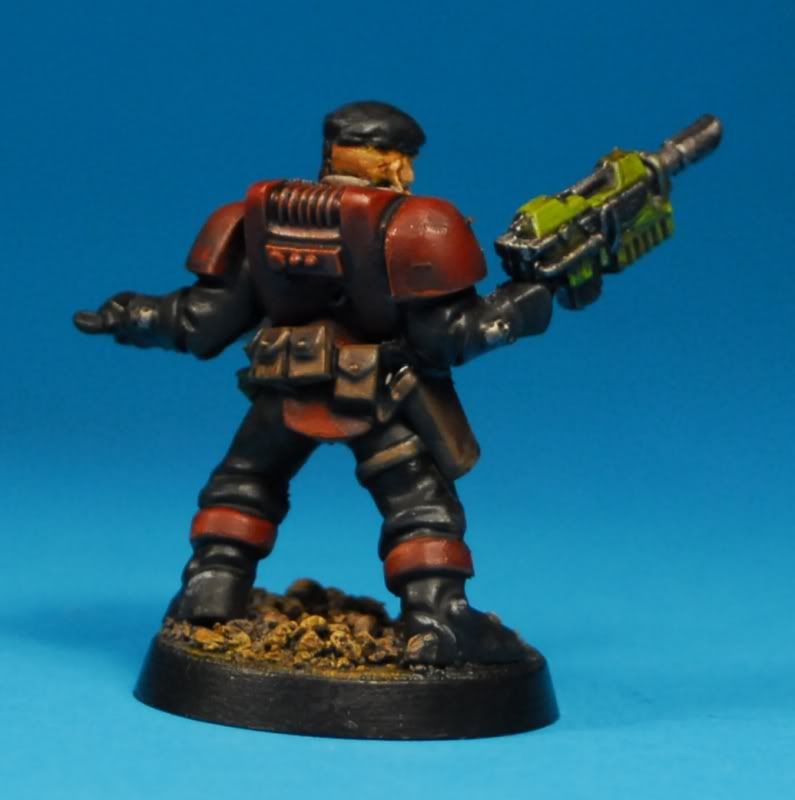
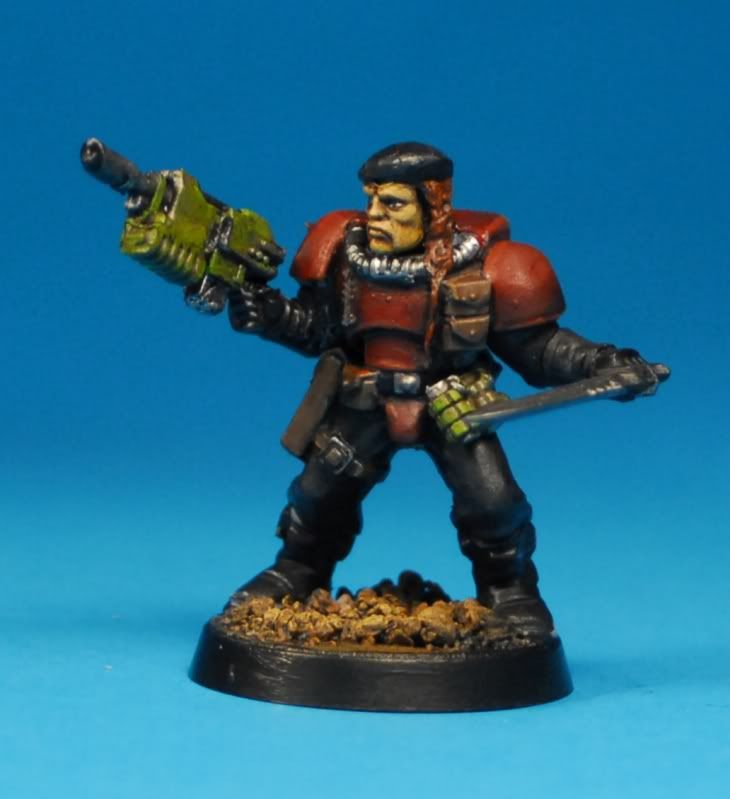
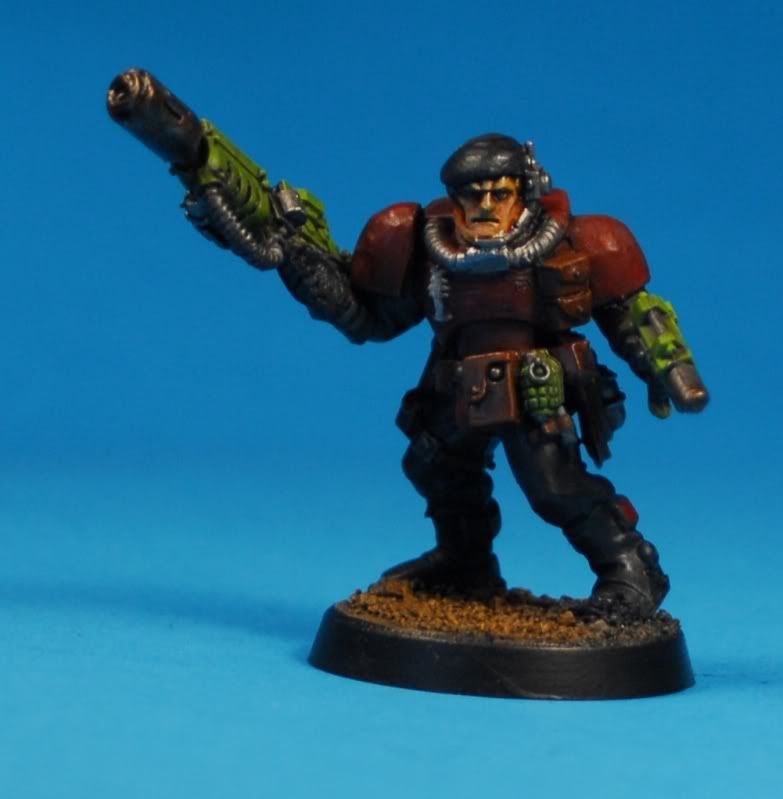
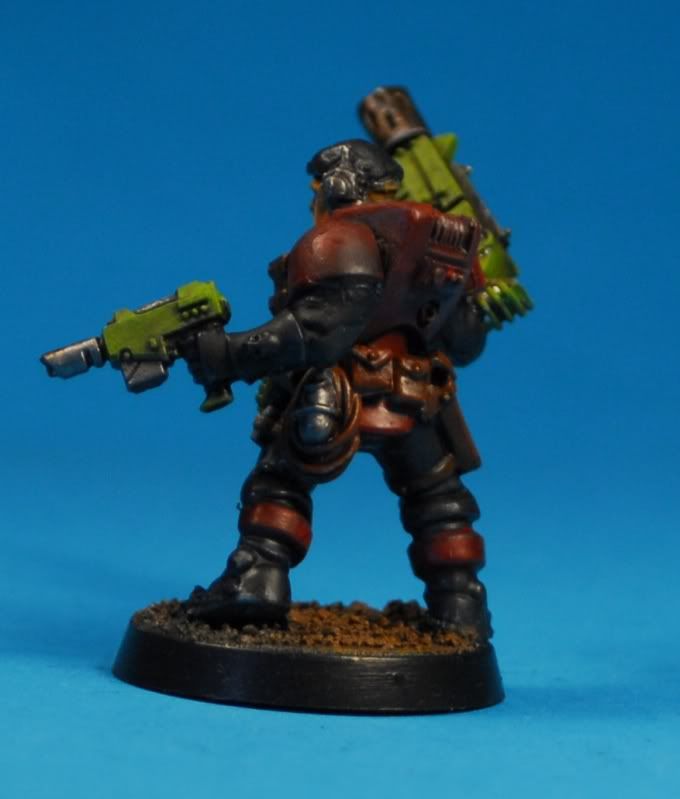
I wanted a scheme that says "black ships" but keeps the gritty feel I'm aiming for with the army, so I went with black and red predominantly with some green accents. technically the scheme is one that's easy to do because i've a fair few of these guys to paint, but it's also a scheme I could spend a lot of time on if I wanted, this guy took about 2 hours, including drying time. If i paint 3-4 at a time that'll be about 2.5-3 hours for 4 guys. I can live with that.

Characters will obviously get more attention that this, but at the end of the day I am going to play with these guys, not display them.

Enough preamble, here he is.

Your thoughts and comments are always welcome.
Related Posts Plugin for WordPress, Blogger...