Google+

Monday 25 March 2013

Hedges

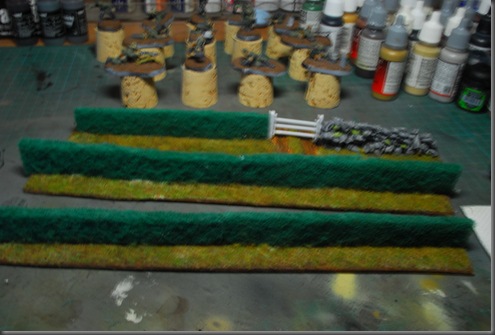
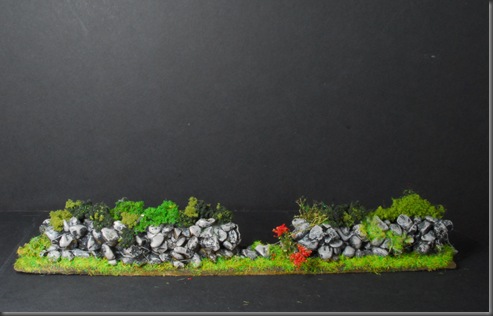
I’ve made two trenches of hedge/bocage style cover for the table, and wanted to share both what and how I’d put them together. be warned though they fall into the “quick and dirty” camp, so might not be for everyone.


DSC_7829

So these were the first hedges I made, allright, but not very inspiring, I thought I could do better. these are a cheap scouring pad, a bit of hardboard for the base, some aquarium gravel and some styrene to build the gate. static grass on the base, flock on the scouring pad, job done.. I photographed the build of the next batch I made, and also made some improvements.

I made them shorter sections for a start..

DSC_7833

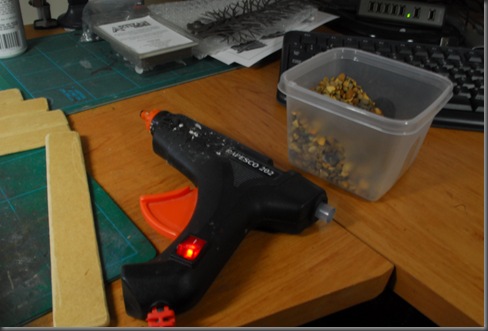
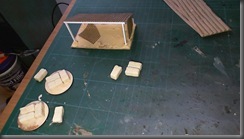
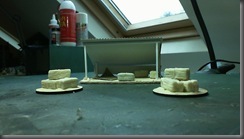
The stone walls are built up with hot glue and aquarium gravel.

DSC_7834

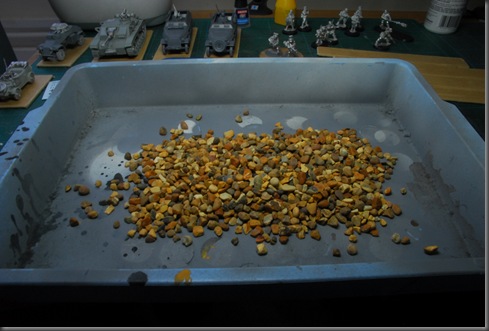
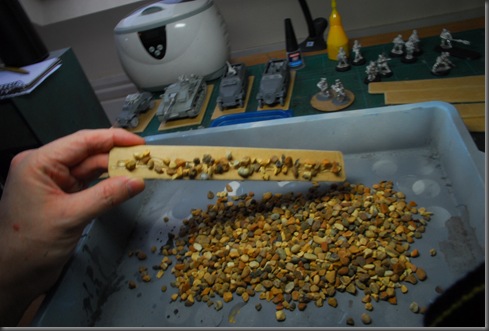
Dump a bunch of the gravel out into a tray or suchlike

DSC_7835

run a bead of hot glue on the board….

DSC_7836

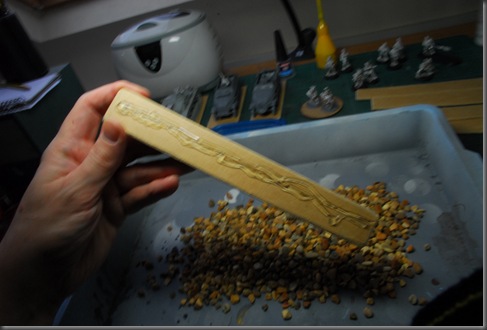
Dunk, and allow a second for the glue to cool and bite…

DSC_7837

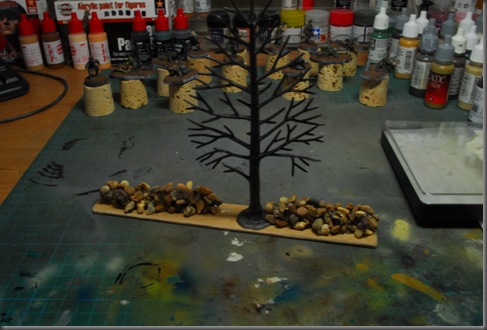
run another bead of glue atop the pile, dunk again.. repeat until desired hieght is reached, then shake off any loose ones…

DSC_7838

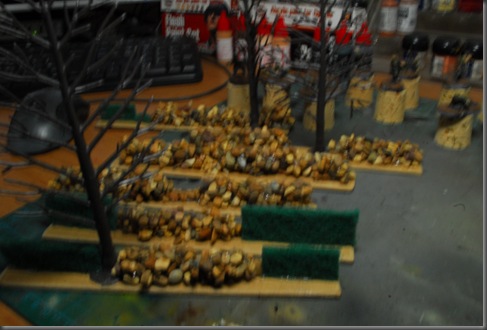
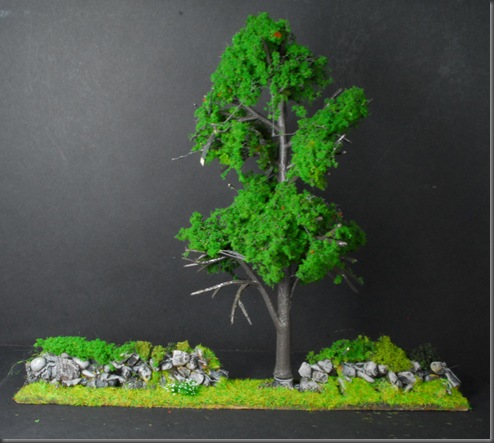
I glues a few tree armatures and scouring pad bushes into some of the sections

DSC_7839

and that’s it, very quick very easy.. paint them, flock them, add clump, bushes etc

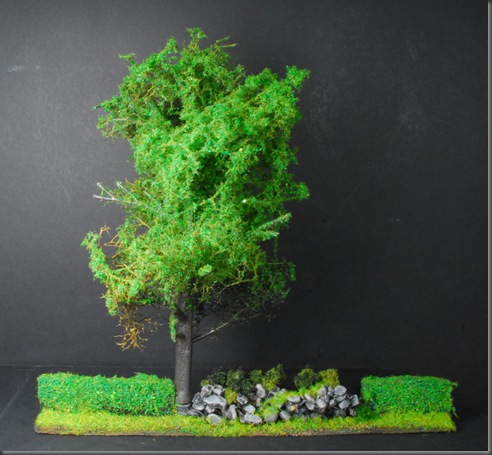
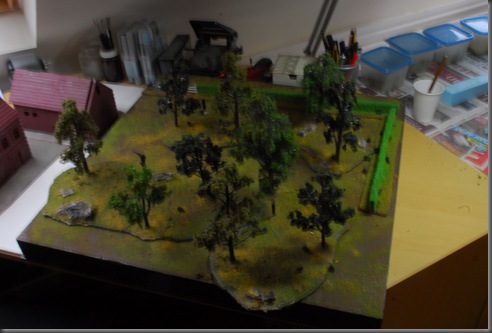
the final product looks like this:

DSC_7952DSC_7954DSC_7955

and yes, regular reader theese are the “new” trees from part 2 of my treesperiments, more on them, next post!

Thanks for reading.. till next time

Monday 18 March 2013

Make hay while the sun shines…

or, well, doesn’t shine..

yeah, so I made hay.

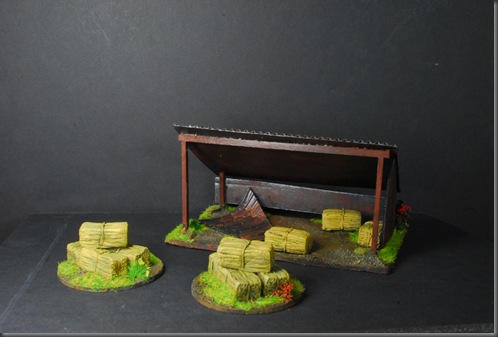
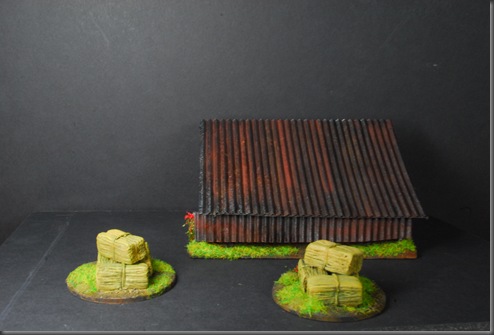
DSC_7948DSC_7949

I’d started to put together this lean-to as part of a set of scenery for the farm I’ve made for WW2 games, and realised I needed some hay bales, but that ideally I needed a few, so in a fit of “just getting on with it” I set to:
2013-02-19 07-58-42.714

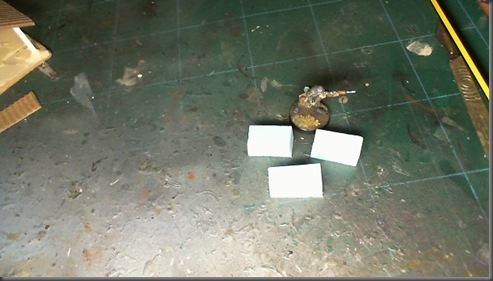
I made a few blocks of blue foam about the right size…
2013-02-19 10-26-46.2562013-02-19 10-26-49.740

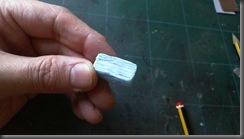
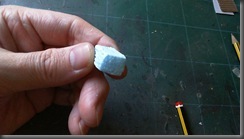
sculpted in some rough detail, pricking the end with a needle and scoring the sides and top..

2013-02-19 10-50-57.961

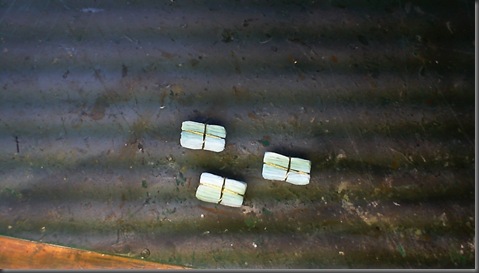
I then tied them up with picture hanging wire as you might find in a certain sweedish furniture shop..

2013-02-19 10-55-27.999

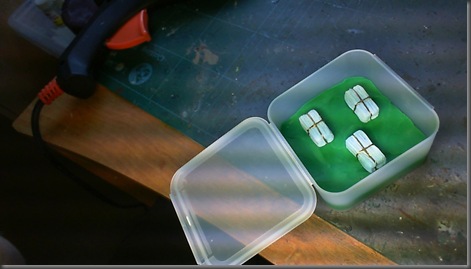
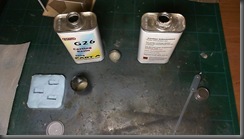
then I grabbed an old greenstuff box and some plasticene, and set them atop it..

2013-02-19 11-03-20.084

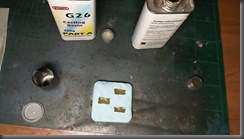
mixed up and poured some silicone rubber..

2013-02-20 06-33-32.5812013-02-20 06-37-02.427

after 24 hours curing, I de-molded them and cleaned up the molds.

2013-02-20 06-40-48.6842013-02-20 06-43-27.614

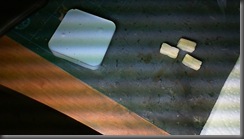
mixed up and poured some resin..

2013-02-20 07-15-00.4002013-02-20 07-58-31.280

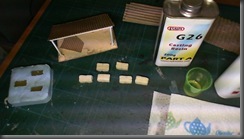
this sets up in about thirty minutes so I was able to repeat this several times fairly quickly

2013-02-20 09-11-44.8502013-02-20 09-36-59.844

and dress my lean to, as well as making a few freestanding piles of hay bales.


now I know they look a bit rough, but this was all done and painted in a few hours effort, so I’m not complaining Smile

Friday 15 March 2013

German Tank crews

Operation squad rules (and I’m sure many others) call for a de-meched tank crew to be feildable.

DSC_7981

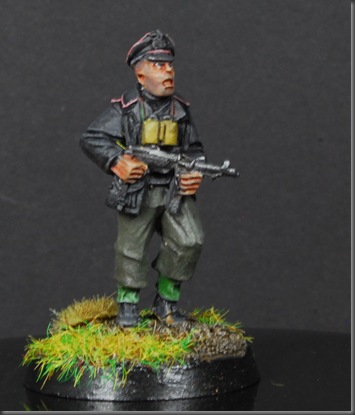
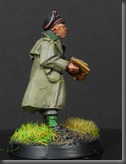
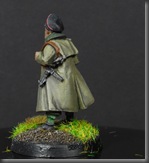
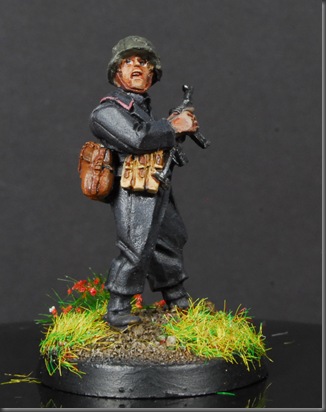
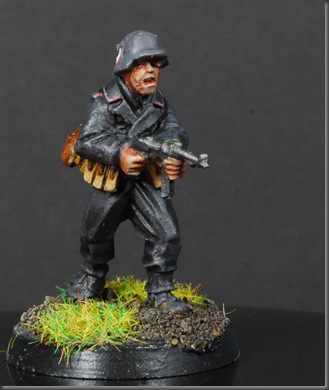
For some units, such as Hanomag and Kubelwagen this is easy, as these were crewed by regular soldat.. but for tanks and other AFV’s it’s more of a challenge, because there are very few models out there that represent German tank crews, the iconic Panzer wrap around blouse, is hard to come by, particularly in Op Squad compatible rules, as the ruleset allows each crewman to be armed with an MP40, wheras most models have at best pistols.

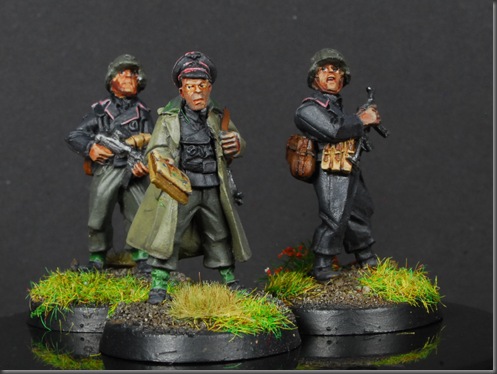
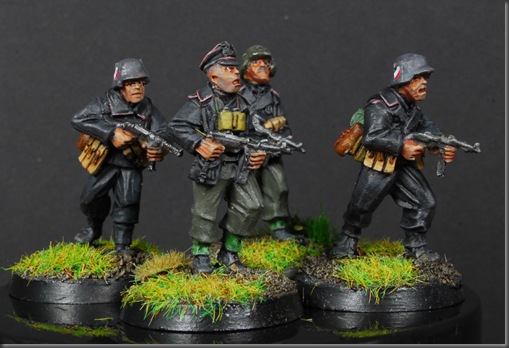
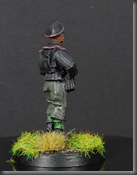
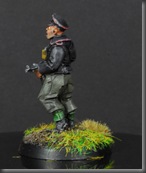
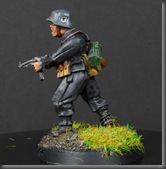
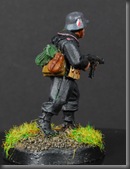
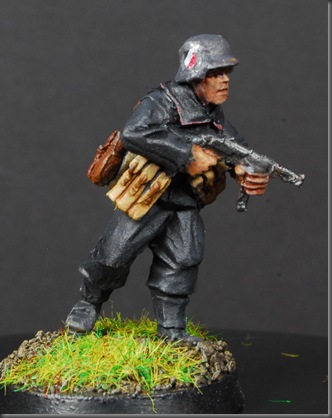
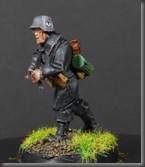
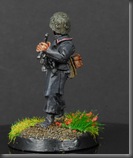
The solution? artizan designs Panzer Lehr. not ideal as the gear is a bit over the top for a tank crew, but they have both the blouse and MP40, so I call that good enough..

DSC_7982

Some of the facial sculpts are a wee bit goofy, but the posing and attention to detail on the gear is awesome (and it might be my paint amplifying the goof here Winking smile )

anyway, on to the single shots..

DSC_7983

DSC_7984DSC_7985

This guy will be one of the vehicle commanders, probably the Stug

DSC_7986

DSC_7987DSC_7988

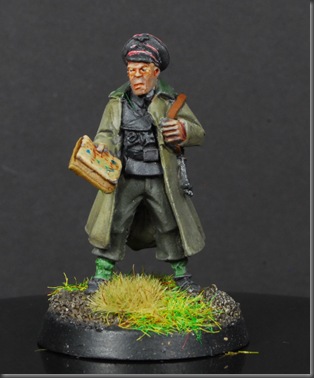
This guy is in charge in the armoured car.. I love the coat.. I very nearly painted it black, but a wee bit of googling showed me a real coat, and the colours were too cool not to try and replicate..

DSC_7989

DSC_7990DSC_7991


DSC_7992

DSC_7993DSC_7994


DSC_7995

DSC_7996

Hope there was something to interest here. I’ll be back shortly, most probably with more Germans.. or Americans.. or maybe I’ll finally get back to some 40k.. hm, really should write an apology to my regular readers about this lengthy diversion from the usual Smile

Monday 11 March 2013

Treesperiments–part 2!

So as the previous treesperiment post suggests, I wasn’t totally happy with the results..
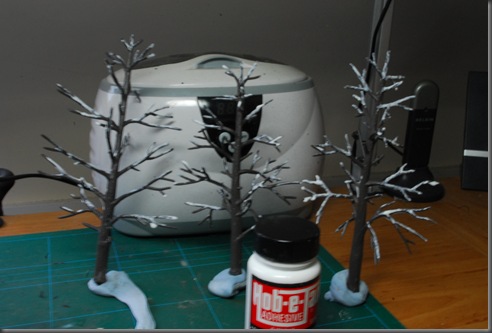
DSC_7832
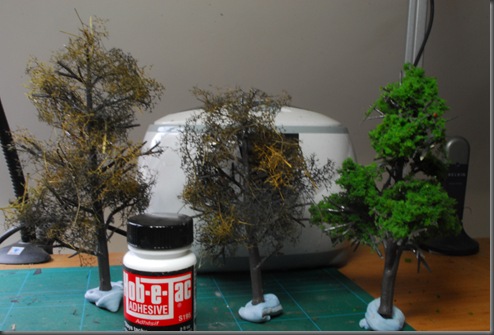
The one’s I thought looked the best were the “fine leaf foliage”, and as I said in the previous post, it looked like seamoss, painted and flocked.. soo…

DSC_7924
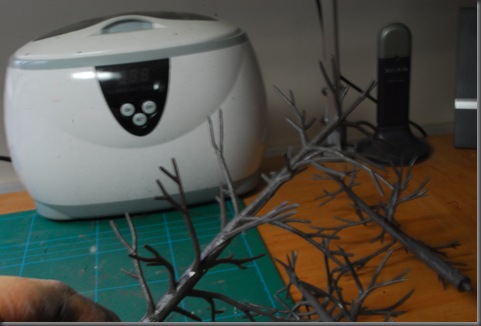
I had a few armatures left over…

DSC_7927
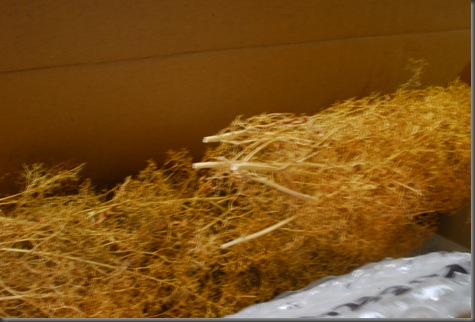
And a box of seamoss…

DSC_7931
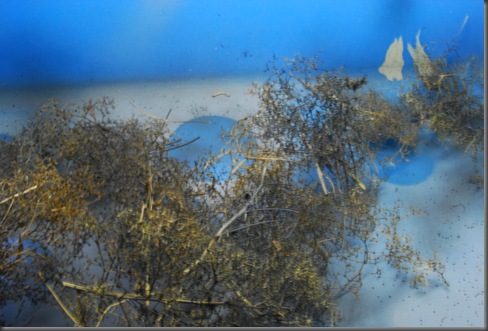
I sprayed some dark grey primer on the seamoss. I used my airbrush but an aerosol would be fine too..

DSC_7933
Glued up some armatues…

DSC_7935
And went to town.. this is three armatures, one with “fine leaf foliage” from woodland scenics, and two with sprayed seamoss. sure there’s no comparison right now, but that seamoss isn't flocked yet..

DSC_7936
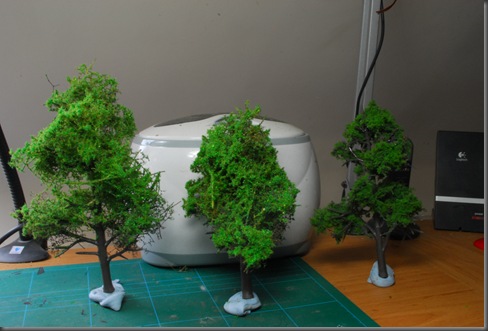
And it just so happens I have some pretty decent leafy noch foliage I’ve been using for bushes…
I’m quite happy with this final form of tree, and will be getting hold of some more colours of the nock foliage for future trees..


I hope these two articles have been of use, and that we can all look forward to better trees in our future!
Related Posts Plugin for WordPress, Blogger...