
You asked for a building tutorial, you get one!
These structures I’ve been making for Mordhiem have essentially four main materials (five if you count the bases) and only a few simple construction techniques, I’ll try to talk you through how I make them, working from notes and photos of a few different structures to cover all the construction techniques.
Materials-
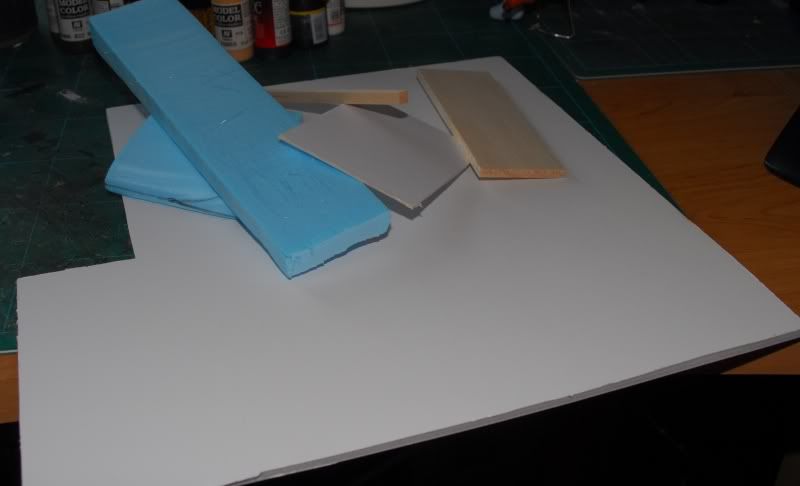
Foam core - I use white 5mm, but colour isn’t important as I’ll be painting these and 3mm would do just as well.
Styrofoam – this “blue foam” in my case, though pink would be fine, polystyrene might look okay but I find it too rough.
Thin card – from a cereal packet or GW box
Balsa wood – I picked up a bag of random bits of different thicknesses and lengths from a hobby shop for a few quid and it has been fantastic.
For the base – 3mm MDF
Tools-
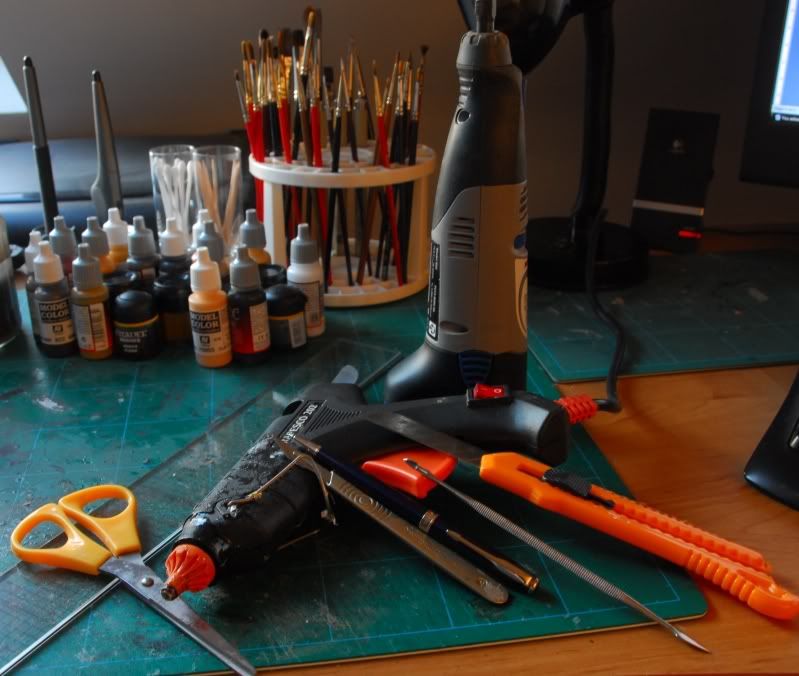
Sharp knife
Glue gun
Dremmel
Scissors
Ruler
Biro
Blunt knife or sculpting tool
I’m sure you could do without a Dremmel, with a wood carver or even a sharp knife, But I have one and it makes life easier
Let’s start with the inn, this won’t have any “stone” sections, and is therefore very easy to build.
Okay so first things first,
The Base
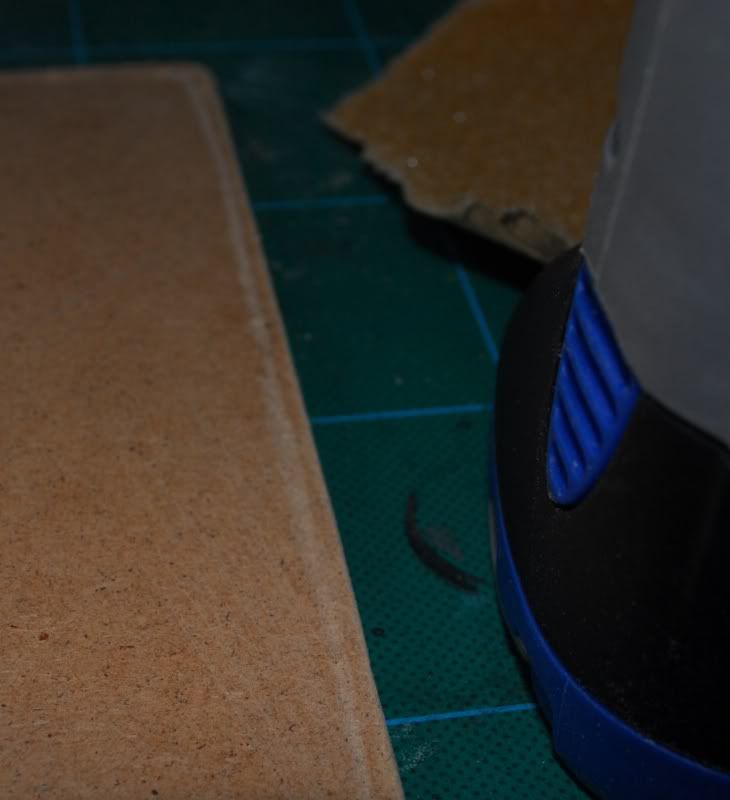
I take a piece of 3mm MDF cut the size I want for the building I have in mind, this is a larger piece that will be the front of a ruined Inn, I need a 3 storey building and this is it.
First thing to do is sand any rough bits from the sawing.
Oh yeah, you should always wear one of these when working with MDF. If not always, then at least when sanding and sawing. That dust isn’t good for you.

Okay so we’re all sanded and ready to go. The first thing I do is use a tool like this –
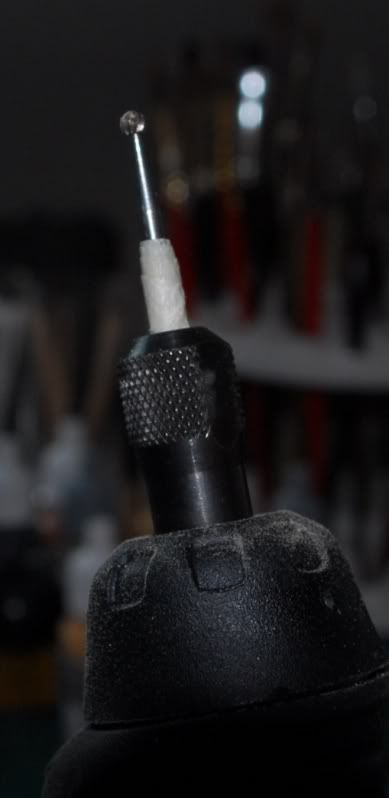
To etch in the flagstone markings, including a “kerb” of sorts. This means (hopefully) that painted up the bases will look like flagstone “islands” and my sand and masonry paint boards will look like road.
Here’s hoping anyway.
So, etch in a kerb all round
Then etch in lots of random flagstones. I suppose you could me more regular, but I like the random look. Plus it’s quicker
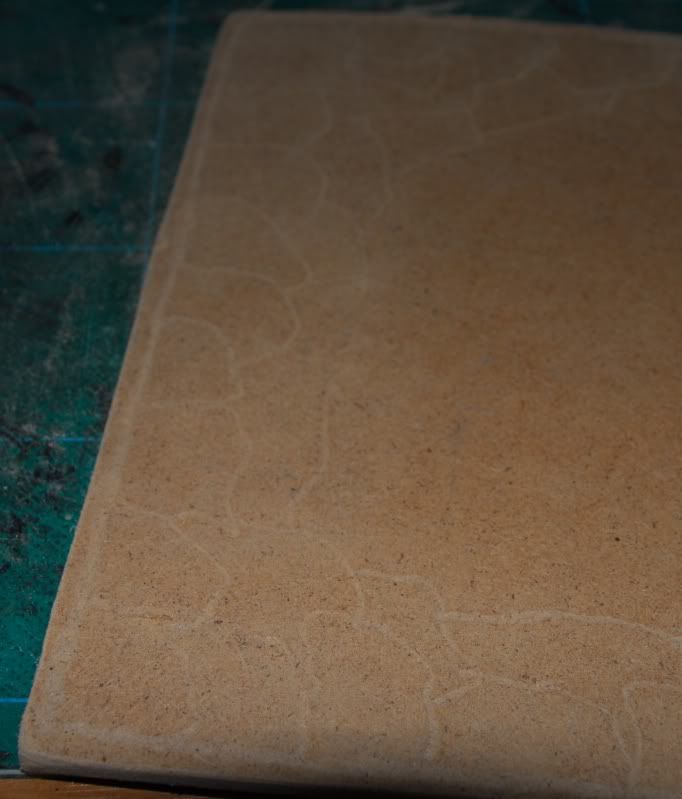
No need to do the middle there’s going to be a building there.
The floor
Now this structure is going to get a nice tiled floor, so I need to grab and grid up (about 1.5 cm square) some thin card, from say a cereal packet or Warhammer box.
That’ll do,
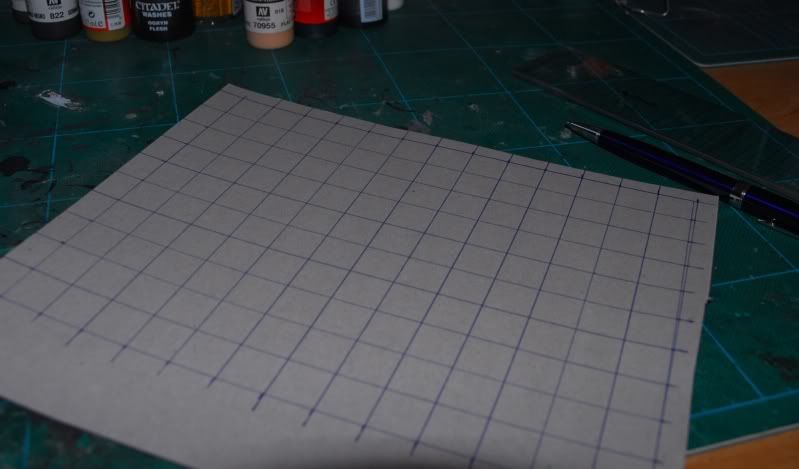
Once gridded up, cut those out however you please, scalpel, scissors, rotary trimmer, whatever. I use a scalpel or scissors depending on my mood. This bit requires patience. and produces...

A pile of card!
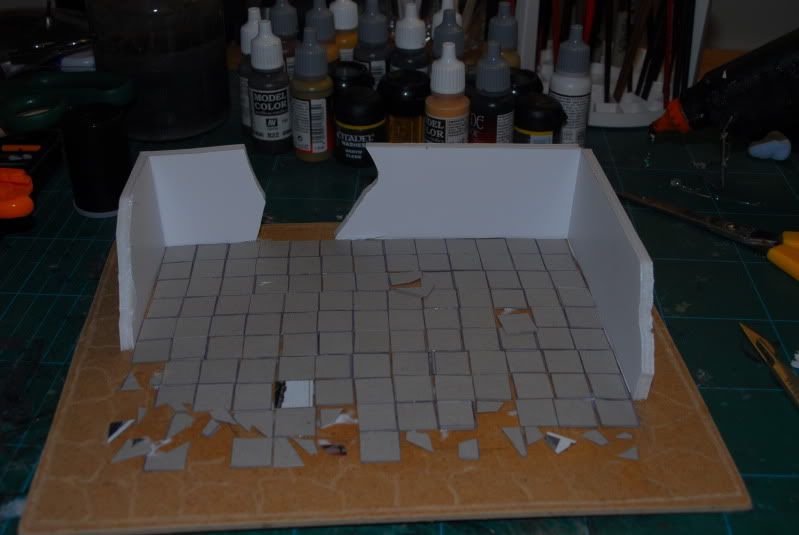
Make a square mark on the board and paste up to grid in the tiles.

Every now and then, leave a gap where you’ll put a damaged one.
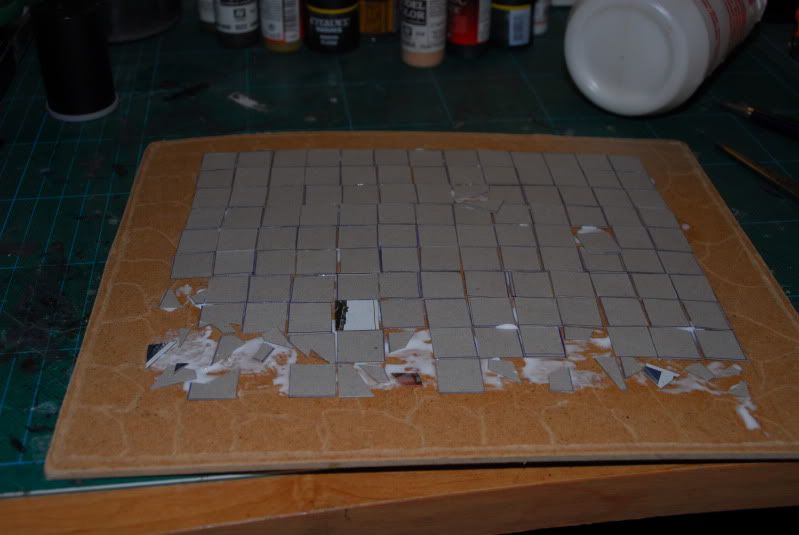
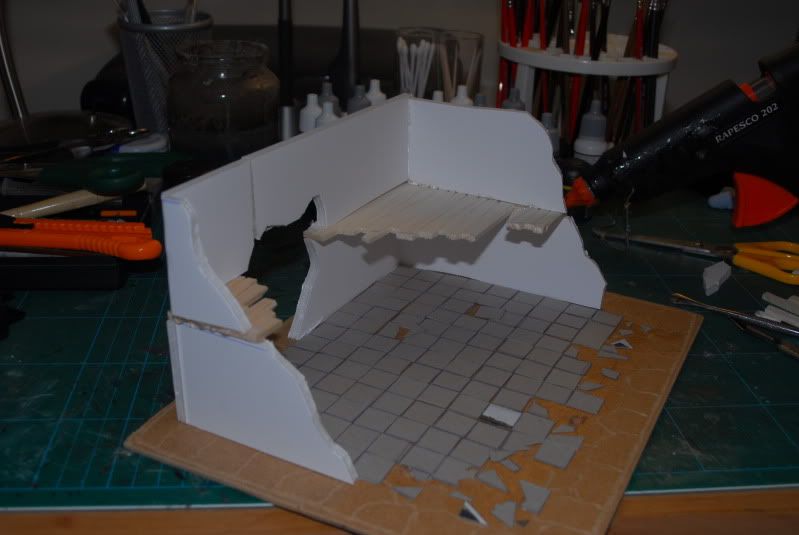
Once you’ve got the floor mostly marked out and tiled, choose areas of damage and cut tiles up smaller still to place as broken tiles, overlap 1 or two and generally let loose to make the place look, well, ruined
Timber frame walls
Next step is the first floor walls. As a rough guide I allow 2 inches per level, or 5 cm, it’s easier to work in neat numbers and it’s not hugely important, but 1” or 2.5 cm would be bad.
Now you just measure and cut your walls.
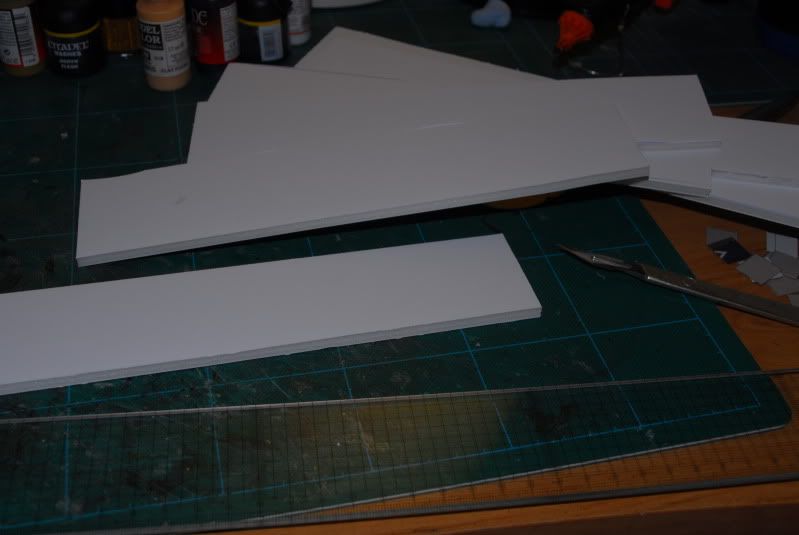
You can either measure and cut straight sections and glue them together at the corners or you can measure the whole distance and use a hinged piece of foam, I’ll show you both –
Hinged
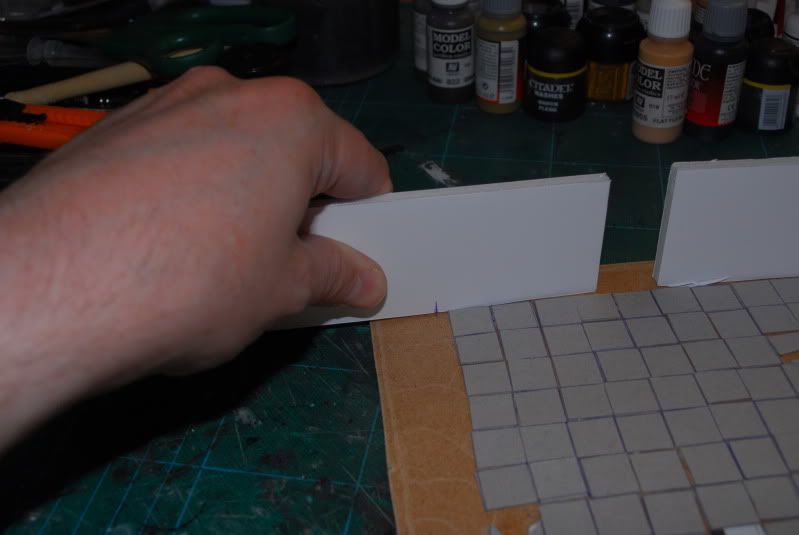
Measure where the corner should be.

Mark it, and cut it, but only cut through 1 layer of paper and the foam, thus and you have a corner done, don’t worry about the outside we’ll cover that later. Now windows and doors are your choice, you can cut them now, or later, I prefer to use a sharp knife and do them later, but then I don’t plan anything. If I did I’d already know where the windows were going and could cut them, but I don’t, I’ll decide in a bit
This stuff is best glued with the glue gun, mainly for speed of working and strength of bond, in a pinch pva would do, but you’d need more patience than I have
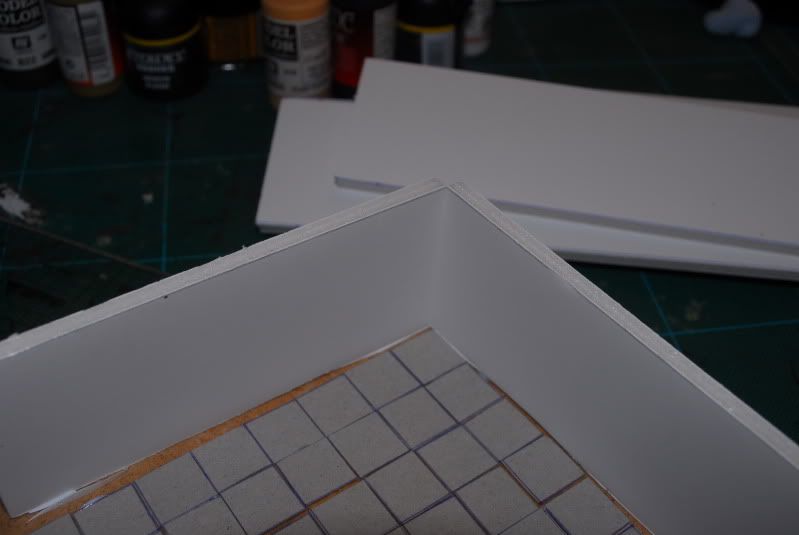
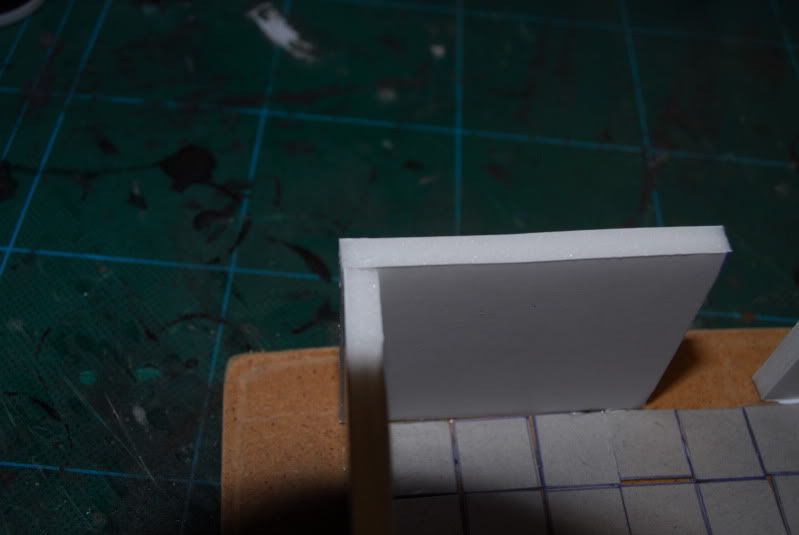
Straight sections
Measuring is more important here, as you need to allow for the 3mm thickness of the abutting piece. Once cut, simply glue in place, these corners look slightly better, and can be finished just with a payer of textured paint or filler.
Damage.
This couldn’t be easier, simply lay into the pieces with your scalpel, just watch your fingers!
Adding a second floor.
You’ve a wide choice of materials for this, I usually prefer balsa or ply as the wood texture is already there, but you can use thick card – or even more foam core or mdf.
I’m going to use balsa for this building though.
Text fit and cut a piece of balsa to the size of floor area you are going to need, and having decide on the areas to be removed by damage it’s time to detail this up,
First score into the balsa lightly the pattern of floor planks, thus –
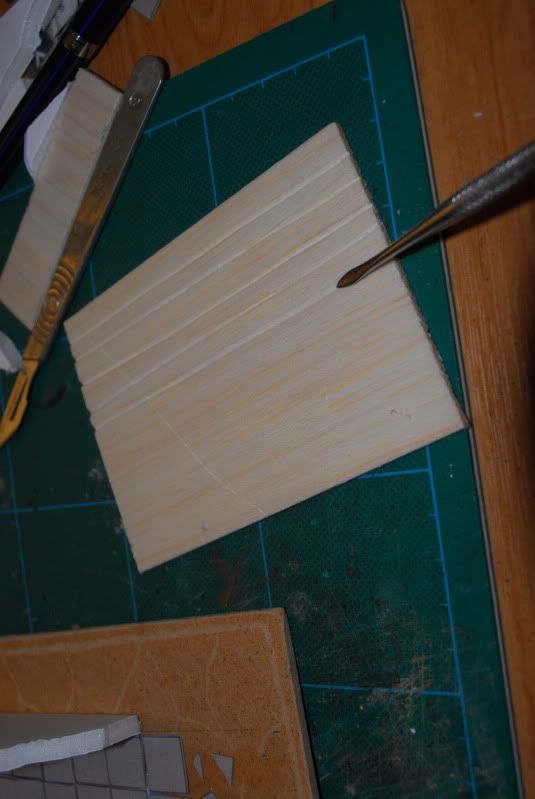
Be sure to go with the grain of the wood, not against it.
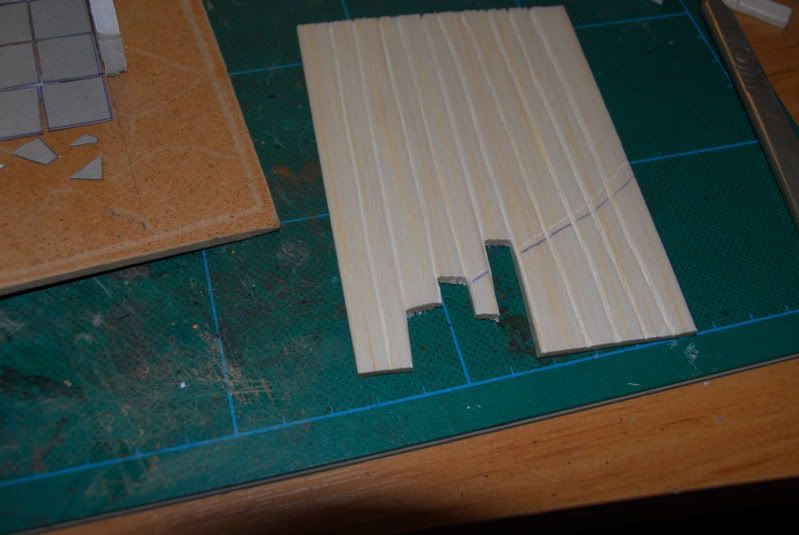
With your scalpel you can now remove the excess damaged areas in line with breaks in the floorboards, making it look more natural.
Then glue in place.
And simply repeat the above steps to add another storey.
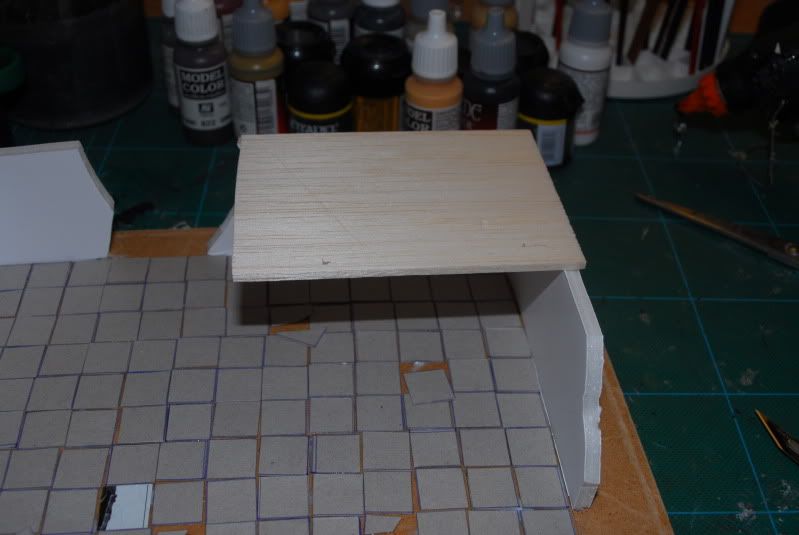
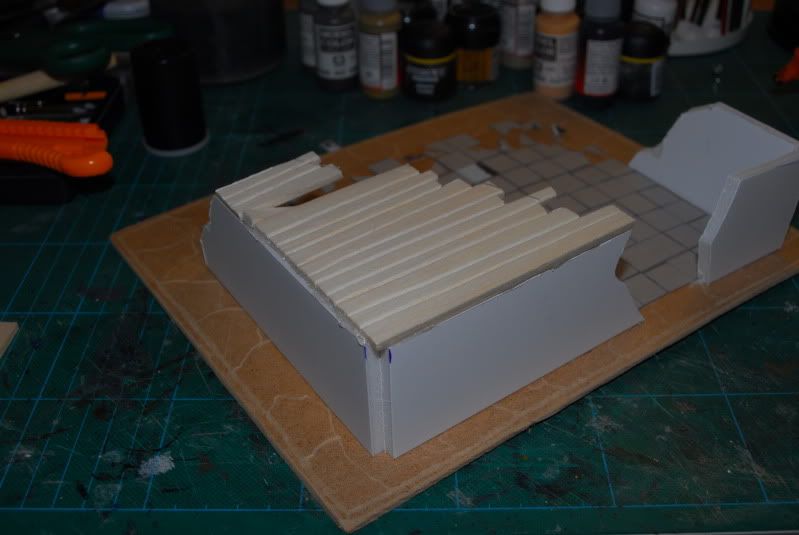
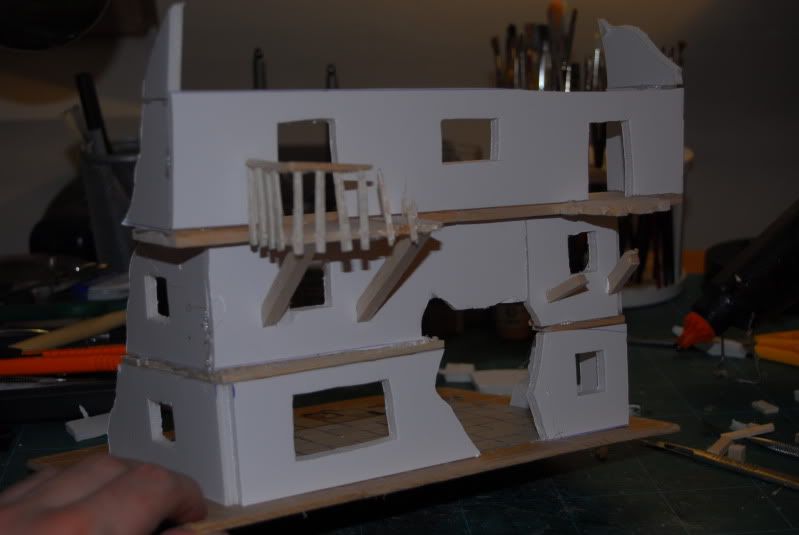
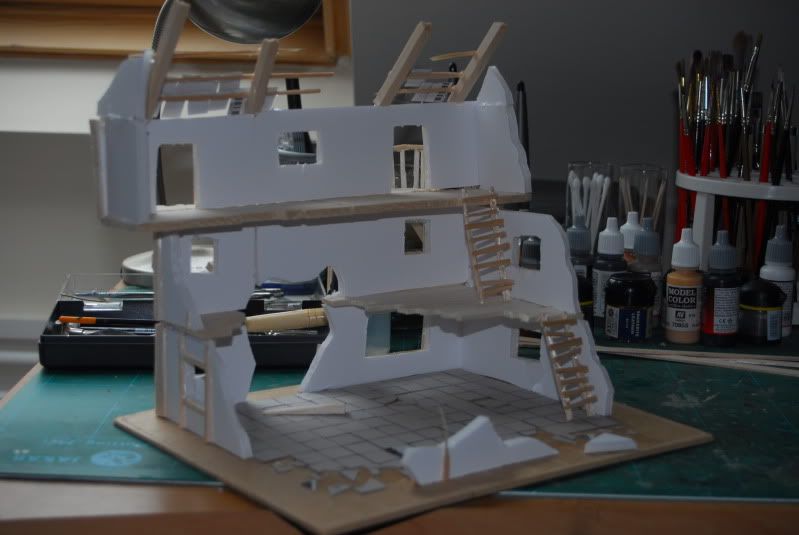
For the third floor I want to ape the medieval trademark of “getting more floor space upstairs” by having the floor larger than the one below it.

That’s as simple as leaving excess on the floor overhanging all round.
Last major structural additions are the suggestions that once, there was a roof, just a couple of triangular sections for now, and later we’ll add roof timbers.
Once that’s done we get to one of my favourite bits, the game I call – “where the hell do I put the windows”
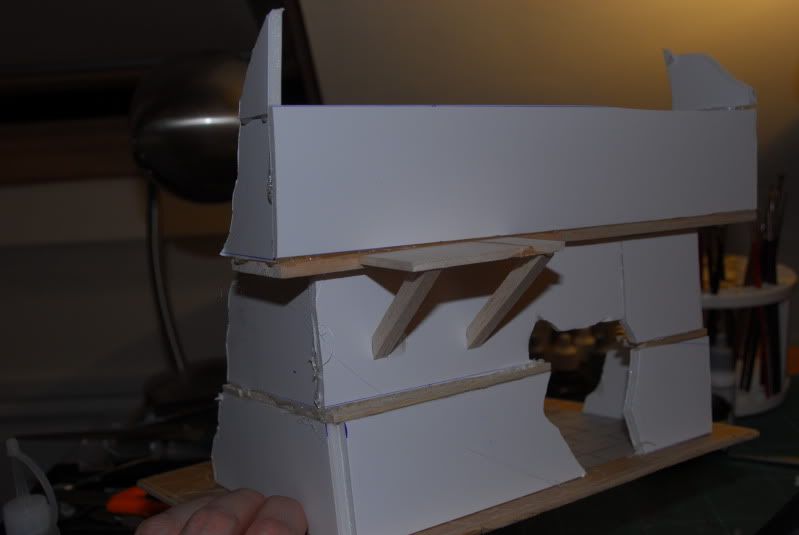
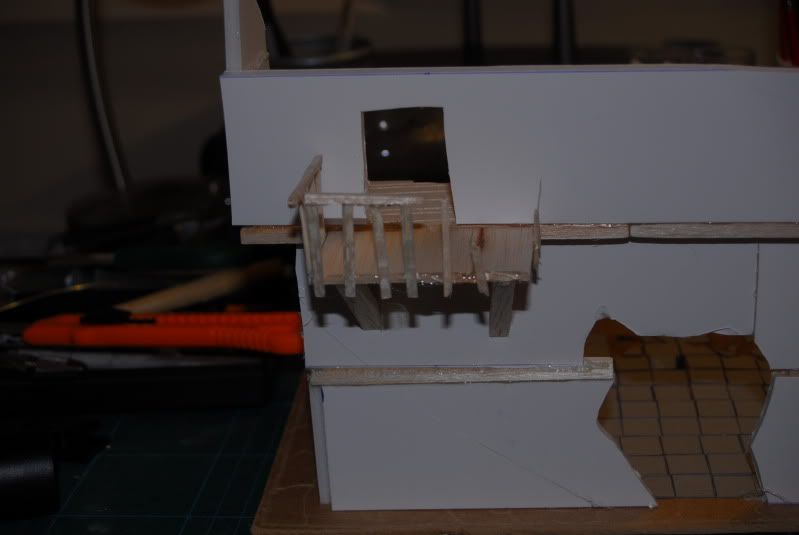
It’s about a mix of where they would really be and where you’ll get good firing points, I’m going to mix it up and add an upper floor balcony.
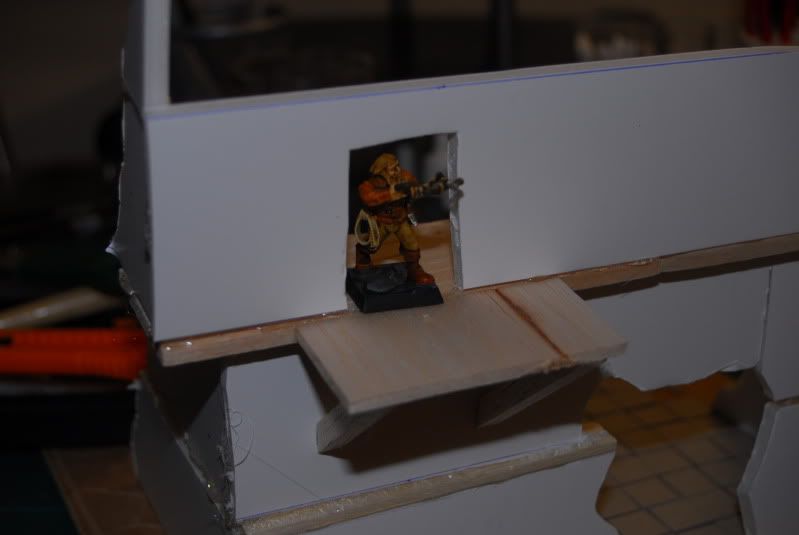
Glue on the floor piece, add a couple of support timbers and scalpel out access and kaboom, one balcony, just waiting for rails. I like to keep a few figs handy to test fit sizes, as once I’m at this stage I tend to stop measuring and do things by eye, it makes for a shabbier building, but hey, this is Mordhiem.
On top of the windows I thought at one point there might have been another balcony,
Adding detail
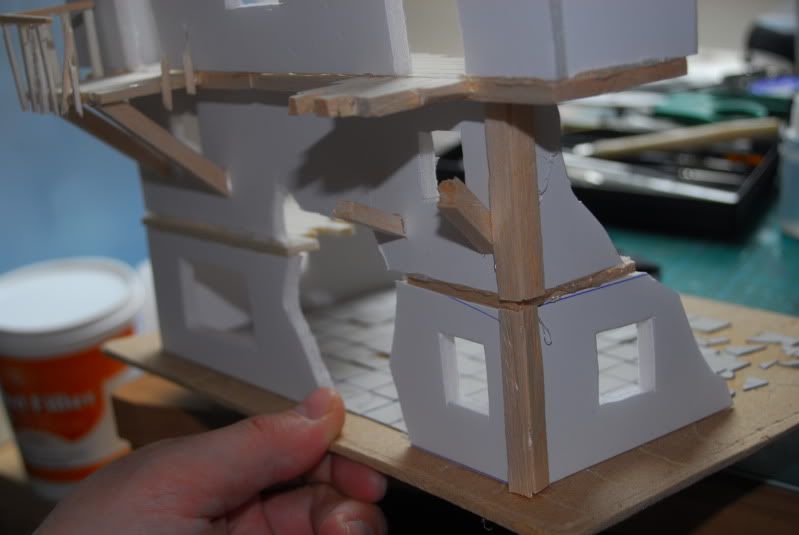
That’s pretty much the structural stuff done, now to get busy adding detailing timbers, oh and roof timbers.
Detailing pretty much consists of uprights, lintels and braces, Let’s put in some bottom floor uprights first. This is also where we get to hide the exposed foam at the corners.
Then we frame the windows with shaved down strips of balsa, adding lintels and any other support strips if there's too large an expanse of wall.

Adding roof timbers is a matter of gluing balsa beams into place, and strewing tile supports in place
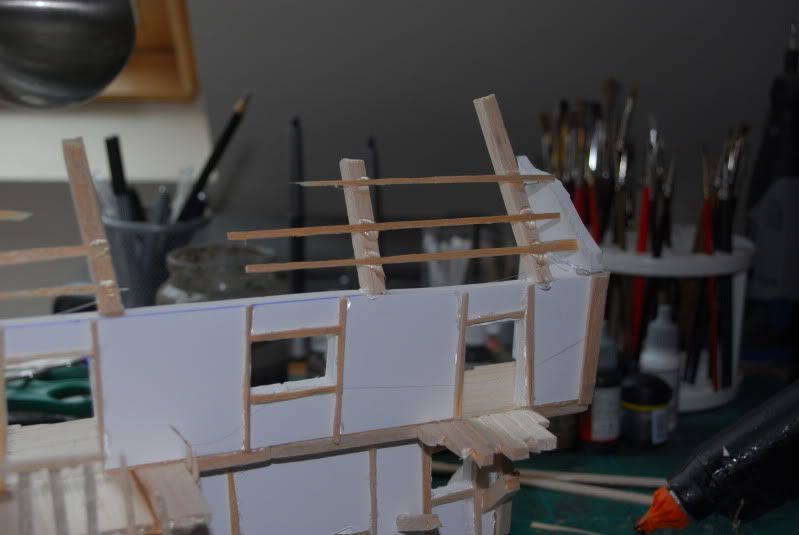
In this pic you can see I’ve added a few thin card tiles and a ladder or two for access, I’ve also added a small additional section of wall, just to finish the structure off
Later I’ll use filler to dirty up the floor and tie the building into the ground better, I’ll also add internal details like pictures, wallpaper and broken furniture. But for now this piece is playable, so I’m moving on.
Stone work-
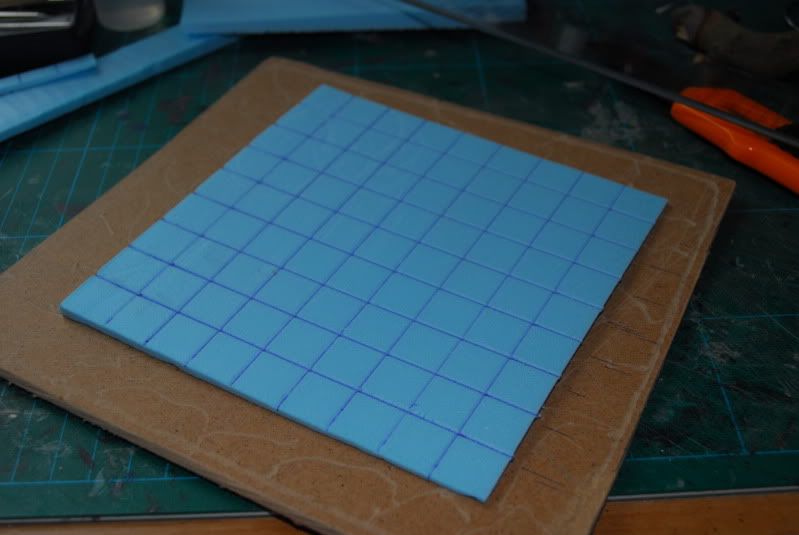
The next two structures will allow me to show you a couple of ways I imitate stone, firstly an alternative way to tile floors, this makes for thicker floors which are suggestive of thick stone slabs.
Simply cut the section to the size of the floor and grid up with a biro, pressing hard enough to scribe a deep line. The resulting grid, when painted will look like a tiled floor. You can even create depressions for worn areas, and use a scalpel to extract broken or missing tiles.
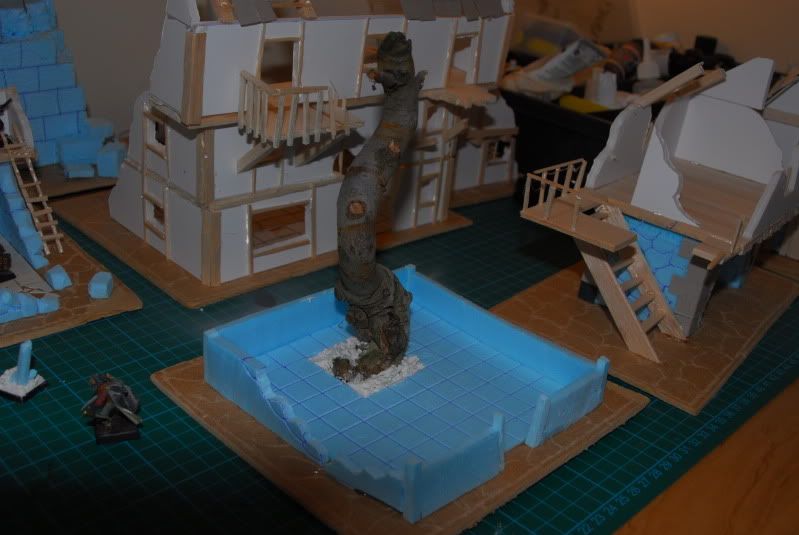
Here’s the piece just needing detailing and paint. I’ll add a lot of GS bits of paper nailed to this message tree.
Walls and cornerstones
I use blue foam for stonework, why will become apparent, for now lets talk about cornerstones (this can also be used for stone lintels and keystones on bridges etc)
First cut the Cut blue foam to shape, then cut a card strip wide enough to form a cornerstone, and as long at the height of the wall section. Take your scalpel and score 2/3 across, to form a bend. then cut the wall high, scored strip into sections about the height of a cornerstone.
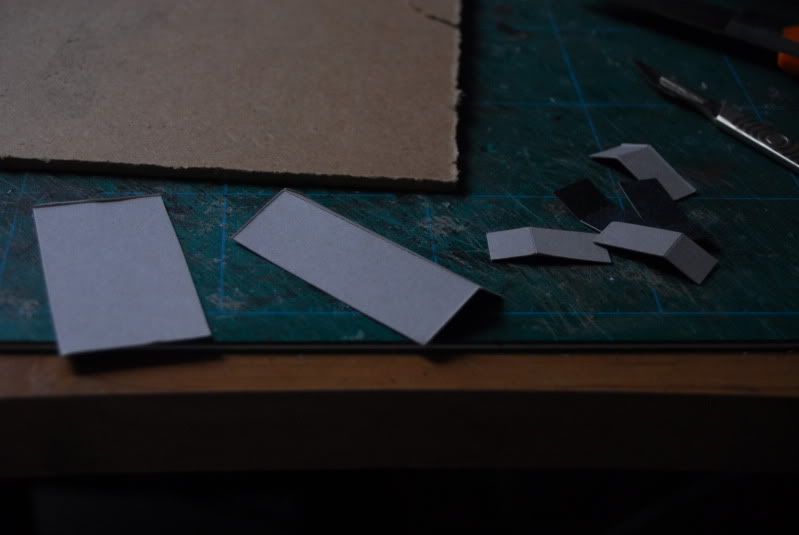
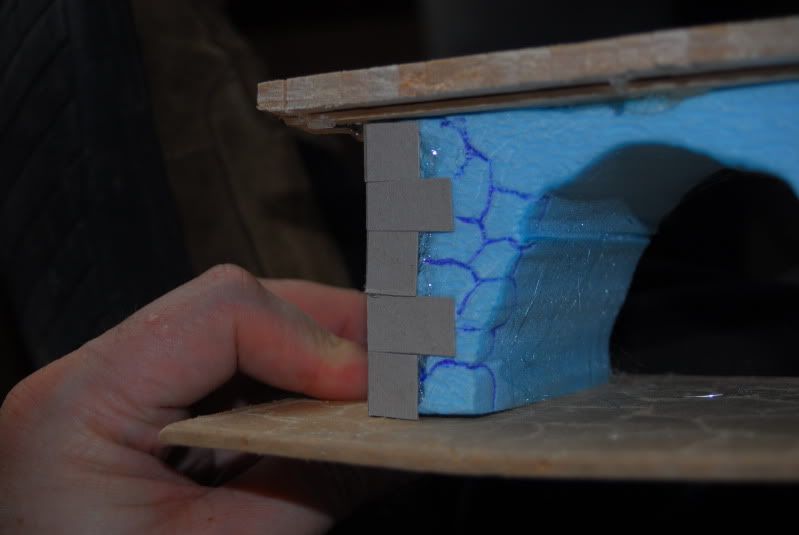
Then glue in place alternating the lay to create the trademark big/small pattern of building cornerstones.
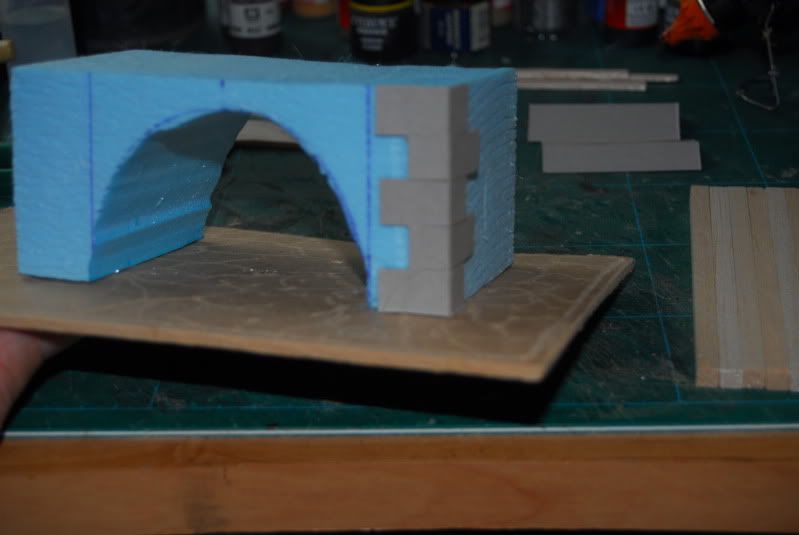
The last thing and the main reason to use blue foam for stonework is that it’s delightfully easy to etch a pattern into it with a pen. For rough fieldstone, just go for it like I have here. For more regular stonework, measure and grid as I have with the towers in my previous post.
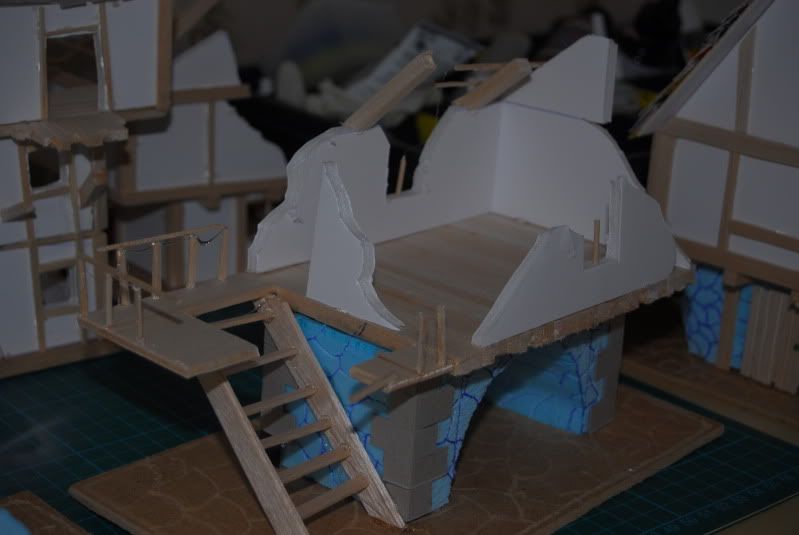
Here is the finished rough of that building, all the woodwork and walls were assembled using techniques described above.
Well that’s how I do it, nothing difficult or magical, some familiarity with the type of structure you’re going to create is required but 3 minutes on Google should give you all the reference material you need.
I’d love to hear your comments on this epically long tut, even if they are “didn’t read it, too long” J and if you build anything because, or in spite of it I’d love to see the results.
Cheers.


