Google+

Monday 30 March 2015

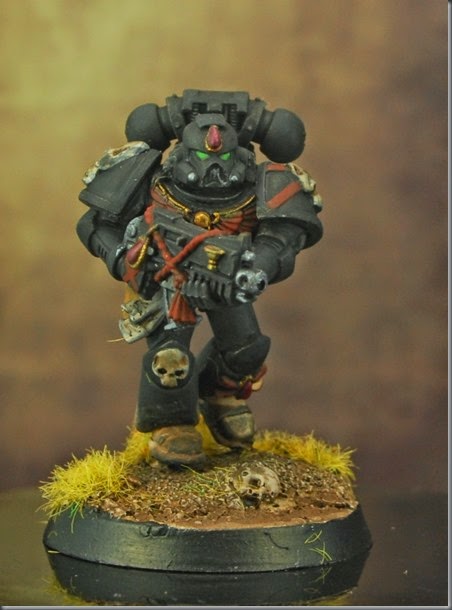
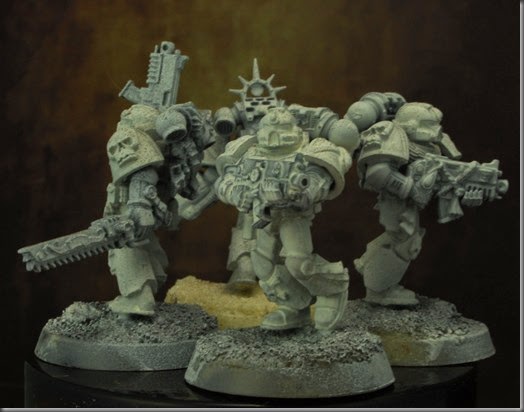
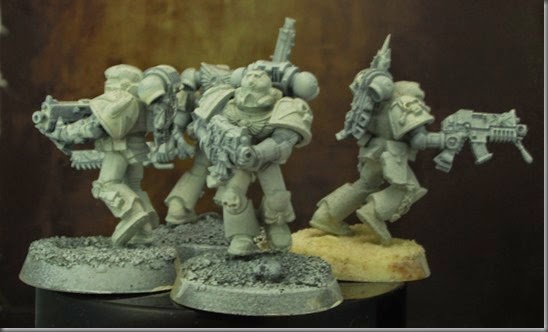
Blood Angels Assault Squads Build

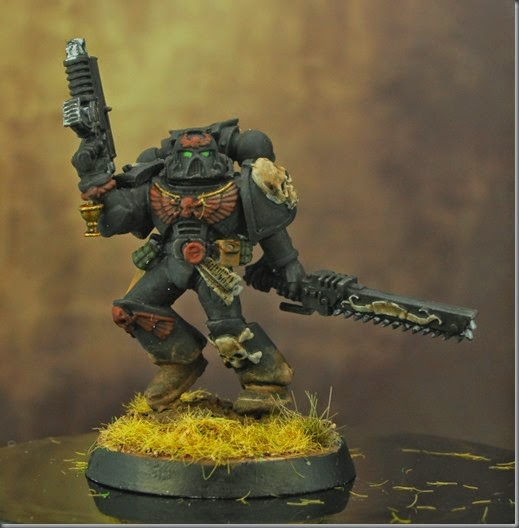
Having detected a “Need” for fast moving / Deep striking Melta I suddenly recalled that the Blood Angels still have this option for their Assault squads, making them far superior to the C:SM option of flamer of plasma pistols when it comes to tackling vehicles.

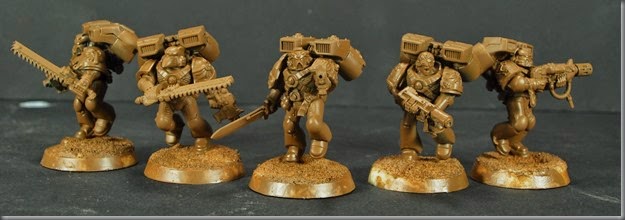
A bitzbox delves and shopping trip later, I’d built two squads, at 125 points each this is a pretty acceptable unit cost for the role.

DSC_9341

The first squad, two meltas, Sgt with Power Sword and BP

DSC_9340 

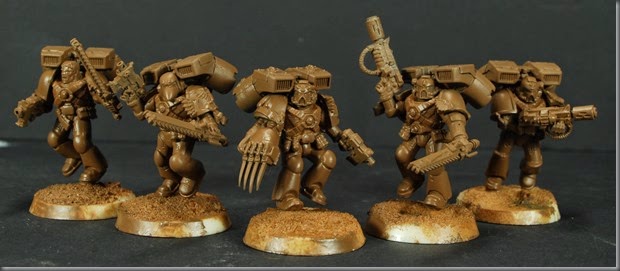
And for the second I went with a Lightening claw.

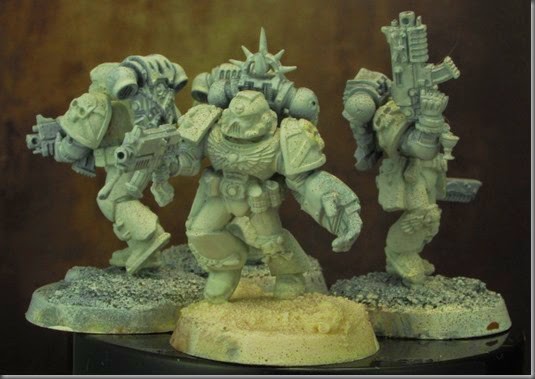
This squad contains some components that are over fifteen years old!, they've been disassembled, stripped and repainted a good number of times and have been Grey Knights, Ultramarines, Mentor Legion and even Blood Angels originally.

It’ll get pic heavy after jump for pics of each trooper.

Friday 27 March 2015

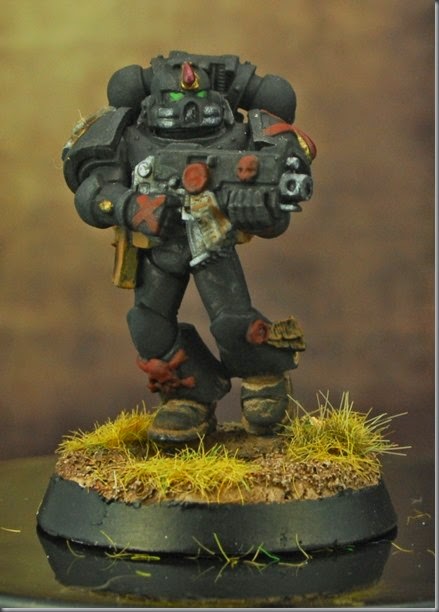
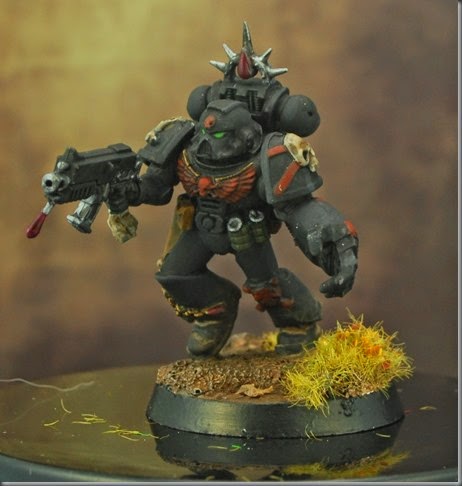
Blood Angels Death Company Kitbashes - Painted

DSC_9339

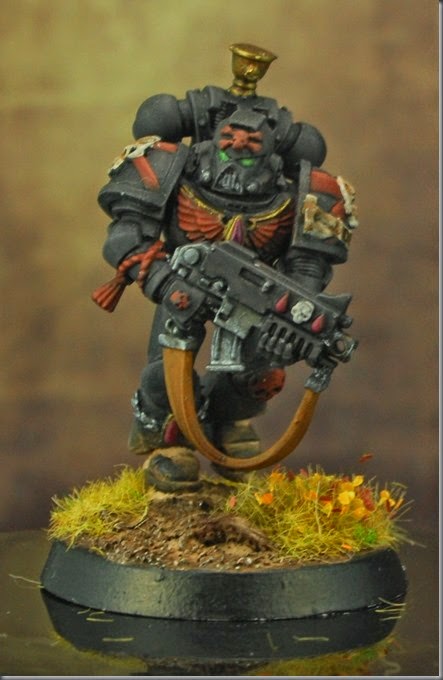
So having had a lot of fun building the improvised generational mishmash Death Company, I thought I’d paint them first so as to dial in the black.

DSC_9278

 DSC_9279 DSC_9280 DSC_9281

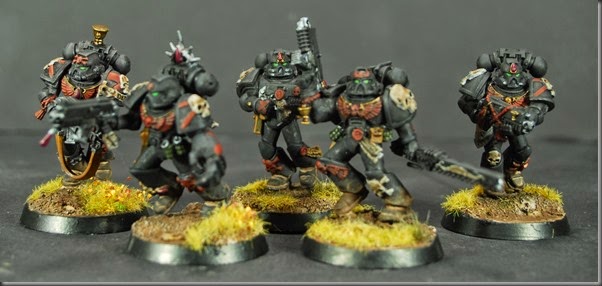
These guys are a combination of fifteen year old metal DC bodies and brand new plastics packs, weapons and arms.

 DSC_9282

 DSC_9283 DSC_9284 DSC_9285

Most of the squad is modelled with bolters as that’s the leftovers you get if you build a CC DC unit

 DSC_9286

 DSC_9287 DSC_9288 DSC_9289

But I think these have come together well and make a nice looking unit – there's a droppod with these guys name on it in the paint queue

DSC_9290

DSC_9291 DSC_9292 DSC_9293

The only special weapon in the group – a Fist. Iconography stripped off and cross painted on – it’s “borrow4ed” from my space wolf bitzbox.

DSC_9294

DSC_9295 DSC_9296 DSC_9297 

This chap has a chainsword to remind me that all the guys here have CC weapons. they have relentless to so even with the bolters they can charge – the loss of the pistol not such a big deal either as they has 2A base


The other squad is on the block now that I’m happy with the paint scheme, and if these are any indicator it shouldnt take me long to paint them.

Monday 23 March 2015

Tallarn Advisor

So, my Imperial guard army being desert themed, it has seemed obvious to me for a while that I needed to add a few Tallarn, and ever the optimist I was holding out for FW to make some more.

Imagine my shock then to discover the Tallarn models were among those being retired. I picked up a few in those final days, and have put them together to make the best of what is available.

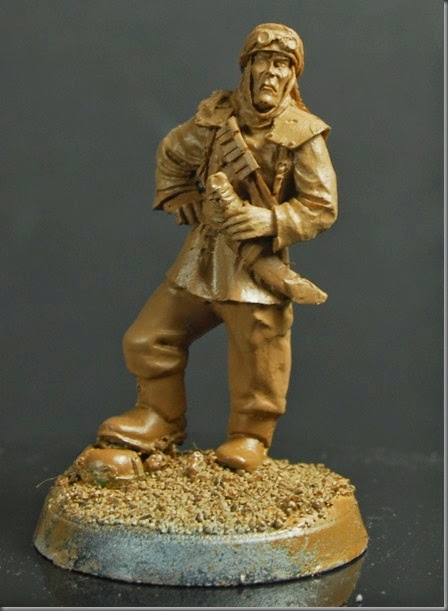
This chap represents a stand in for the officer of the fleet for my IG desert army – this because “On Arrakis, it’s desert power” if you get my drift.

DSC_9037

 DSC_9038 DSC_9039

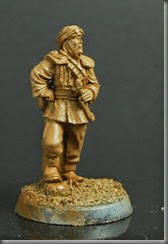
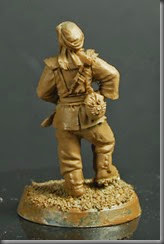
It’s the Tallarn Tank commander with a set of slightly oversized cadian legs to prevent him being a disembodies torso. I think he’ll stand in quite well once painted.

I’m clearly going to have to try and give him blue eyes tho.

Friday 20 March 2015

Forge World Thunderbolt Assembly – A Guide

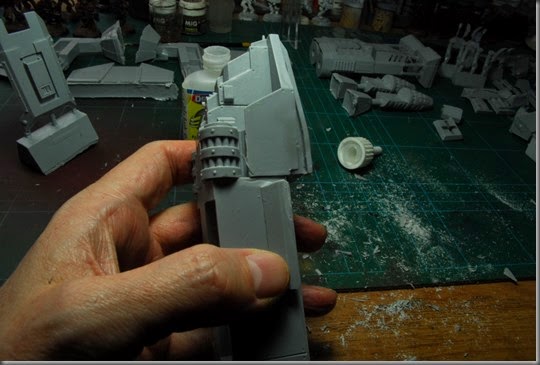
DSC_9205

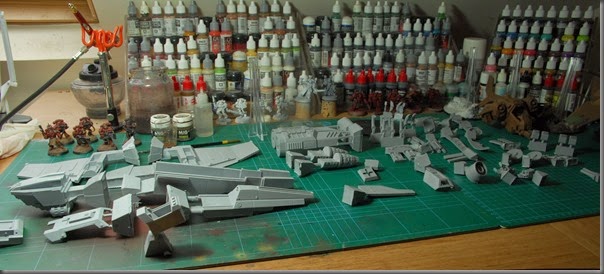
All the bits, looks like a lot, actually it’s not that complicated of a kit.

The first one I biult (at Mr Zzz’s house for both that and this are his) was a real pig, and I originally blamed the kit for that. – on my second time through I am happy to revise that – dont get me wrong, this was still a pig, but I now realise its not the design of the kit, which is sound, but the age of the kit, and the deterioration in the molds over time.
DSC_9206

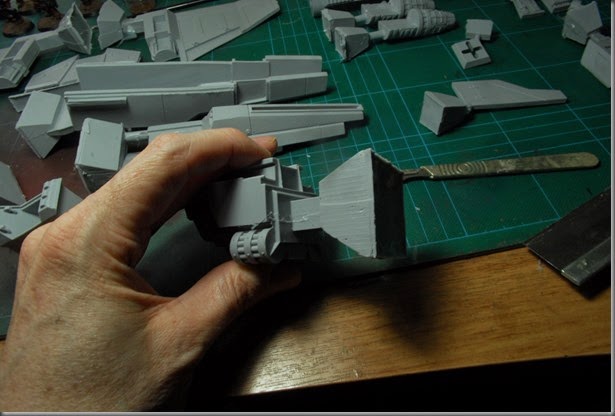
A lot of the parts have these huge vents, but that;s nothing new for FW, razor saw and dremmel later..
DSC_9207

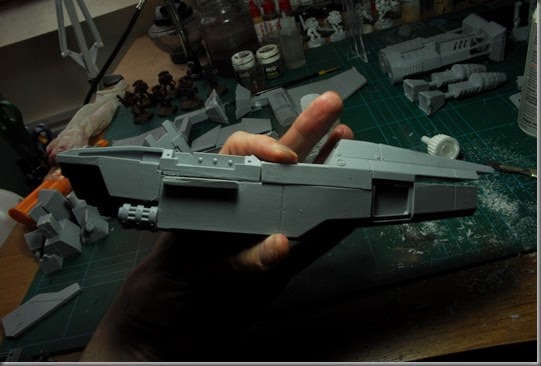
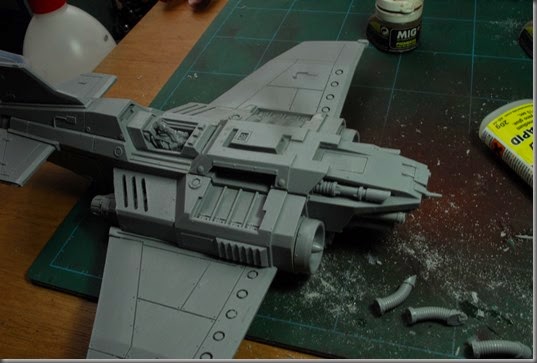
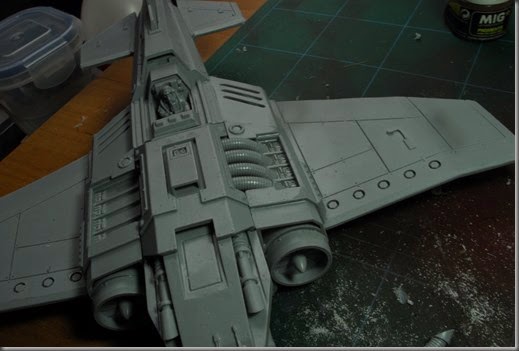
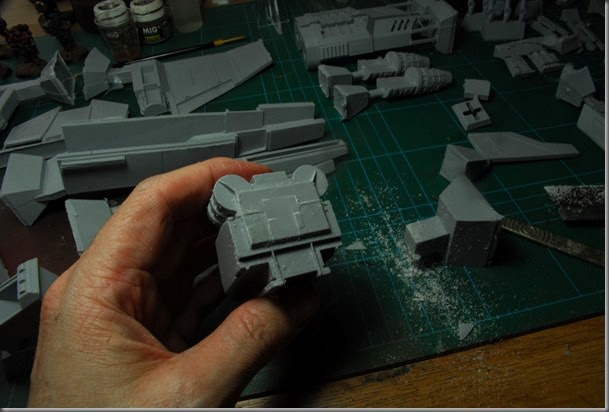
These images are in sequence on pretty much each stage of the build, I thought this might be useful as tbh the instructions kindof aren't.
DSC_9208

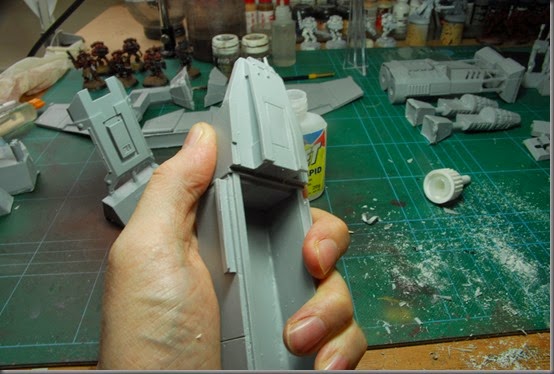
So first thin is nose to fuselage,

DSC_9209

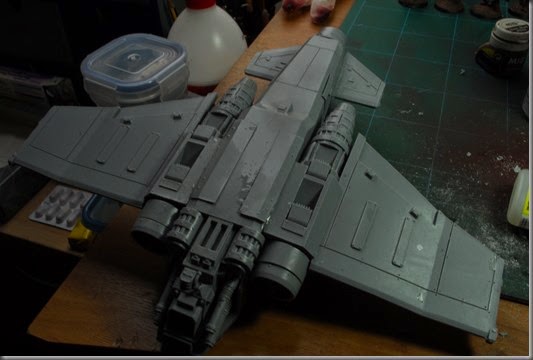
and here's the issue with the kit – as its aged and been recast, there's been some drift in the components, probably due to repairs to the master and straining on multiple molds, so that now some of the cast pieces aren't quite the flushfit you would hope for.
DSC_9210

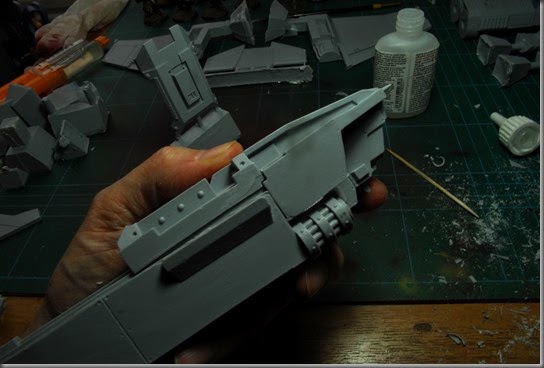
This top engine peice is next

DSC_9211

and then the rear fuselage upper, you can see the fit issue again, some fenegling is required to get to best fit, thereafter some filler and sand before paint would be needed.
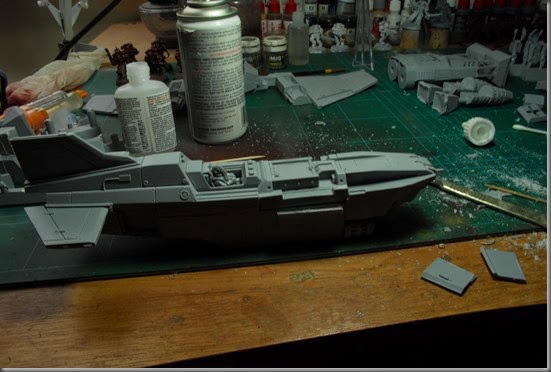
DSC_9212

you can pop the tail sections in now, they wont be in the way. I also dropped in the cockpit and pilot.
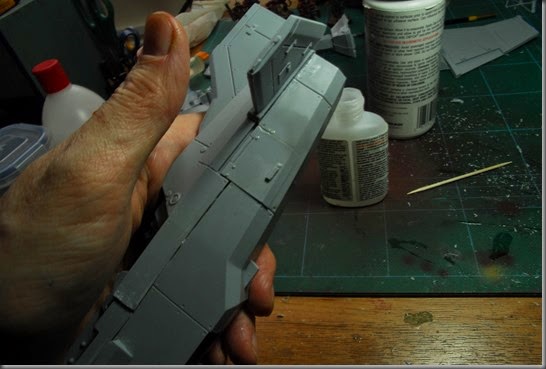
DSC_9213

Then fit the rear equipment locker covers, these need some finessing into place.
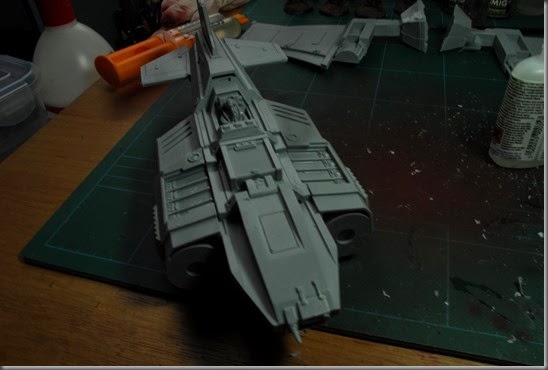
DSC_9214

The engine pods are next, these snap into place reasonably well so long as they arent warped. protip, theyll be warped. use a hairdryer to resolve this issue, or warm water.
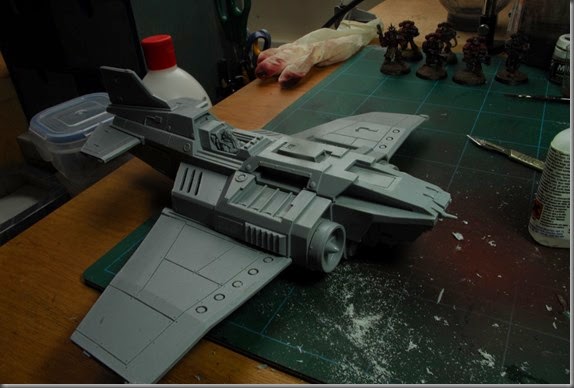
DSC_9215

Then the wings. I pit the engine cover on here too, it might be easier to do the pipes without, but it wasn't an issue either way for me.
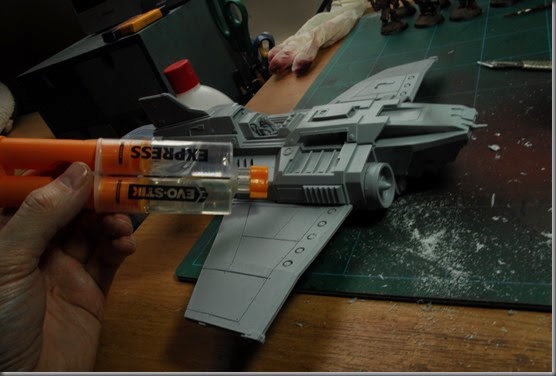
DSC_9216

Use epoxy here, and be patient, they take a while to set up and have to be held.
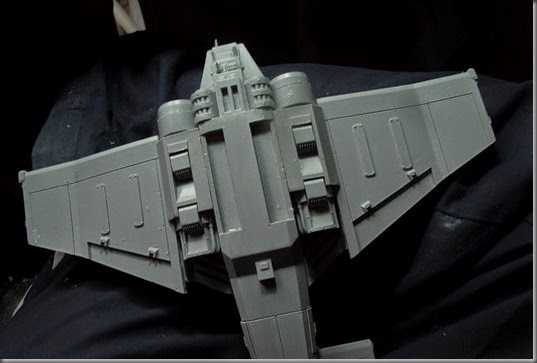
DSC_9217

we can then pop on some of the lower details, like the VTOL thrusters
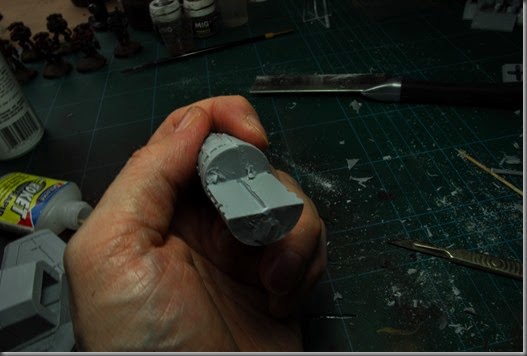
DSC_9218

These rear engine pods have to be cleaned up well to fit as they go in quite flush.
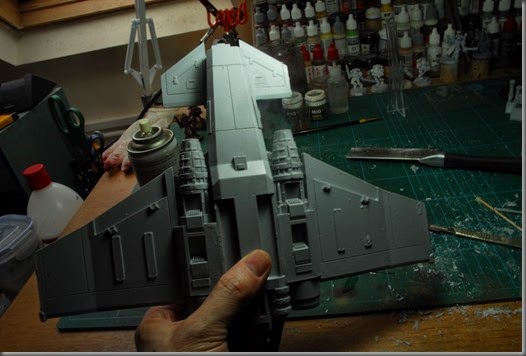
DSC_9219 

Voila

DSC_9220

Engine intake fronts..

DSC_9221

Pipes

DSC_9222

Zzz opted for landing gear up (Flyer, see, not Lander) so those hatch covers have their hinge cut off and fit to the open compartment, after de-warping with a hair drier of course
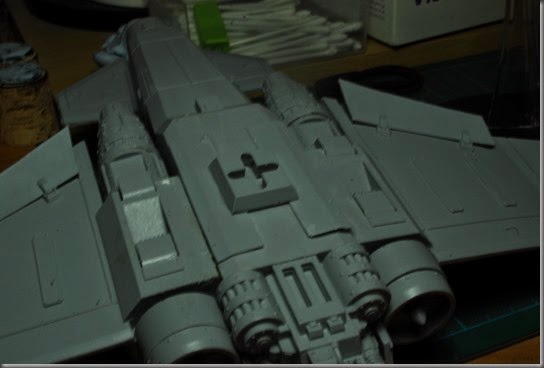
DSC_9223

rear Ailerons, also warped, fit into place. along with the flying stand mount, I placed it over the landing gear covers, which inst the best aesthetically, but its on the bottom of the vessel, and I figure stability is more important than the bottom looking good the 8th time it falls over in a game…
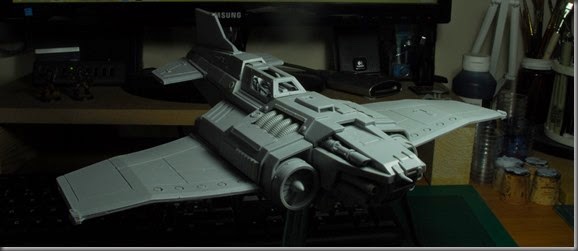
 DSC_9225

When all the above it done, you are left with this.
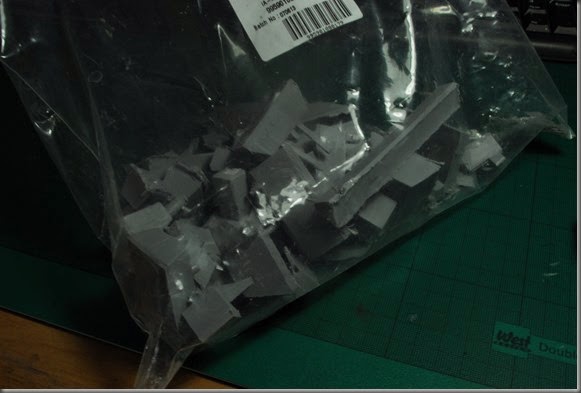
DSC_9226

And this – the bad of vents and scrap resin you've clipped away to build the thing :)

I post this in the hopes of helping someone who is building one of these things, as the FW supplied instructions aren't really, they are just like four pictures of one being built..

So if this does help you.. let me know below. :)

Monday 16 March 2015

Death Company – Improvised reinforcements

DSC_9246

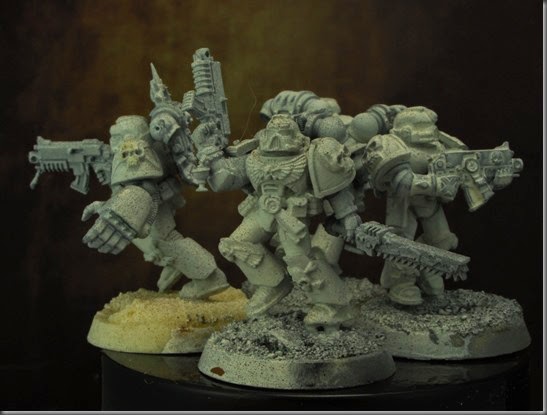
I liked the earlier Death Company guy enough to scavenge up some more metal bodies and put the remaining leftover bitz to good use. just 4 guys with B+C and one with a Pfist. This one is probably the worst pose simply because its the oddest torso angle..

DSC_9247

I've even pressed some old metal shoulderpads into service here..

DSC_9248

relentless is nice, meaning they can fire bolters and still charge, but they look a bit goofy all modelled with both bolter and chainsword, as do Grey hunters, so I do just a few so that I remember the unit has both.

DSC_9249

It does however mean they give up an attack, making the 3 on the charge, 2 in combat, but it’s a tradeoff.

Anyway these are next in the paint queue, then the squad modelled as Raphen’s, then the Drop pod, then.. then.. then…

:)

Related Posts Plugin for WordPress, Blogger...