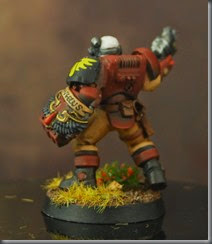
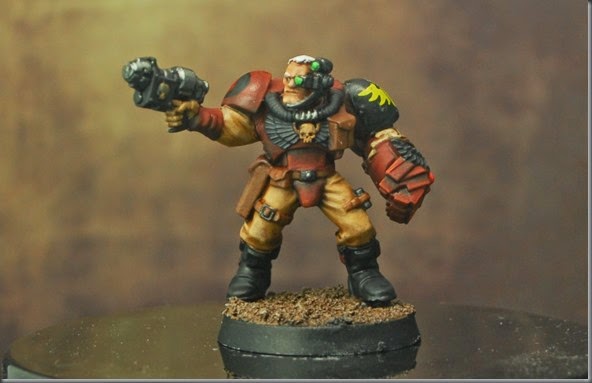
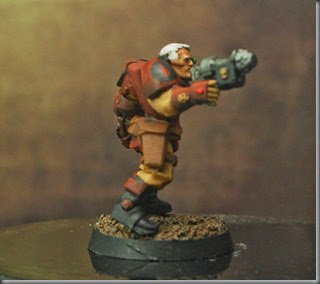
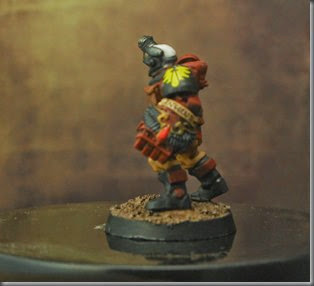
Google+

Friday 30 January 2015

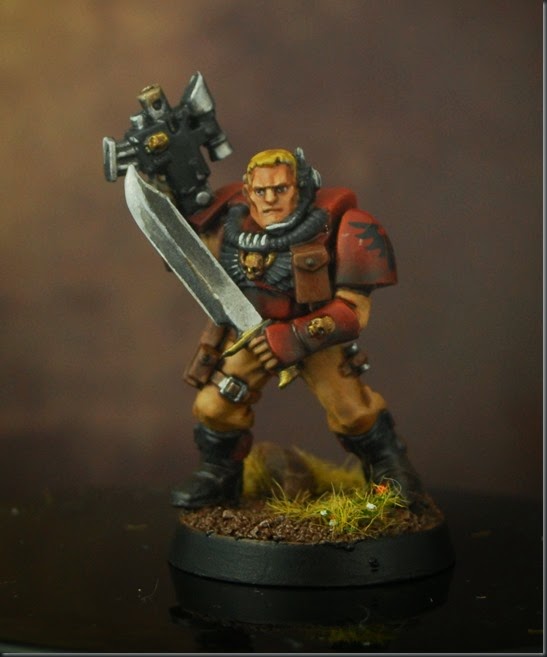
Blood Angels Tactical Squad - Build

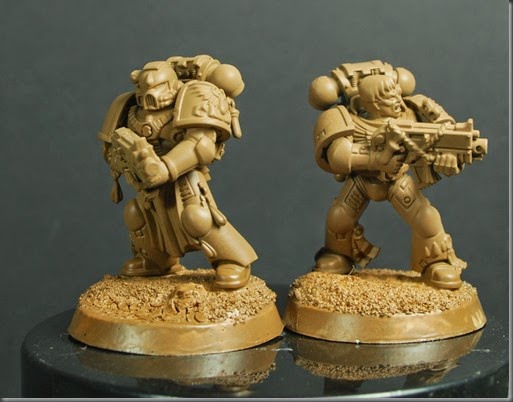
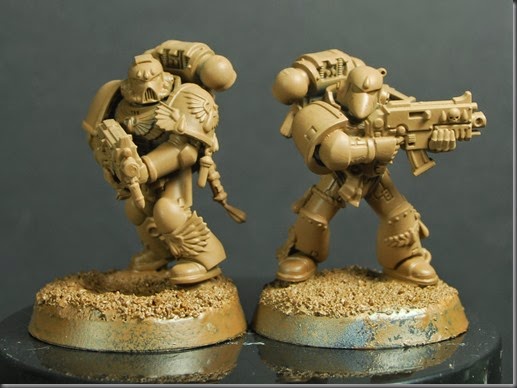
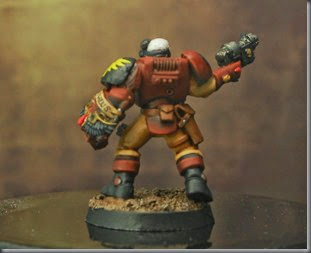
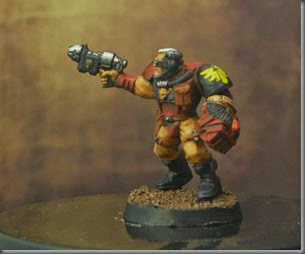
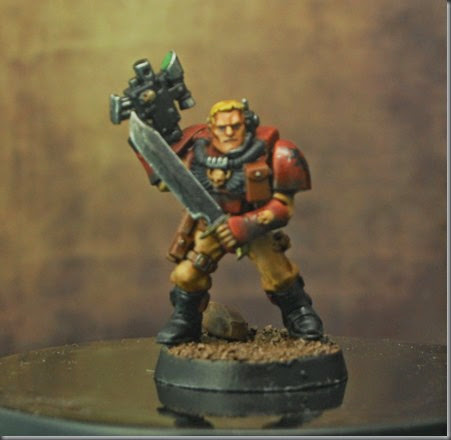
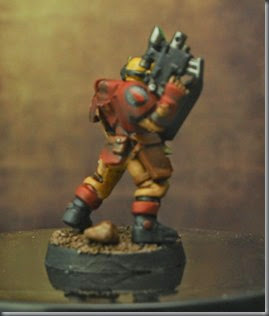
This really is a lovely kit, lots of options, lovely custom parts, makes them feel very bespoke without much effort, and the fit is lovely too – testament to the quality of GW’s models.

One criticism would be the size, and the scale creep we’ve seen. I still have a couple of older models from the BA range and they are noticeably smaller. not a new phenomenon, but as my collection only includes some very old and some very new BA models, it’s quite struck me.

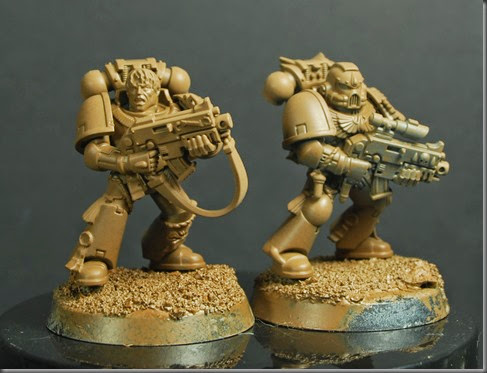
Anyway, here are the boys I’ve managed to build with the kit, I’m not cure yet which company to use as far as markings goes, so any input on that would be appreciated :) (since time of draft this is settled, I’m going second company, and these boys will be 3rd squad.)

DSC_9048

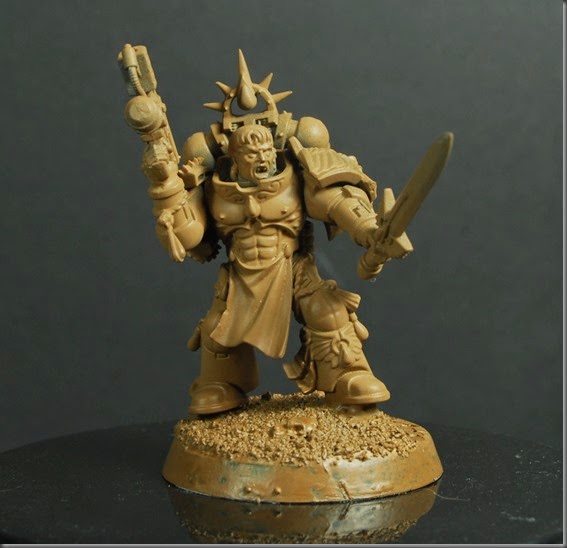
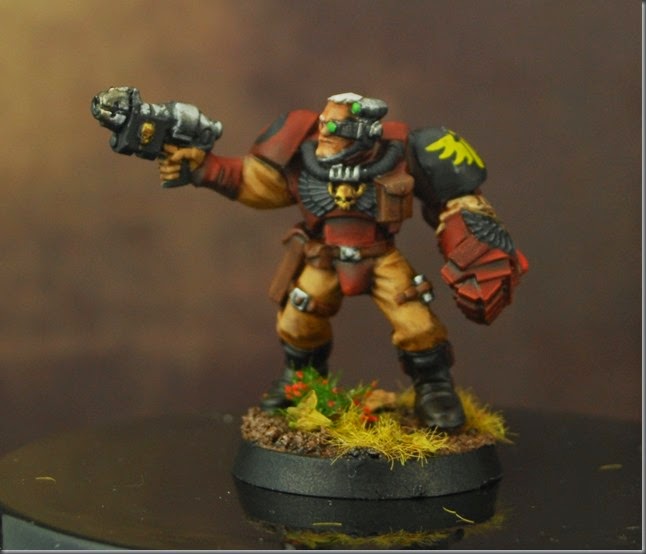
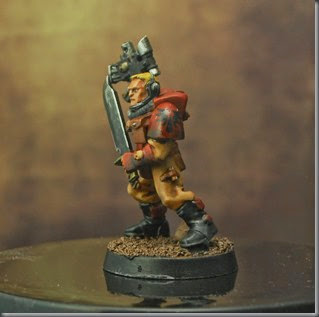
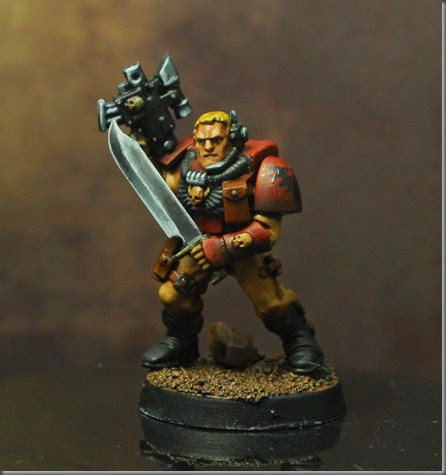
Sergeant, hand flamer and powersword – These guys basically get the old furious charge so against anything but specialist CC squads they should be able to give quite a mauling up close.

DSC_9049

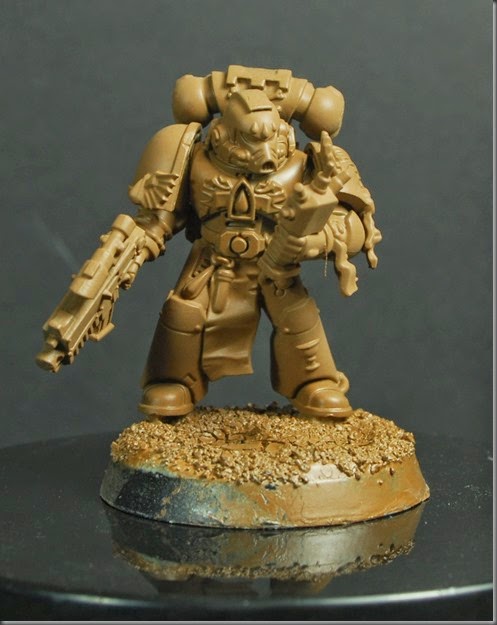
Corporal – no significance, except if I combat squad the unit he’ll lead section 2

DSC_9050

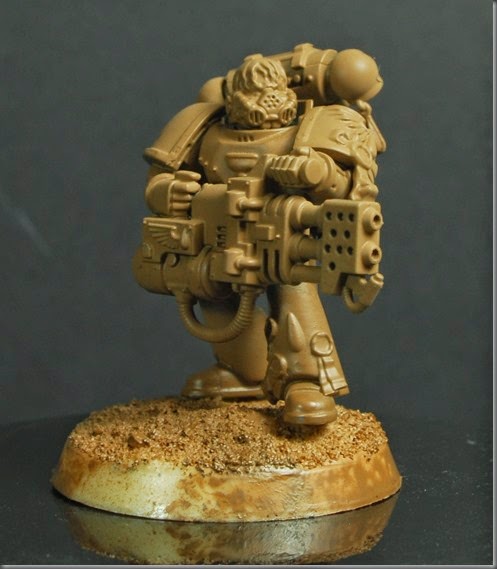
Heavy flamer. – I went with an army painter brown  primer here to see if that gets me a warmer red- I’m going to go ahead with a scout in grey primer so that I can compare afterward…

DSC_9051

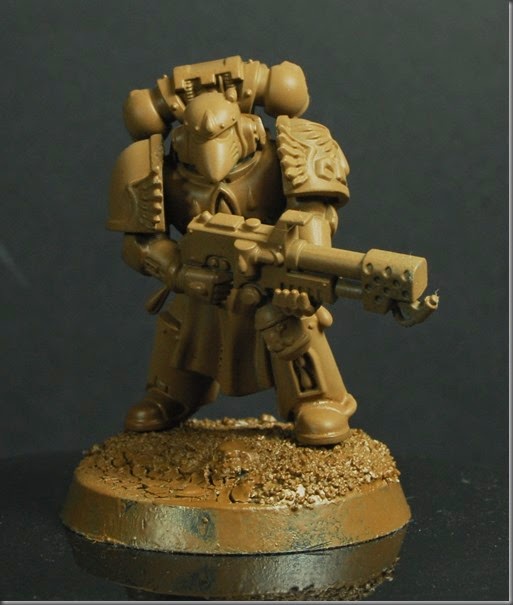
Flamer. a good number of beaky helmets in this box, and as I’m nostagiaing while I build them, its good to be able to use some :)

DSC_9052

Riflemen

DSC_9053

Riflemen – one in “classic” pose ;)

DSC_9054

and the last two to complete the unit.

Quite happy with these builds, tho one or two look a tad awkward, its much easier to get natural poses with this set of bits.

Look for initial paint next post!

Monday 26 January 2015

Making and Casting 32mm Bases for Power Armour Models (Part 2)

In part 1 I went over creating the mold, so let’s have a look at casting, and the results.

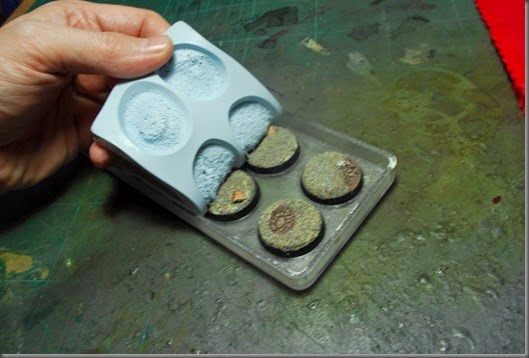
So first things first, lets extract the originals from the mold – start by loosening the edges, and then lift and peel back a corner.

DSC_8995

It has good tear strength, but this will of course depend on the thickness of the mold, I made this one quite thin, but its still good.

DSC_8996

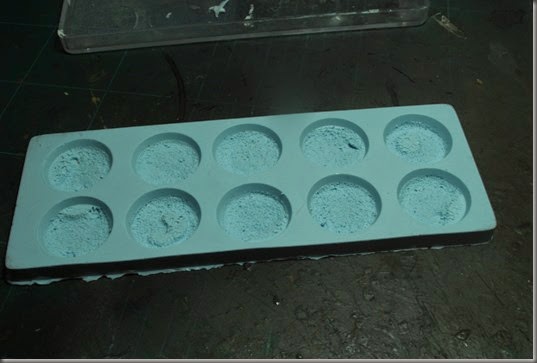
The finished mold.

DSC_8997

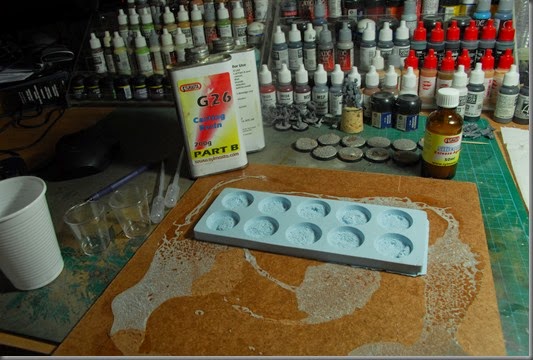
For casting I always use a board, and make sure I have somewhere level to set it to cure.

DSC_8998

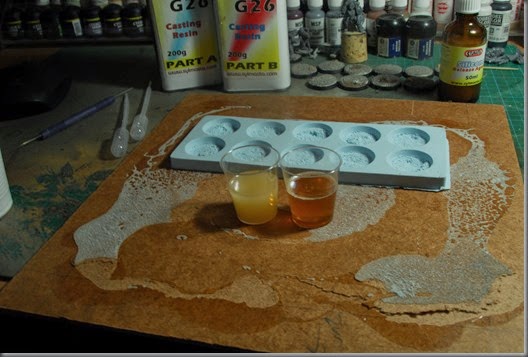
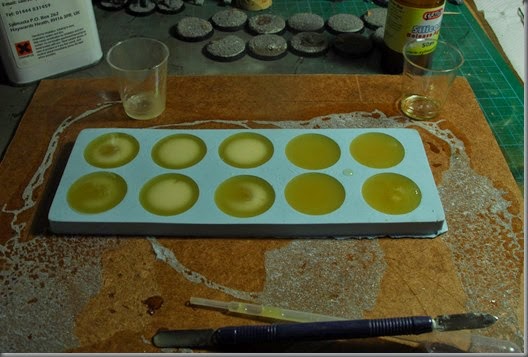
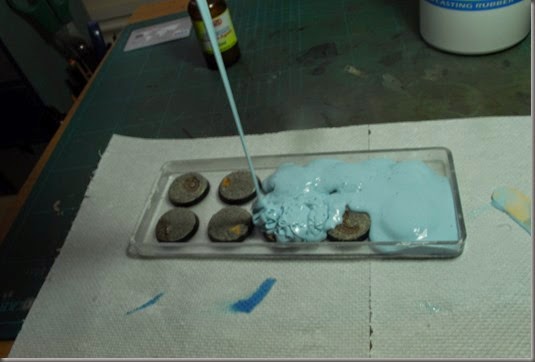
Using Sylmasta products again (no, I’m not being paid by them ;) ) Mixing A and B in the specified proportions, and then quickly pouring into the mold.

DSC_8999

It needs to be thouroughly mixed, and yet you do have to work with some alacrity.

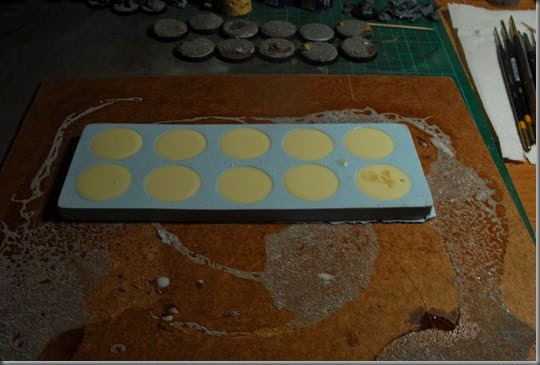
DSC_9000

It takes about 40 seconds to start to cure after I pour, and you can see here the reaction beginning from the centre out.

DSC_9001

Full cure in about 30 mins – you can see on the end there one that isn't properly cured in the middle as I had to make another few ml to complete the mold and I mixed it in haste and didn't get a smooth pour. it wont however matter as this is the bottom of the base.

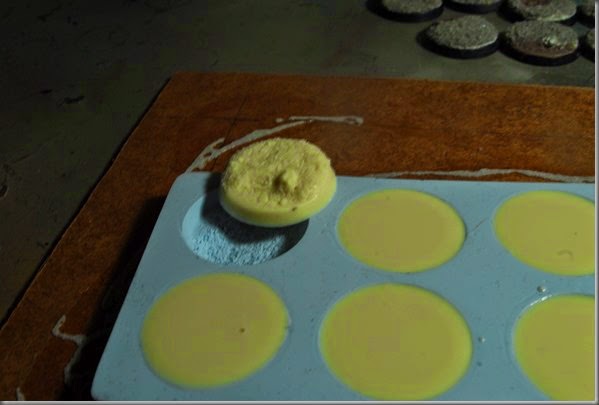
DSC_9002

First pull.

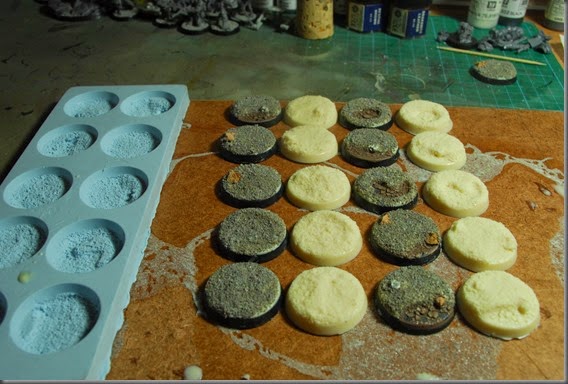
And the results, here you see the mold, the originals and the casts.

 DSC_9004 

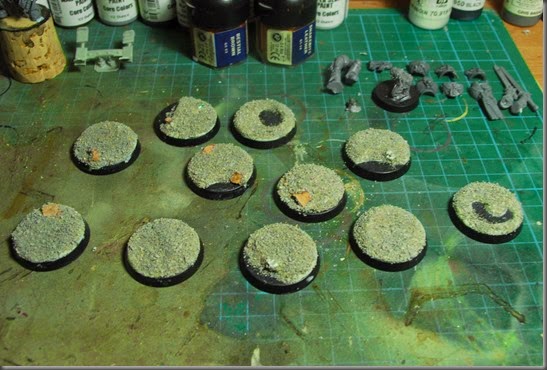
And here you can see a mix of casts and originals. good enough for me.

DSC_9047

Hope that was of use to you, happy to answer any questions below.

Friday 23 January 2015

Making and Casting 32mm Bases for Power Armour Models (Part 1)

I Quite like this change, having got my mitts on a BA tac squad (more on this later), I find I do like the new size. however also having a death company box from quite a while ago, I needed more than I had, so I set to to make some generic bases I could take a mold of and cast up enough for the small army I am making.

DSC_8980

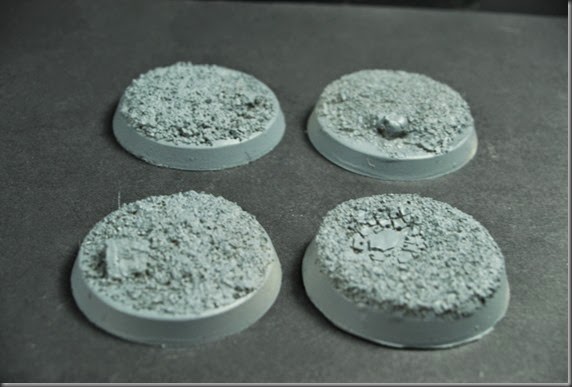
So with some bases made – A bit of epoxy clay for surface detail, some gravel and the odd piece of scatter like a skull or cork rock, I set about making a mold.

DSC_8981

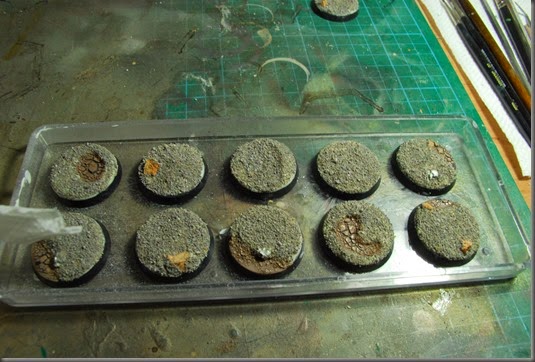
I had this useful old plastic tray, and you can see here there are some areas ive put crackle medium in for a “desert” feel – these are also sealed with pva, and glued in place on the plastic tray with pva – you can use any suitable receptacle that will give you depth for create the mold.

DSC_8986

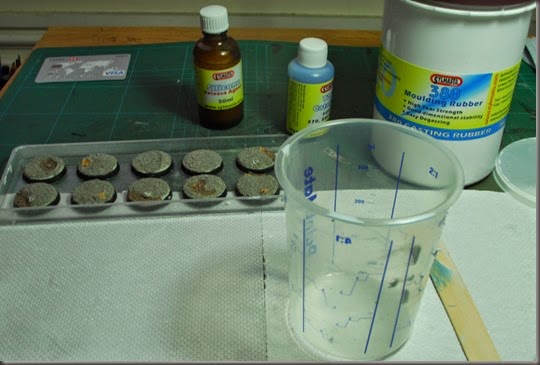
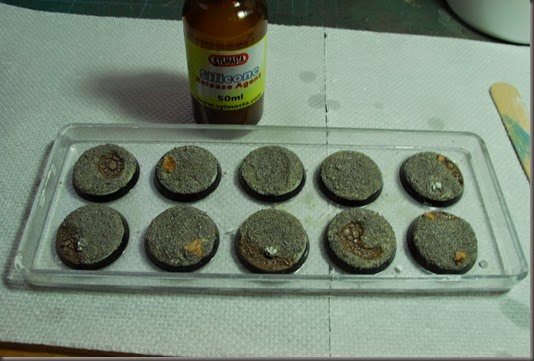
I use Sylmasta rubbers and resins for this, moulding rubber and catalyst here along with mold release – this is important especially as the gravel gives lots of small undercuts.

DSC_8987

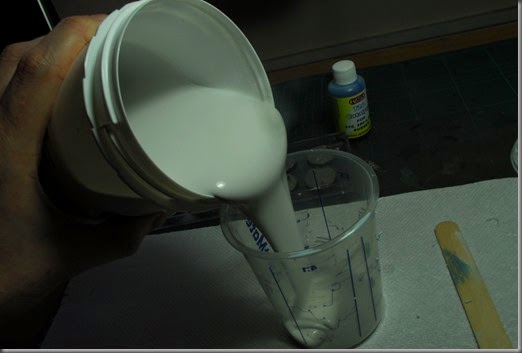
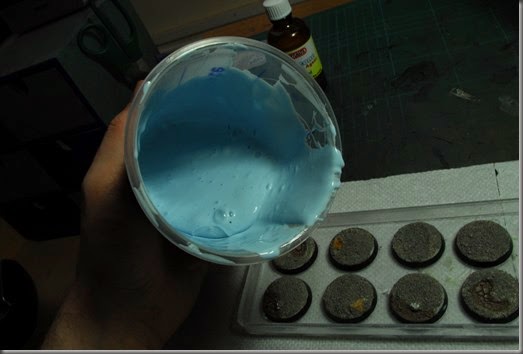
we mix up the rubber in the recommended proportions as the packaging stipulates

DSC_8988

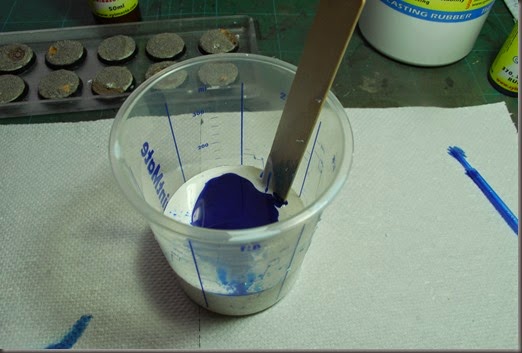
Add catalyst

DSC_8989

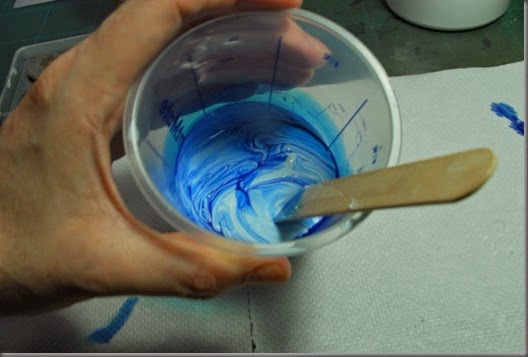
Mix. this isnt mixed enough, and wont cure properly or evenly.

DSC_8990

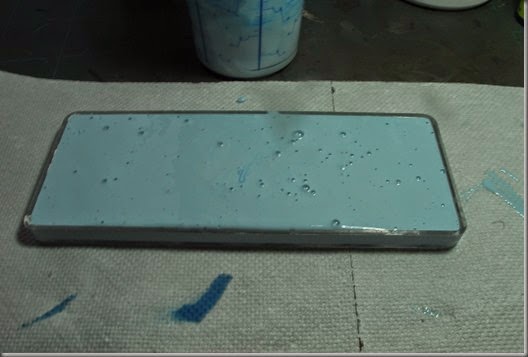
This is what you are looking for. dont worry about the bubbles, it de-gasses well, and a long pour will help.

DSC_8991 

If you were really worried about bubbles you could brush some rubber into any difficult areas before you pour, but I didnt bother here.

DSC_8992

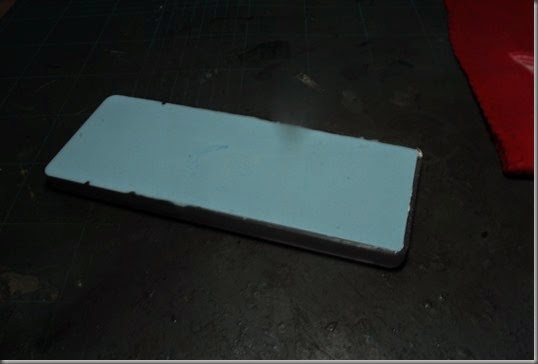
leave it for 24-36 hours to fully cure, and de-gass.

DSC_8993

at which point it looks like this.

DSC_8994

In part two we’ll look at the mold and make some casts..

Hopefully this has been helpful, and I’ll answer any questions in the comments below :)

Tuesday 20 January 2015

Blood Angel Scouts – Test Paint Part 2

Back to metallic they go!
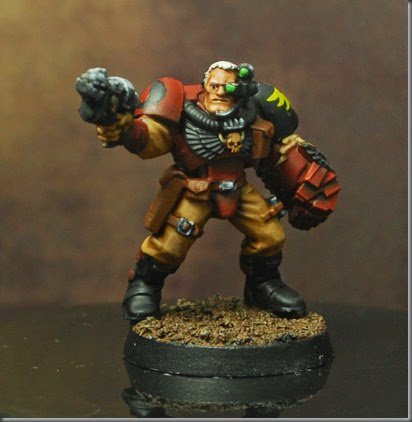
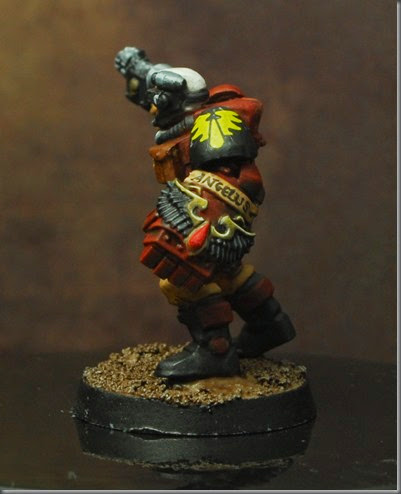
Excuse the random mid-week post, but these guys spilled over form the weekend and have only just been photographed.

Back on topic – these guys are back in metallic, with an attempt at (/sigh – odd prhase) “True Metallic Metals” trust me, that is what those in the paint forums call “painting metallics without being lazy and shading it properly”

DSC_9094

DSC_9095 DSC_9096 DSC_9097 

It’s harder than it seems actually, because while black for instance blends in well to make a dark, shadowed tone, and while washes work well to further dirty down; the bright points don't react well to white, so the brightest silver you currently have on your shelf is the high point of your highlights. clearly I need new paints :)

(damn that stray blob on his hair, only just saw that.. grrr.. *gets yellow paint out*)

DSC_9099 DSC_9100 DSC_9101 DSC_9104 DSC_9103  DSC_9105

Okay so kindof overkill on the pics, but hopefully the point is made, I’m going with this for all these guys then, and hopefully I’ll learn some new things along the way.

Oh, Sarge here has also had that problematic mold line removed, and I'll get to blending in the red next time i have the colours mixed to the shadows.

Feedback welcome!

Friday 16 January 2015

Blood Angels Scouts – Test Paint

So I set to these chaps last weekend, and while I am annoyed with myself (I didn't clean all the mold lines as I was intending to just slap on some paint as a test) because I quite like the result-

DSC_9064

I’ve used some new paints on these chaps – more on those in a later post, but suffice to say I’m quite happy with them.

I’ve also tried to strike a balance between decent looking and not to onerous to paint. for example, his squad markings (hi right pad) are freehanded, whereas his chapter badge (his left) is a decal.

DSC_9065 DSC_9068

Oh the text is a technical pen too :)

DSC_9066 DSC_9067 

And his buddy -

DSC_9069

same deal.. freehand…..                                      and Decal

DSC_9070 DSC_9071 

I painted these guys in metallics, as I wanted to try that for speed and effect.. then I did an odd thing.


I repainted the metal areas in NMM so see what I preferred.

DSC_9079

DSC_9080 DSC_9081

I struggle more with steel than with the gold, I think my current recipe has too few colours in it, and it shows on large areas like this blade, but it certainly makes the areas pop more,

 DSC_9085

Of course i can also see areas for more focus, I could always use more contrast in general, and especially in lenses and gems etc, those need work,

DSC_9086

I’m okay with gold tho, I feel. though with this level of contrast in the metals, it shows up that the whole mini would benefit from more contrast.

DSC_9084

So there we have it, some paint experiments. next up for paint will be a few tac squad members, but I've got to show you all some of the build first ;)

Question is.. To metallic, or not to metallic?

Related Posts Plugin for WordPress, Blogger...