These are no different.
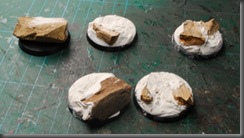
In this case it’s bits of wood chips from the garden (thoroughly dried and de-bugged) just cut to rock-like shapes and stuck in the wood filler
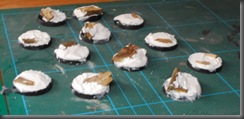
Here are the normal marine bases I plan to use for the rest of the force.
You could use any material here – whatever your usual rock stand in is, cork, cracked milliput, your call.
The making of the bases is the easy part. it’s getting your guys on them looking good and staying put that seems to present difficulties, and is often never really discussed. so here we go.
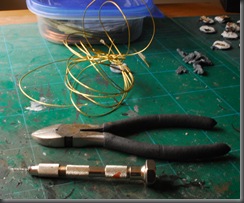
This is what you’ll need. – a pin vice with a 1mm drill bit, and some 1mm gauge wire (those sizes aren't compulsory, they just have to match and not be bigger than the parts youll be drilling :) ) you’ll also find wire clippers useful.
While it’s tempting to use your sprue cutters, try to resist as the wire WILL put dents in your blades.
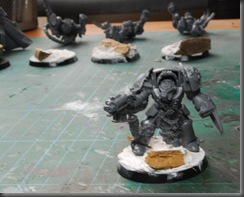
First thing we do is test fit. one thing to note is that, while assembling your spackle with bits in bases, you should have an eye on level places you intend to put feet :)
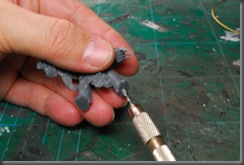
Once you’ve worked out the foot that will have the most surface contact, we drill a hole for the pin.
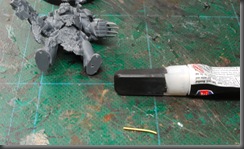
and glue that pin in place
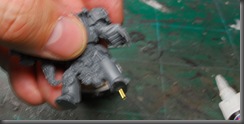
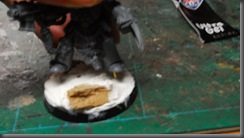
Then we return to the base and use the pin itself to mark the next hole. if you like you can place a dab on paint on the pin end to use to make your mark.

Then drill that hole.
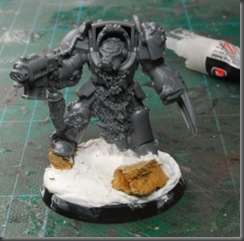
Last thing, glue the guy down.

This is the squad all based.
Not very adventurous I know, but I have this thing where, the first time I build with a kit I like to build it fairly “vanilla” to learn the kit as it were. this one is awesome. imo one of the best kits GW have produced in recent years.
the observant will note that the “rule of cool” has caused some changes in the roster previously posted, and that claws have proliferated :)
Anyway there we have it, pinning 101 I guess, – the same principles apply to pinning heavy components together, though the adhesives required might be different. oh and apologies for the pics, I used my phone and they aren't great, but I( think the steps are still legible.
Thanks for reading, I’ll post results when the grey hunters are assembled!

LOL! My assault cannon guy is pretty much identical to yours! Anyway, nice tutorial. Can't wait to see your finished army.
ReplyDeleteLike you say a bit of 'pinning 101' but there should always be time to study the basics.
ReplyDeleteThe unit looks good - My only thought would have been to give each warrior a claw to thematically tie the whole squad together - in game terms you needn't have used them as such of course. Alternatively you could be a tad anal like me and pose your minis so they are symetrical - SB and claw - Assault - Sergeant - chain blade - claw and SB. Oh the internet - thanks for giving me one more place to air my randomness.
Seriously, they look good mate - looking forward to you laying some paint down.