
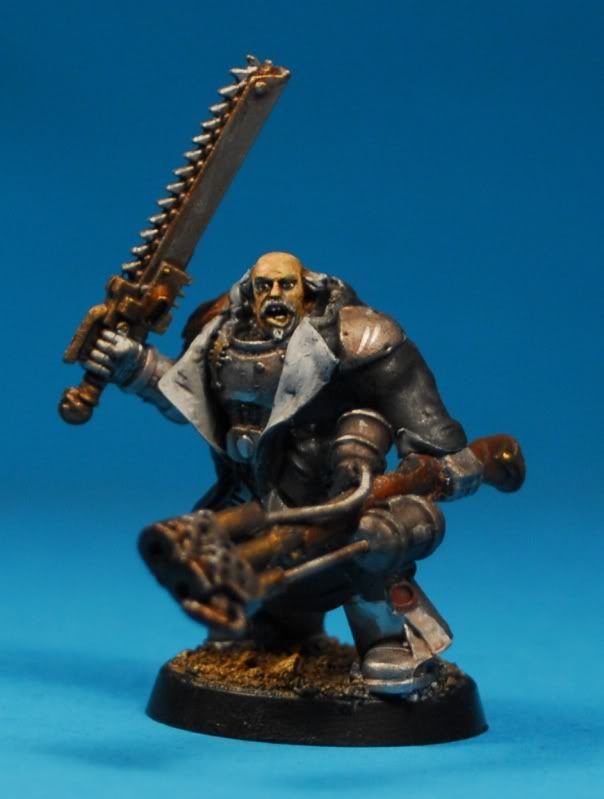
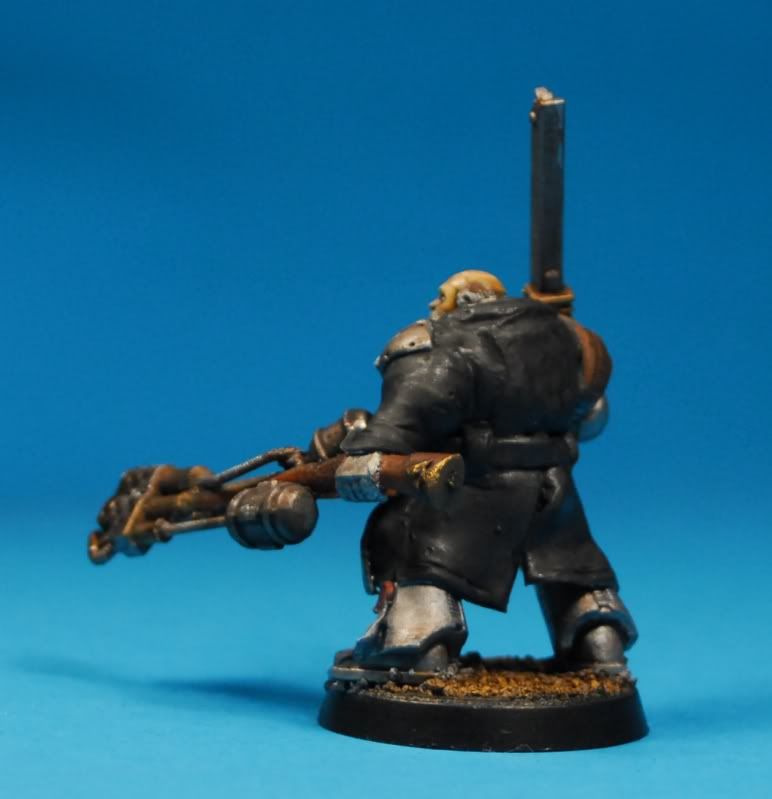
This fellow has an incinterator built from various bitz and a bog standard chainsword. He's also wearing power armour beneath that coat.
voila.
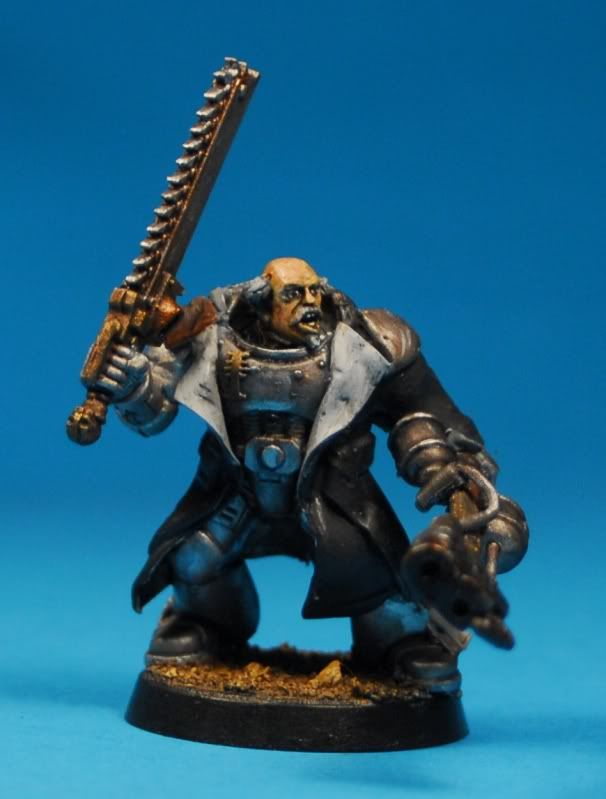
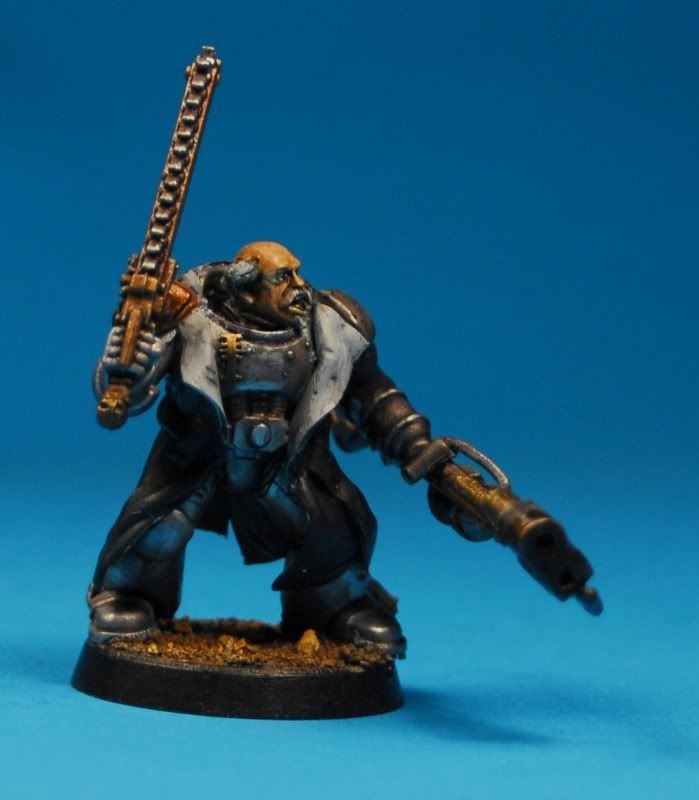
Darnit. now he's enlarged in photos i see a few things I still need to do. the scratches on the shoulderplate need lining, the purity seal needs text and his eyes could do with a bit of blacklining beneath them. ah well, I'll do that tomorrow.
Excellent paint job! I really like how you have highlighted to give the effect of an external light - very nice indeed
ReplyDeleteDefinitely a unique take on the Elite Inquisitor. It's always difficult to convert power armored models, because they always end up looking like Space Marines, but you've pulled it off well with the greenstuff trench. Very cool, dude.
ReplyDeleteGreat job, how did you do the cloak?
ReplyDeleteThanks Guys, Always nice to hear positive comments about your work :)
ReplyDeleteJonathon, I was quite worried about that aspect, particularly with the Acolytes as they have bolters, but hopefully I can keep them from looking too muc like Astartes with the paint.
Ron, thanks for the comment, by "do" do you mean build, or paint? Its built out of GS, and painted very simply.
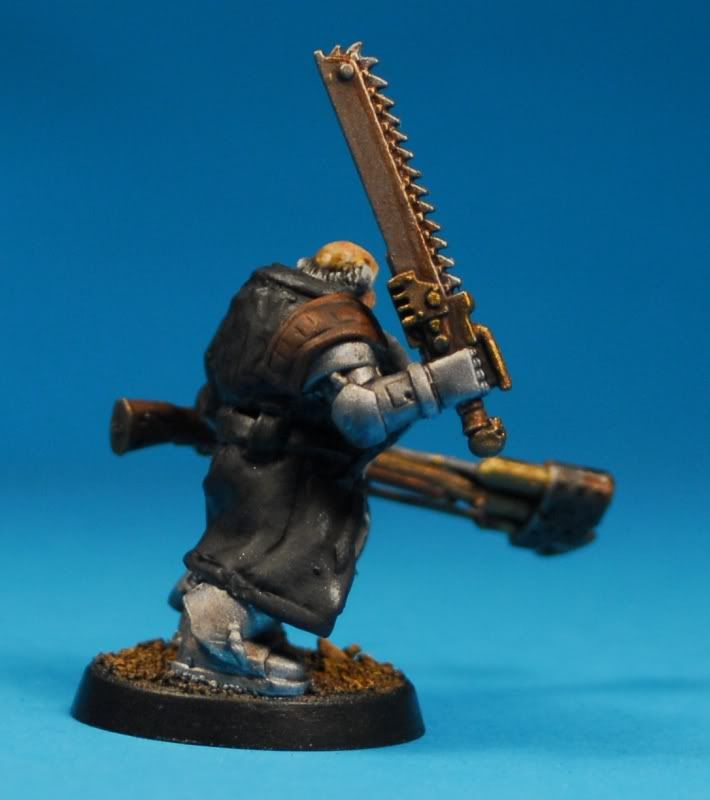
If I can find another pair of marine legs in my bitzbox i'll do a tutorial at some point on how I make trenches, it's actually not dissimilar to how you'd actually make one:)
Yes, build the cloak. How did you go about making it?
ReplyDeleteFirstly I rolled some GS (well lubricated) quite flat, like paper, then i cut out with a lubed scalpel the "pattern" for a coat, two large back panels that taper from top to bottom (if youve ever seen a coat pattern you know the shape) two front, one back insert, sleeves and belt/belt loops.
ReplyDeletethen i attach them to the model, back insert first then the back panels, working them into the lines of the model, trimming away excess and adding movement where I want it.
then I add the front panels, blending them into the already attached peices with a clayshaper - sometimes I keep the seams if they look natural. sometimes I fasion the lapels out of gs from the front panels as in this case, sometimes i add lapels and a collar, it depends on the style of coat.
then I detail the coat, in this case i made two different shoulder pads, one looking like metal, one like leather; mainly because I knew i was going light on sleeves and I didnt want the marine arms to look wierd. lastly I add the belt and loops.
sometimes I then add buttonholes, rivets seams etc to add detail.
If I want extreme movement in the coat I sometimes prop the tails up for the GS to cure, but not in this case.
I hope I've explained that well enough, It will be much better if I can find a model and take some step-by step pictures. :)
Cool, thanks!
ReplyDelete