I don’t quite have the gall to call these tutorials as I don’t feel accomplished enough to stand on a podium and teach this, (and I AM a teacher) but I will call them step-by-steps, and show you guys out there how I do things.
I start with the plastic or metal I intend to work off as a base, I’ve never yet started from scratch, even if the end result hides almost all of the original mini I’m not confident enough to work off a plain armature.
So here we are, the flagellant who will be my Daemonhost, I’ve already chopped him up so I can repose him, but I wanted to mention pinning.

Pinning is important.
There.
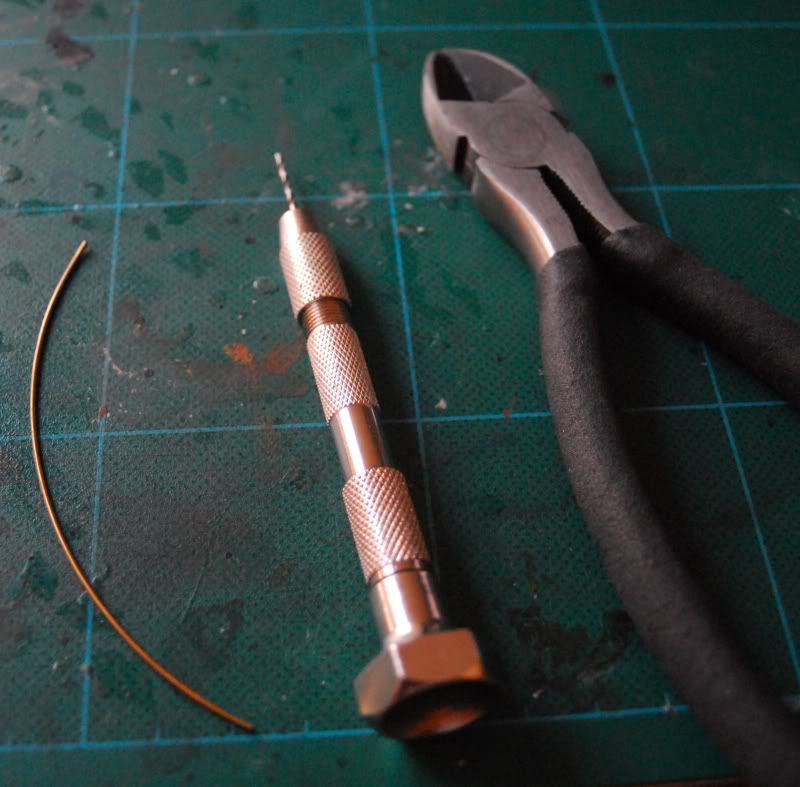
No really, it provides strength and allows you to build out with the putty with confidence, I couldn’t do what I do without pinning, and it’s dead easy, all you need is a pin vice, some clippers (not the ones you use on sprue, these WILL chip on the wire) some wire and some glue, the drillbit should be about the same size as the wire, and you’re golden, this used to be so much harder when more minis were metal, but now, the plastic is like butter, so drill, pin, crop, attach, simples!
So, once that’s done you can see the framework of the figure-to-be.

The long armature is because I’m going to sculpt a reasonable amount of mutation on the fellow, and out of the three Daemonhosts I eventually intent to build, I’m hoping the chaos god in question will be visible in each. (oh at some point I rebased him, the large one was, well, too large)

Before I get going with the greenstuff I’m just going to take a second to talk about the tools I use, first the putty itself, for the love of god, if you’re going to do this on any scale beyond gap filling don’t buy from GW, the quantity vs. Price they supply is crazy. Get is from another supplier in its original box and they sell you a huge tub for a tenner.
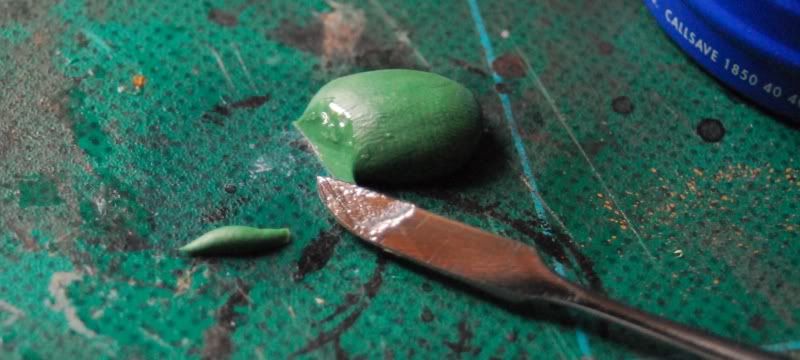
Mixing GS. What I do is slice off what I’m going to use and fold it on itself.


Then I twist the two strands together,

I repeat this folding and twisting three or four times, then I just start kneading between my thumb and forefinger, it doesn’t take long to get a smooth blend like this. Just thought I’d share.
The actual tools I use (I possess many many more than this, I’m a magpie) are below, three carvers and 3 shapers you can see the tips, the one I use most is one that resembles the gw tool but came in a pack of wax carvers the other tool I use most is just a needle from a safety pin glued into an old brush handle.

The clay shapers are a godsend for smoothing, but can surprise you with how easy it is to move putty with them, so go easy.

Lastly, lubricant. I used to use water, which is fine for quick things or gap filling, but for longer more involved work I use petroleum jelly, I know other people use mineral oil, and one guy used the grease off his nose, (eww) some people use KY jelly because it’s water based its easier to get to the paint stage afterwards. Whatever you use, you need something.

Okay lets talk about gap filling for a start, this horrid gap caused by the position of the arm is easy to get rid of,
 eww, blurry. apologies.
I simply carve off a chunk of putty about the right size and slap it in the gap.
Not quite. Once that’s in there I roughly shape it to the volume of the arm with the sculpting tool.
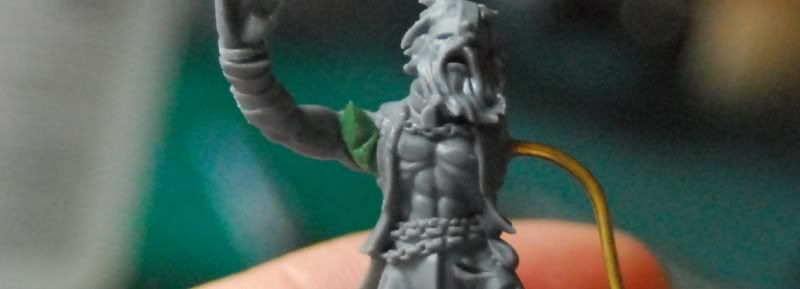
Then I shape the volume with a clay shaper to follow the lines of an arm, a bulky deltoid, follow the muscle line of the model, and voila.

It’s that easy.
I do the same for the volumes of the legs, but I don’t worry about detail here as I have plans that involve shackles.
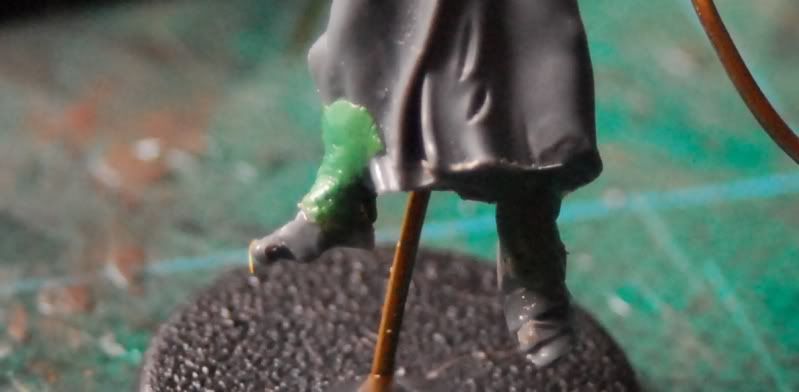
To make the bands of the shackles I roll out a sausage of GS and place it on a lubricated part of my cutting mat.
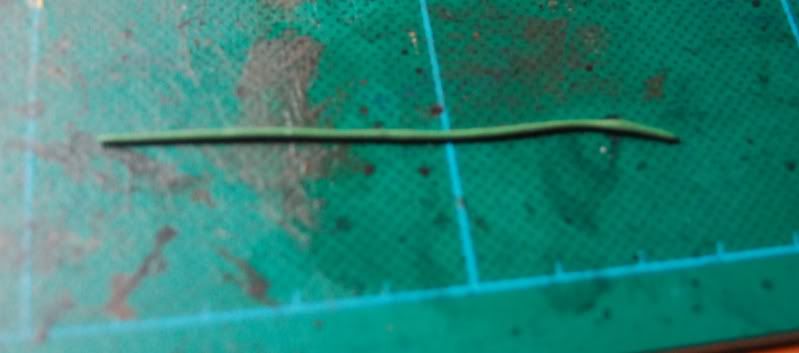
Then I take a well lubricated sculpting tool and just flatten the sausage, neatly and uniformly.
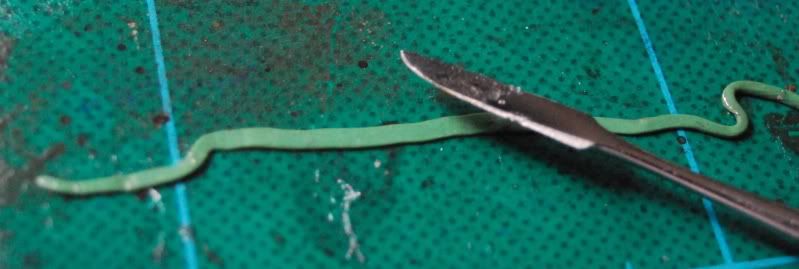
Trim away the excess and square them up and there we go.

I apply the bands to the ankles, trying to keep the seams in places I know wont be visible later.

One important tip here is to make sure your tools do ALL the work if you can, don’t use your fingers for anything because that will make fingerprints you will have to try and get rid of later. The biggest mistake I repeatedly make is to touch a part of a model I’ve finished while working on another section and smush everything leaving fingerprints etc. Try not to do it as often as I do.
Okay moving on to the armature. We need another sausage of GS and this time in small lengths I start to wrap it around the armature, roughly for now because this is the volume, mater will come the detail.


I repeat this for another strip and decide I’m happy with that arm length, an idea occurs to me so I leave this after a few tweaks. I set him aside to sure for a while to try and avoid the issue of smushing.

When I come back to him I add a large chunk of GS to the back of the model, I have to take him off his base again to do this, and I start to carve cloth shapes again following the flow of the rest of the robes and working first with the sculpting tool then with a clay shaper I arrive at this, which is okay for now.

I’m going to leave him for a while to cure then come back and start adding some detail. I hope that wasn’t too dull and that you’ll come back for part 2 once I get it uploaded. I'm thinking more tentacles and corruption are in order, along with chains, and straps. lots of straps.
I still can't quite get past the feeling that he's waving. hrm.
Cheers.

Nice tutorial, and really promising looking mini. Green stuff is really new to me so there's a bunch of helpful stuff in this article. I'm staying tuned for part 2!
ReplyDeleteThe part about using a guy using grease from his nose is really, really unsettling lol.
Given your GS skills, I was wondering when you were gonna attempt a full-on sculpting project like this. :) Very well-written tutorial with clear instructions. Nice tentacly fun.
ReplyDeleteI guess we just have to be thankful that the guy used his nose grease instead of who-knows-what-grease from who-knows-where-else-on-his-body. >.<
As for the waving hand, I think he looks more like he's getting ready to give his other fellow daemonhosts a massive hi-five. :D "Chyeah dudes. The Inquisitor-dude was like woah, & then I was like woah & then the daemon-dude was like woah-bummer. Chyeah, hi-five dudes."
Hi mate, just to let you know your article is still giving good advice, thanks.
ReplyDeleteThat's fantastic!
ReplyDeleteThanks for taking the time to post that, it's really good to know that this stuff is occasionally useful and continues to have value.